| |
|
click for a larger image |
My "Brake Light" warning light came on when
I started up my car. To figure out which bulb was burned out, I had
to depress the brake while looking at the lights. If you've got a
buddy, this is pretty easy. Otherwise, you can use a Club or ice scraper
to keep the brake depressed while you go outside to look. Then make
sure you've got the right part number that will fit. This information
should be in your driver's manual, or you can look for the information
on the web.
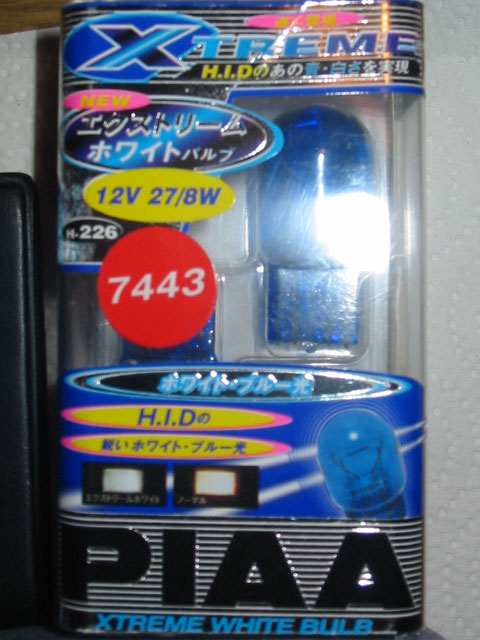
I picked up a pair of PIAA wedge bulbs (Part 7443). A pack of two
is about $25. These are XTreme White bulbs, although nowadays you
can get bulbs or LED arrays in all sorts of colors if you want to
customize your car.
|
|
 |
|
Changing lights is pretty easy. The only
tool you might need is a flat head screwdriver. It might also be nice
to have a wrench as there is one bolt you can remove to make it a
little easier to access the lights.
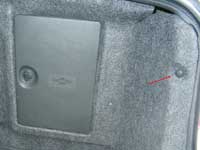
Open your trunk and figure out which section of carpet/liner you'll
need to get behind. Look around for anchors/connectors that are holding
the carpet to the car. In the case of Hondas, the carpet is usually
held in by a set of plastic pegs.
I also removed the jack door so that it wouldn't be holding the carpet
in as well. |
|
 |
|
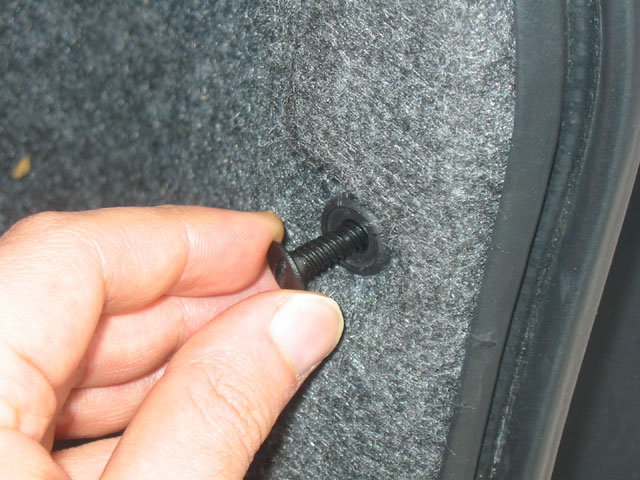
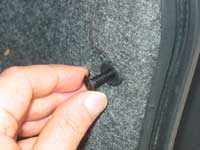
For my car, the pegs need to be removed
by unscrewing the center peg with a screwdriver or your finger nail.
I had one peg that would not unscrew so I used my screwdriver to pry
it out. |
|
 |
|
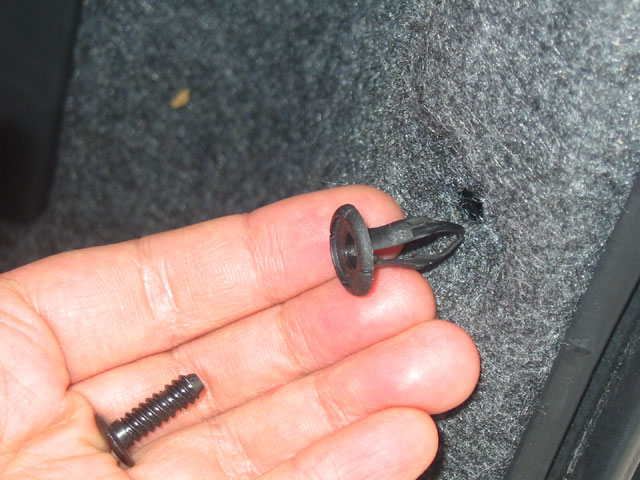
Once the screw-peg is out, you can easily
pull out the anchor.
|
|
 |
|
| My carpet was still difficult to take
out, so I had to do the same thing with my trunk guard by removing
all the anchors and loosening my trunk guard. |
|
 |
|
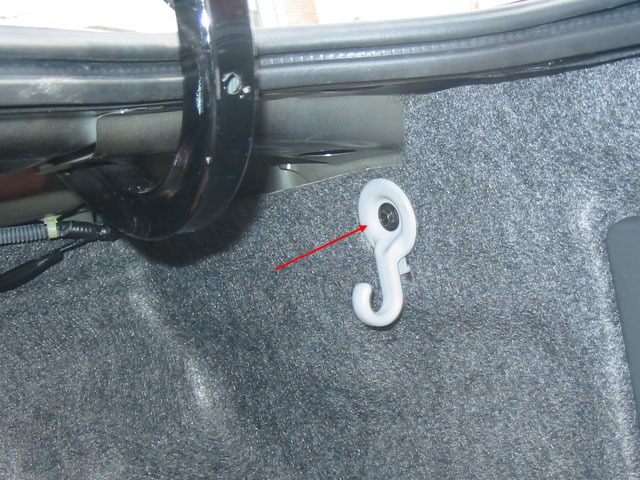
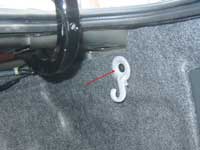
| After this it was possible to wiggle the
carpet out, although to make it even easier I took a socket wrench
and removed the bolt that holds the little plastic hanger that Accords
have. |
|
 |
|
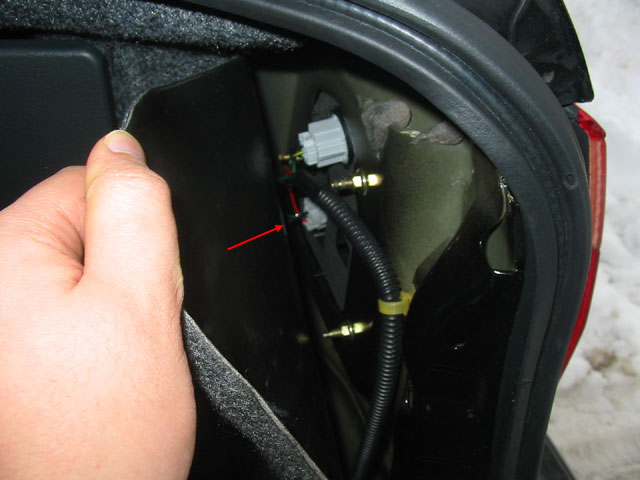
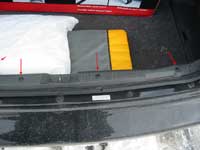
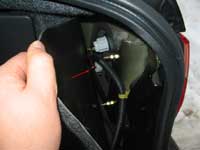
| Now I could wiggle the carpet out enough
to comfortably reach behind it and locate the appropriate light. I'm
changing the lower, outer most bulb as noted in the picture. |
|
 |
|
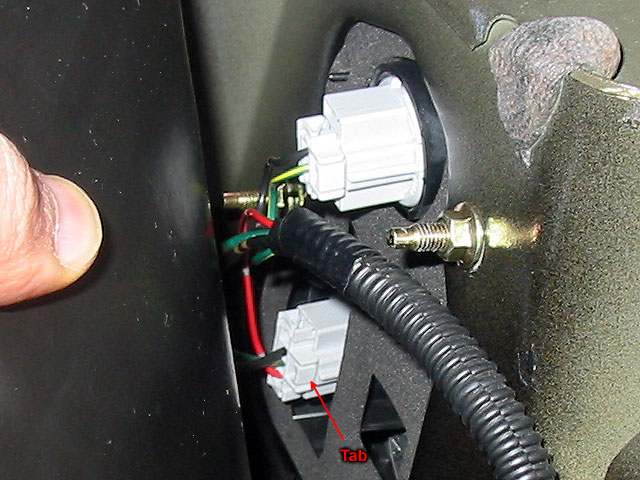
If you look at the wire harness you'll
see a little tab where it connects with the light bulb fixture. Depress
the tab and remove the wiring harness from the fixture.
Grab the fixture and rotate it (I think it was clock-wise). It should
pop and turn about 30 degrees after which you can simply pull it out. |
|
 |
|
Using gloves or a clean towel grab the
light bulb and pull it out of the fixture. You should not touch the
bulbs with your hands as dirt and oil may cause them to break from
the heat generated when they are on. You need to pull pretty firmly,
but be careful when doing this as you don't want to break the bulb
while pulling.
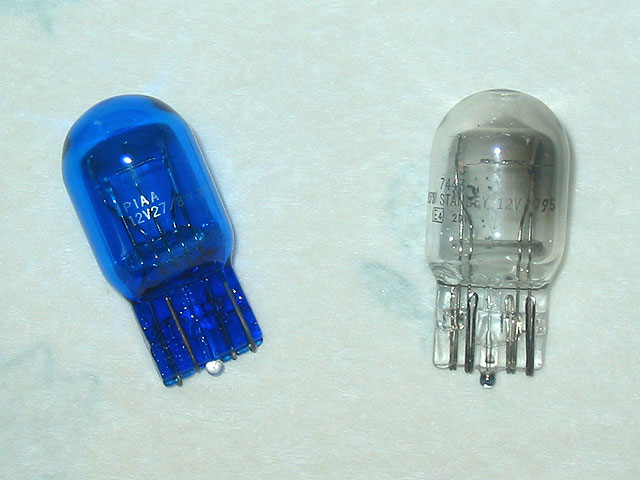
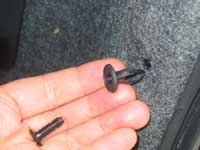
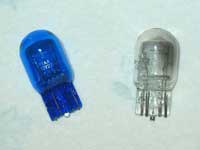
Here you can see the bulbs pulled out of the fixture. The left one
is the new one, the right one is the old one. You can tell that the
old one looks a little burnt. The new one is blue tinted, but that
is just to make the light a little whiter and it does not come out
blue at all. |
|
 |
|
Still using gloves or a towel, push the new bulb into the fixture.
Test the lights to make sure they are working. I found that my new
bulb was actually a tiny bit dimmer than my stock bulbs, but you can
barely tell.
If everything's working correctly, return the carpet to the original
position and replace all the connectors and you're done! |
|
|
|
| |
|
|
| |
|
|