| |
|
|
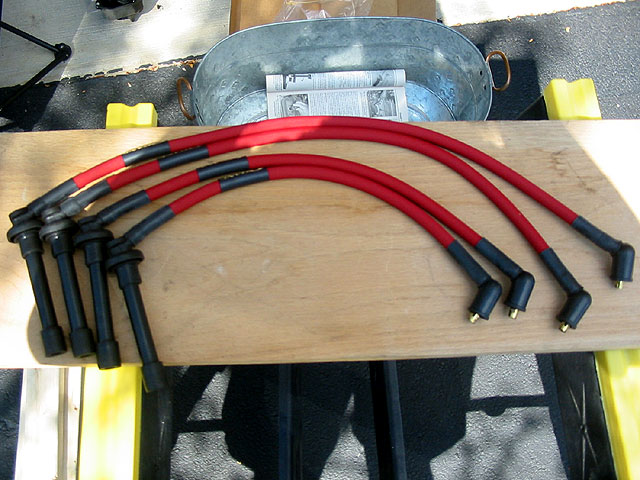
Spark plug wires supply the electricity for the spark
plugs from the distributor. See my Distributor
Cap and Rotor DIY for more about that.
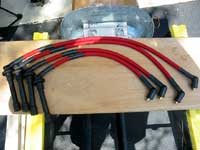
Having larger wires means less resistance and supposedly cleaner and
stronger sparks, thereby improving the combustion. Who knows if it
works, but it's definitely important to have functioning wires if
your old wires are damaged or worn. |
|
 |
|
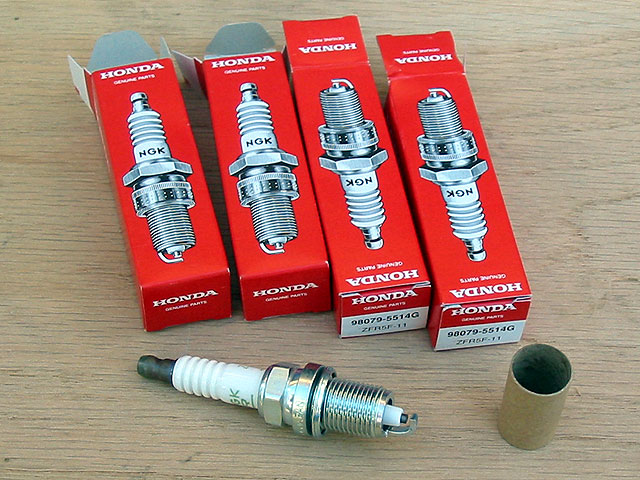
Spark plugs supply the electrical spark that allows
the combustion of gas and air inside an engine. A spark plug is basically
a pair of electrodes: a positive cathode and a negative anode. When
enough electricity is sent to the plug, it generates a spark that
jumps from the cathode to the anode (if I remember my high school
physics correctly).
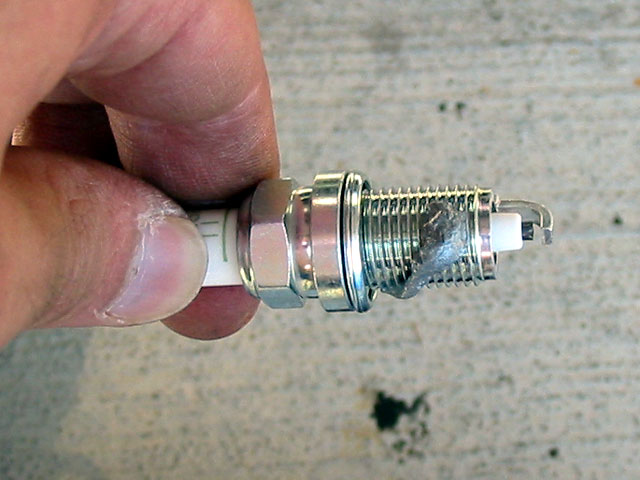
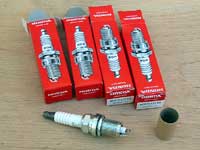
Here are the Honda recommended NGK spark plugs for my Accord. FYI,
the Honda plugs should come pre-gapped, although you should check
them anyway (see next step) |
|
 |
|
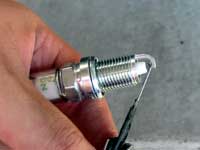
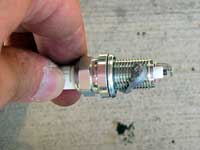
To generate the right spark, you need the right distance
between the electrodes. Too much space and no spark will be generated.
Too little space and the spark won't be sufficient for proper combustion,
so inspect and gap your new spark plugs.
First make sure that the ceramic insulator is not damaged. Then using
a wire gapper, make sure the electrodes are properly space. The appropriate
sized wire (.039-.043 inches for the 98-00 4-cyl) should just barely
fit between the two electrodes. If it is off, you will need to carefully
bend the tip with the gapping tool until it fits properly. |
|
 |
|
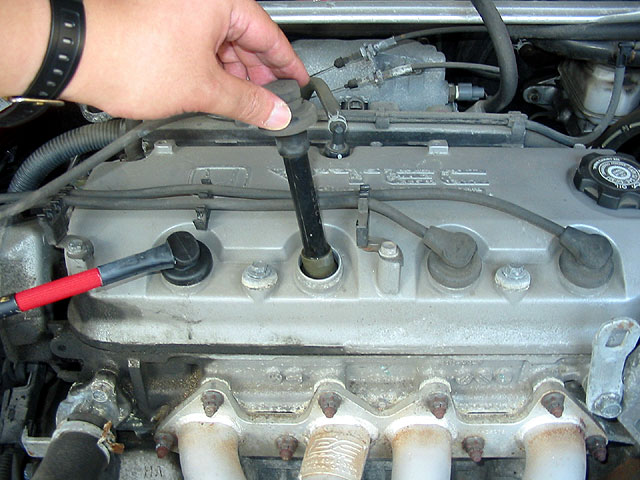
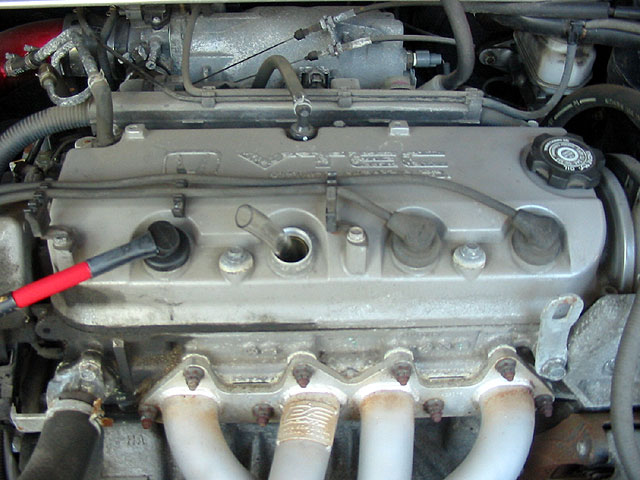
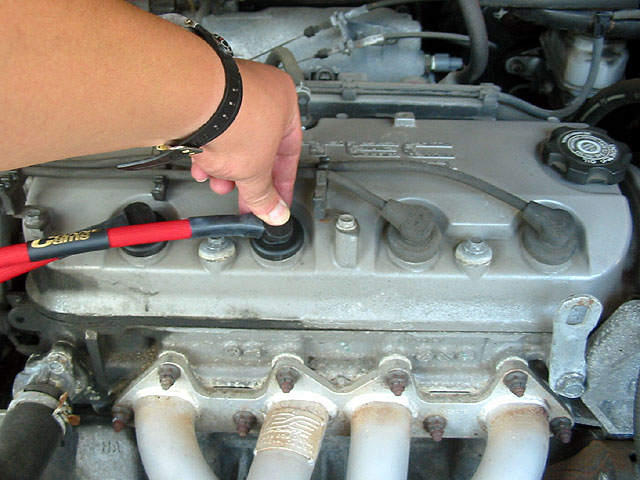
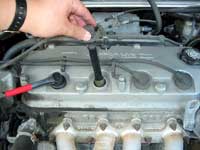
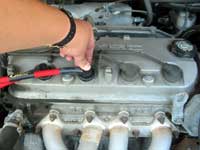
Now lets get started on the engine. Make sure the engine
is cool before you do any work.
Grab hold of the spark plug cover (not the wire) and pull it firmly
out of the engine. To prevent the mixing up of wires, work on one
spark plug and wire at a time. Leave the other end of the wire connected
to the distributor cap for now. |
|
 |
|
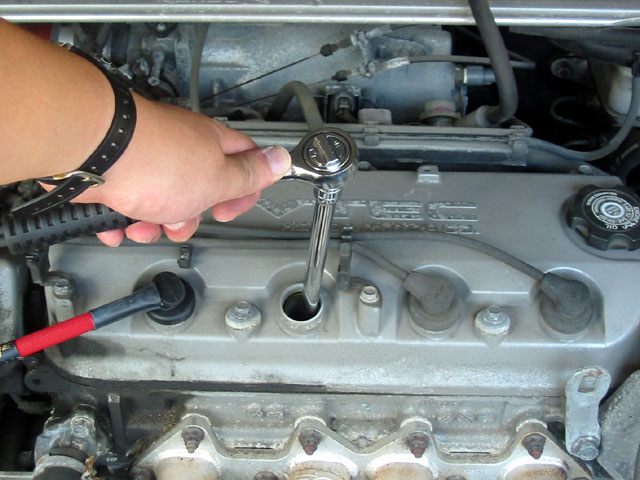
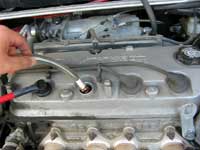
| Next, carefully remove the old spark plug using a deep
16mm socket and an extension (the spark plugs are about 6" deep
in the engine). You don't want to strip the threads or break the spark
plug. |
|
 |
|
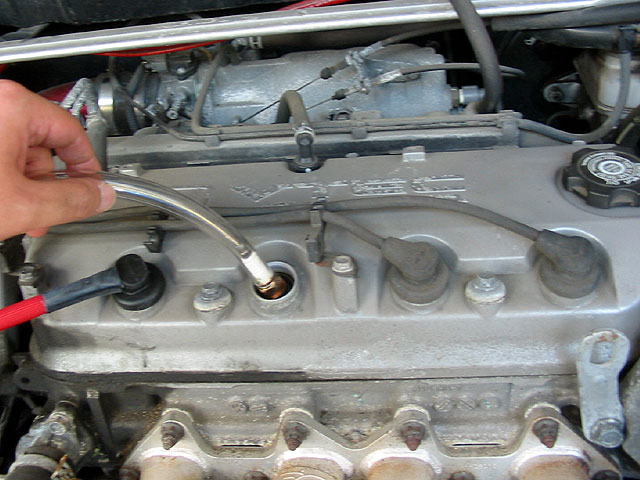
| Since the spark plug is so deep, once you've loosened
it all the way, it's still going to be hard to get out. A good trick
is to use a small piece of hose that will fit over the spark plug
and pull it out. |
|
 |
|
| Next, coat the threads of the new spark plug with anti-sieze
compound. |
|
 |
|
| Using the hose again, carefully lower the new spark
plug into the hole and tighten gently by hand. By using the hose to
do the tightening, it won't be able to turn the spark plug if it is
misthreaded so you won't strip anything. |
|
 |
|
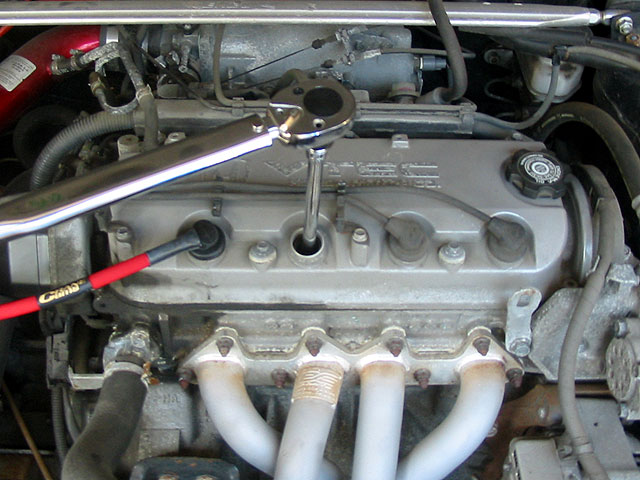
| When the hose can no longer grip the spark plug, switch
back to your socket and extension, being carefuly not to damage the
new spark plug. Tighten it to 136 in-lbs, (13 ft-lbs). Do not overtighten
it or you may strip or break the spark plug. |
|
 |
|
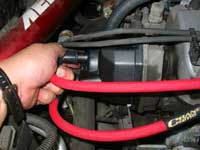
| Install the new spark plug wires by inserting it over
the spark plug and pushing it down firmly. |
|
 |
|
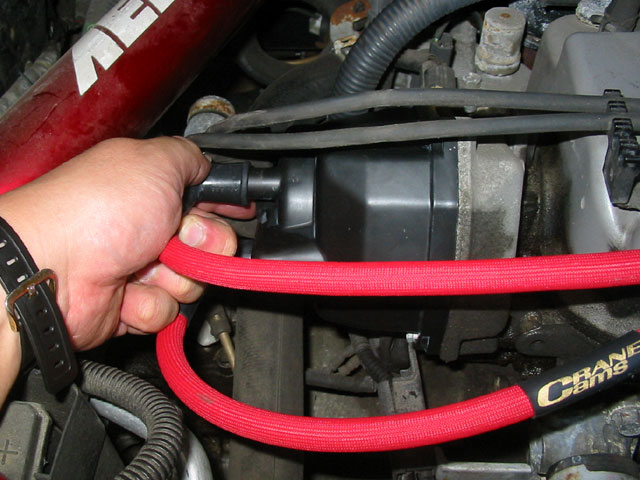
| Now you can remove the old wire from the distributor
cap and replace it with the end of the new wire. By doing this, you
don't have to worry about mixing up wires. |
|
 |
|
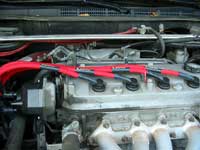
| Repeat for each spark plug until you're done. Since
the new wires are so much thicker than the old ones the existing plastic
holders won't work so I used a couple zip-ties to secure the wires. |
|
 |
|
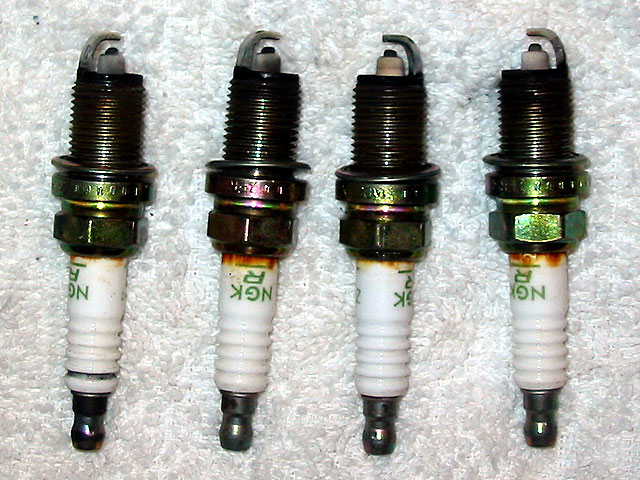
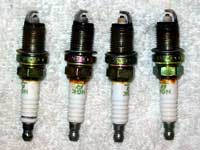
BTW, here are the old spark plugs. Notice some of them
are colored differently. I don't know how to read spark plugs though
so I don't know what that means.
This also proved to be a pretty easy maintenance item, assuming you
have the necessary tools (extension, torque wrench, tubing). Should
take 45-60 minutes. |
|
 |
|
| |
|
|