Welcome to filtsai.com! | Home | Contact | Register | Login
Christ | Cars | Woodworking | Condo | Nutrition | Wifetest | Pictures | Japan
Cooking: savory | sweet | techniques | uncategorized | all recipes
 Acura TL Type S Rear Sway Bar Installation

    click for a larger image
Now that the nuts and brackets are removed, the only thing left holding the bar up is the end bolts. All you have to do is push the stabilizer links to the side. You might have to wiggle the sway bar or compress it a little to separate it. Once you've separated one end, the bar should be easy to remove.  

Here's a comparison of the sway bars. The stock one is on top, the TL-S bar is on the bottom (with the red sticker). You can tell that the TL-S bar is a little thicker.  

Here's a close-up of the bars so you can see the difference in the thickness.  

Here's a close-up of the brackets. The TL-S bracket is on the left and you can see that it is larger to accomodate a larger bushing for a larger bar.  

Put the new bushings onto the bar in the appropriate places. Slip the new brackets over the bushings.

Now you can put the new bar back in the same way it came out. Run the bar into position and then move the stabilizer links so the bolts line up with the holes at the ends of the bar.
 

Then, attach the brackets to the chassis using the original bolts but don't tighten them all the way.  

Re-attach the nuts on the end bolts and tighten them all the way.

When you're done you can tighten the bracket bolts all the way and you're done!
 

Now here's the story of everything bad that happened. I stripped the left hex bolt a little, but managed to get the nut off anyway. But when I was almost done and was tightening the nut again, the bolt got stripped even more, to the point where I could not tighten 
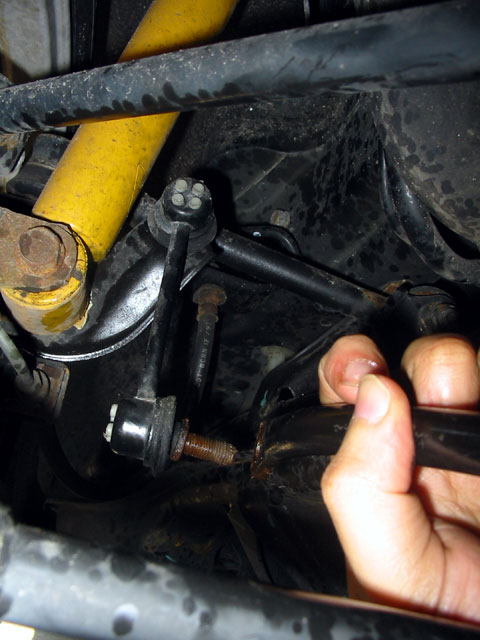
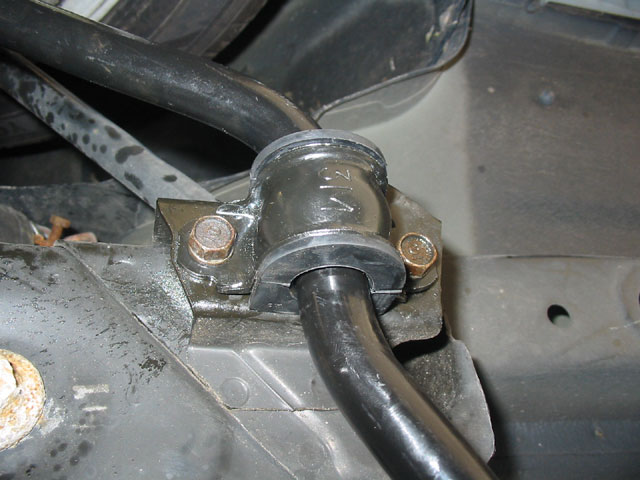
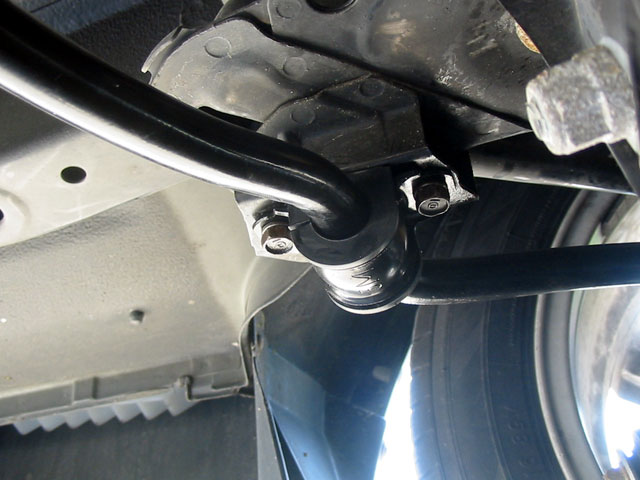
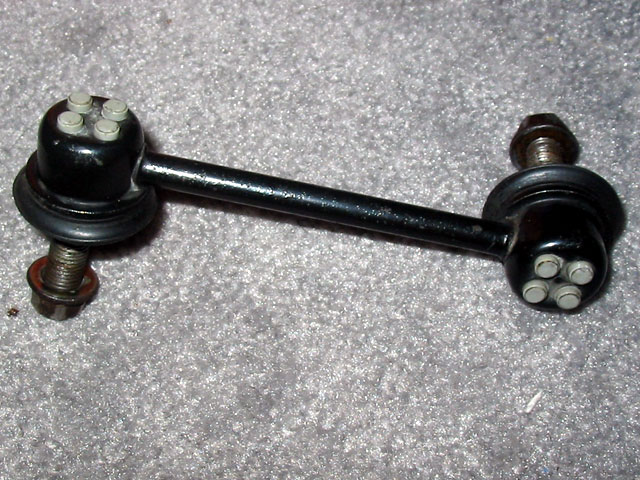
the nut at all. So, I had to get a new stabilizer link, which is the part that links the sway bar to the suspension (see right).

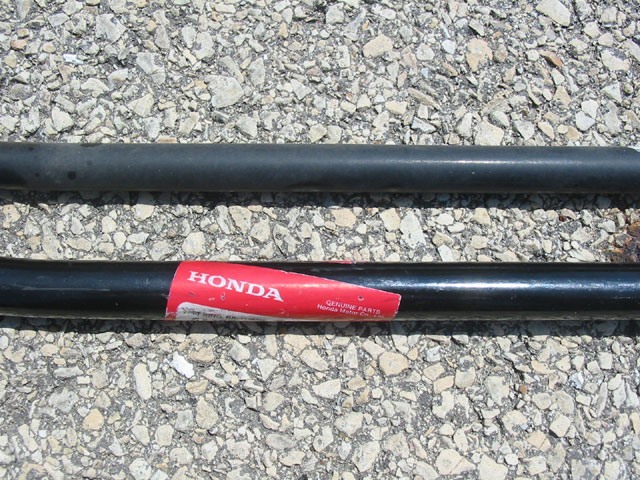
I drove to Carr's Honda (30 minutes of traffic each way) to pick up a new stabilizer link then proceeded to replace this part. Alas, 
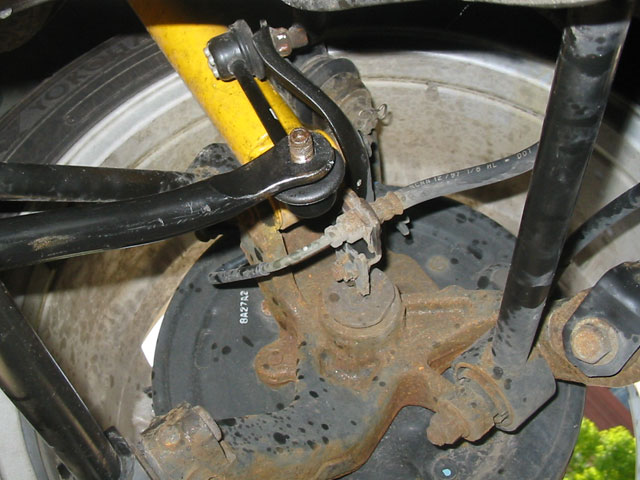
the old stabilizer link took another hour to get off b/c it was so rusted on the other end as well. I ended up stripping both bolts of the stabilizer link, but still managed to get it off with a vise grip.

I installed the new stabilizer link and that went fine except that all the nuts were stripped too. I put these on hand tight, which wasn't much at all. I drove to Home Depot, and my suspension was making lots of bad clunking noises. Finally I got new nuts and installed them pretty quickly and things are back to normal.

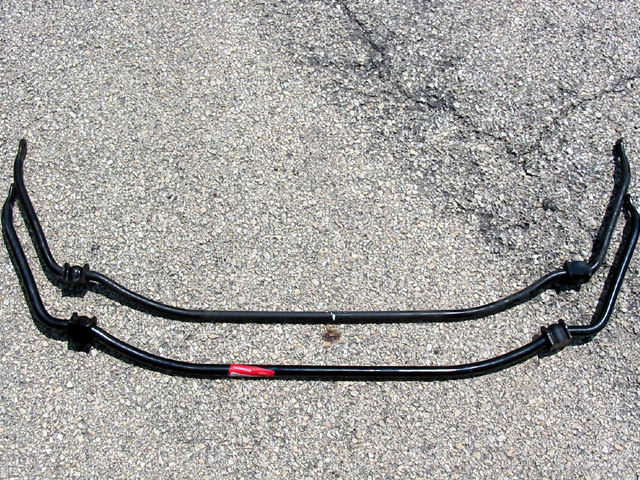
Anyway, now that it's all done, I like the sway bar a lot. It definitely helps reduce the understeer and makes the car handle much better on high speed turns. There isn't much understeer at all, assuming that the weather is good. However, in the rain and snow the understeer reappears.


Preparation | Installation


Copyright © 1999-2024 filtsai.com