| |
|
click for a larger image |
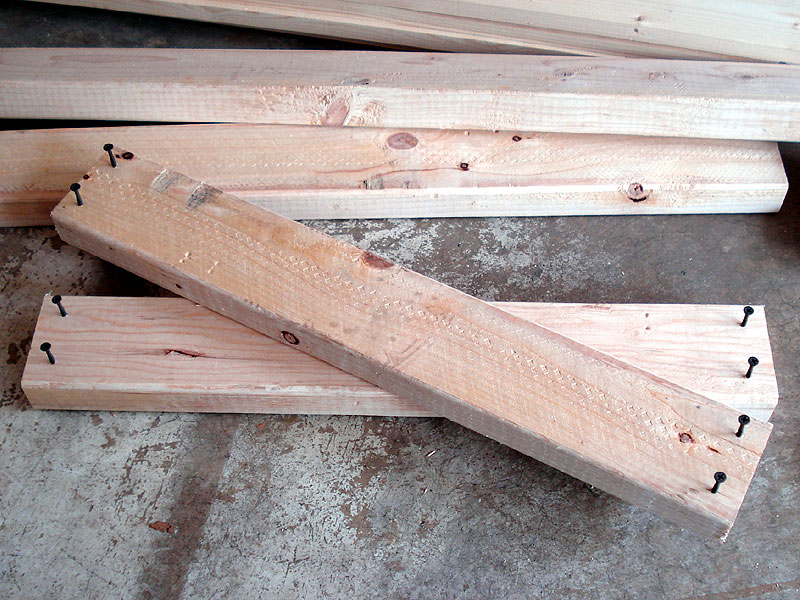
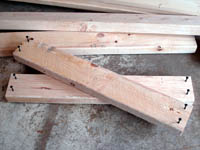
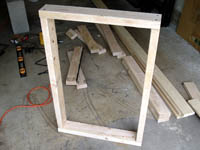
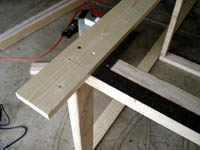
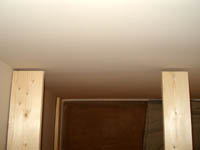
Here is the cut lumber. I had several 8-10 foot long pieces so this is the second time I had to use the roof rack on my Forester to get it home.
The framing will be built out of 2x4s. I use stud grade, but that is a pretty loose term so I look for premium stud grade and always eye every single piece for excessive warping (either twisted or bowed).
The runners on top and in back will be 1x4s. Skip the 1x4s in the building material section, the quality is significantly better in the furniture grade section. They still have pine or other soft woods so it's not much more expensive (you don't need hardwood for this). |
|
 |
|
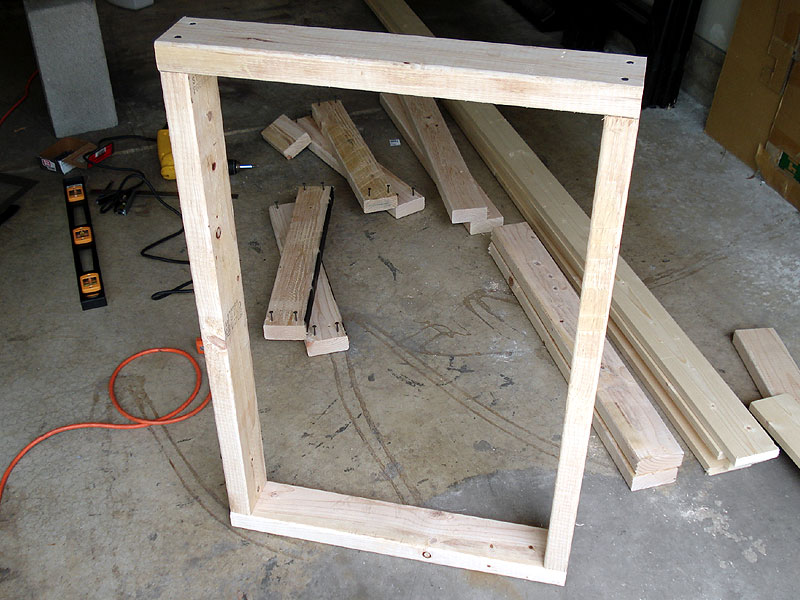
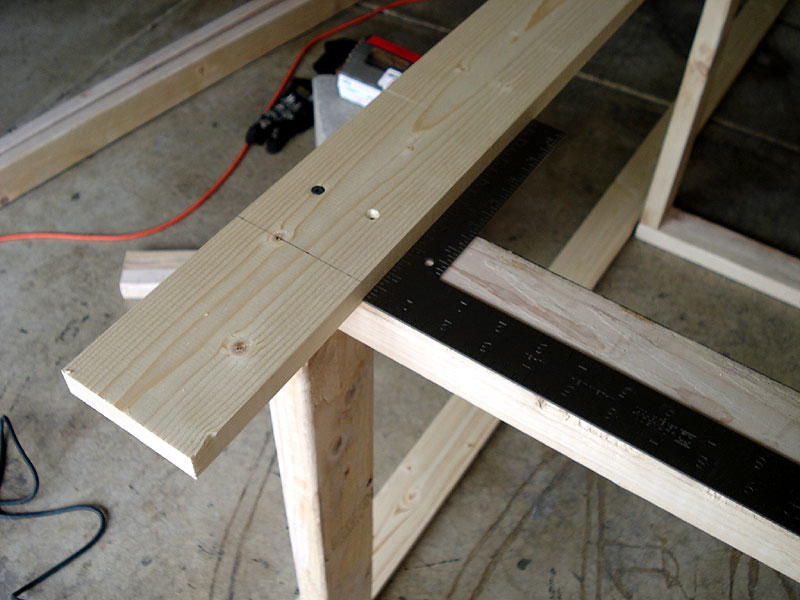
| After cutting all the wood to size, I drilled pilot holes with counter sinks, then started all the screws. You could use nails but screws hold better. |
|
 |
|
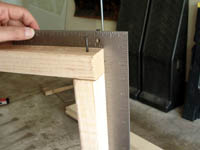
| Before driving the screws all the way, check that the joints are square. There will be some flex under everything is supported but the closer you are to square, the better. |
|
 |
|
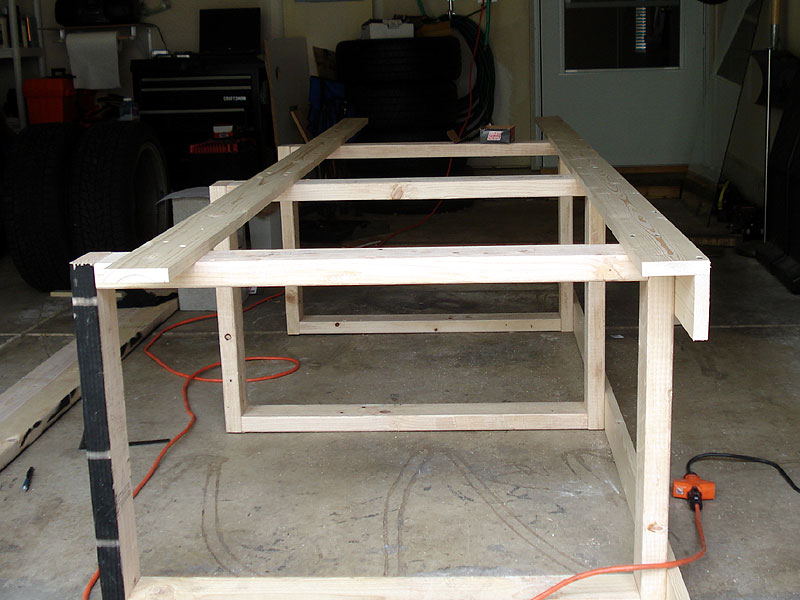
| Here is one completed frame. |
|
 |
|
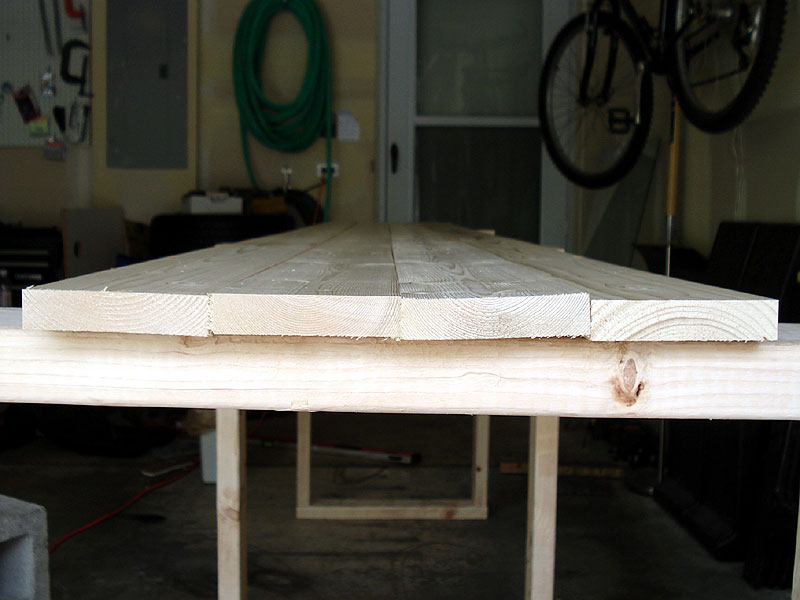
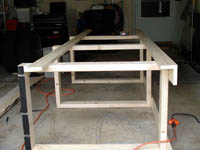
After completing all three frames, I lined them up to check that they are all square and level (if not, make note of any warping so you can address it).
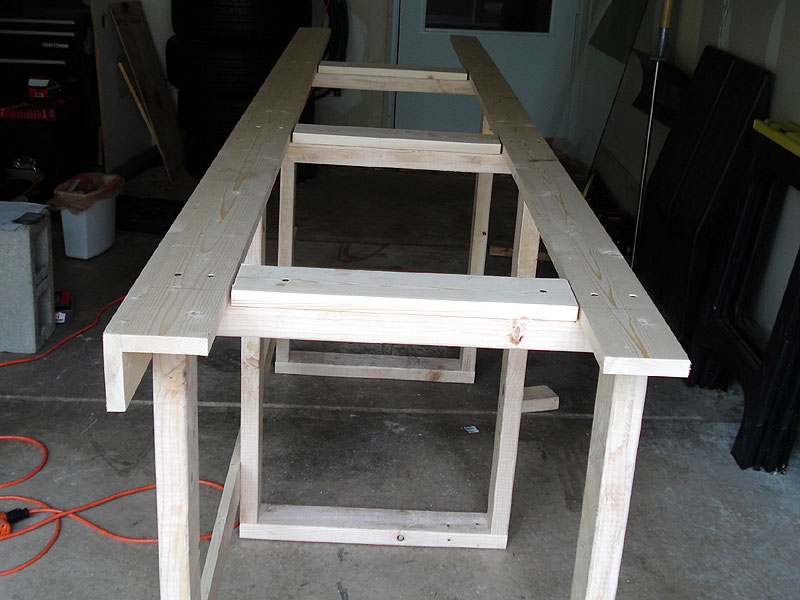
Here I have placed the four runners on top to see how level and straight everything is. Amazingly, just about everything was within 1/8" from everything else. |
|
 |
|
I also flattened out the runners to double check them.
Here you can see that the third runner is ever so slightly warped (but not bad for a 10' piece). That piece will go on the back so it doesn't affect the level of the counter and will be hidden from view, even though screwing it down securely will probably fix such a slight misalignment. |
|
 |
|
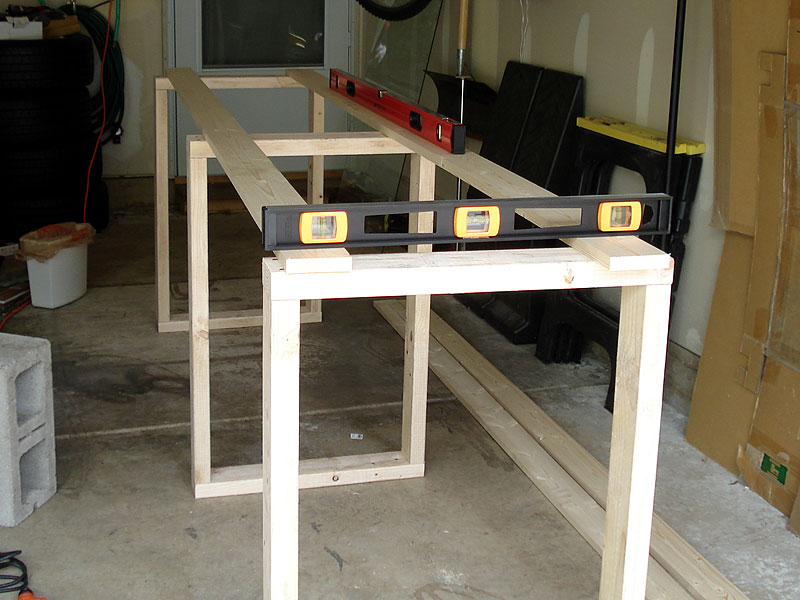
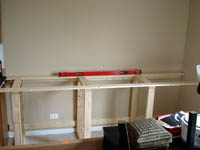
| Once I've chosen the runners that will go on top and laid them out, double check level again. |
|
 |
|
| Then double check that it's square and secure the runner to the frames. |
|
 |
|
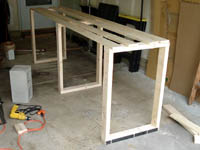
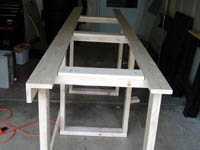
With the top runners completed, move on to the back runners. It'll be easy to lie the base on it's side.
Also, since I'm hanging dry wall, which needs to be secured every 8-12", I decided to add a third runner to the back in the middle to support the dry wall (will be seen later). |
|
 |
|
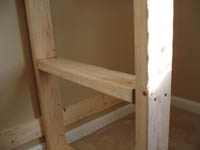
| Putting the base back upright, I decided to use some scrap to fill in the space above the frames and between the two runners, just to give the counter some extra support so it stays level and won't sag over time with weight on it. |
|
 |
|
| In addition to the third middle runner, I decided to add additional cross braces in the framing as well, again for additional stability and to support the dry wall. |
|
 |
|
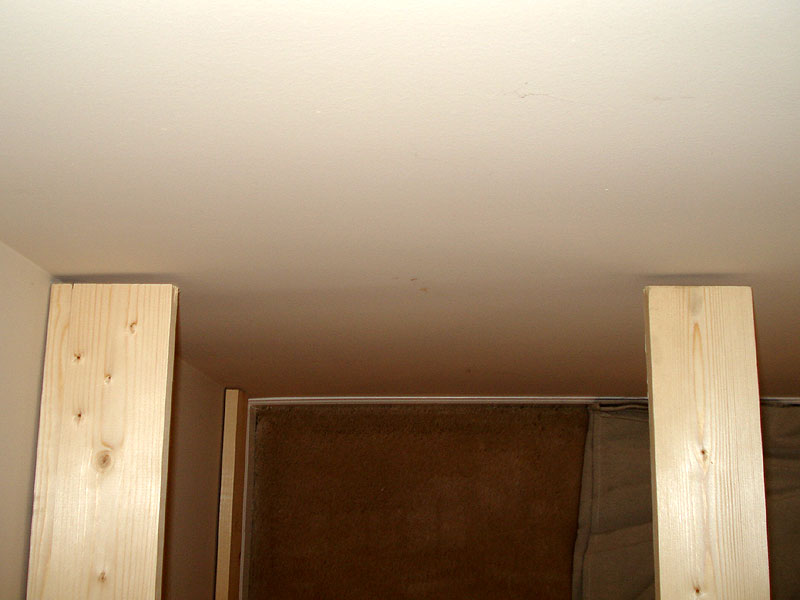
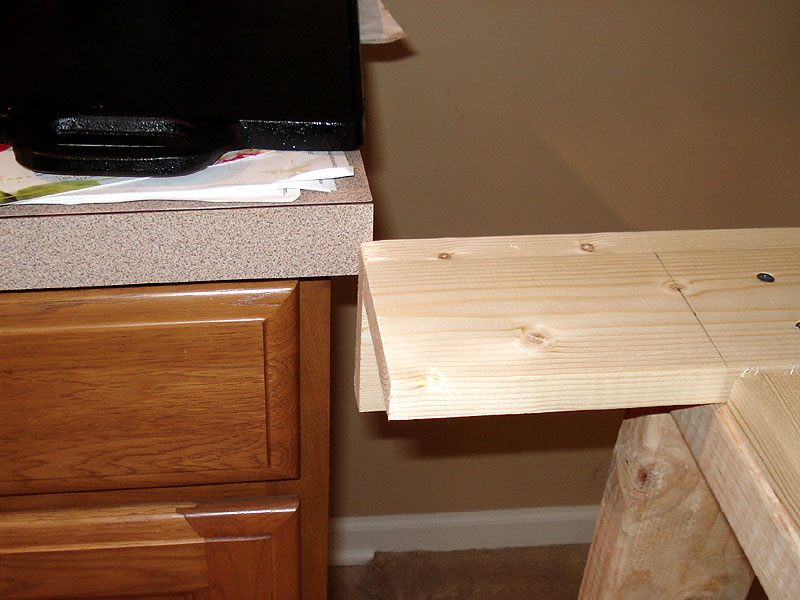
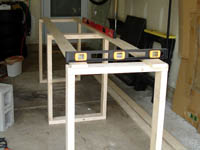
After all my attempts to make my base square (all 90° angles) and plumb (perfectly vertical) and level (perfectly horizontal) and all my careful measurements my base was as good as I wanted.
There was only one problem. My walls are not square or plumb! If you look at this picture you can see that the left and right runners have different gaps to the wall. But the big problem is the runner near the floor which is actually touching the wall preventing the top runners from getting any closer.
It doesn't look so bad on this side, but on the other side... |
|
 |
|
The whole base does not fit because of this problem!
On top of that, the cabinet on the left is not square with the wall so the space is actually narrower at this point than against the wall.
All this together worked to throw off my measurements by as much as 1/2", which means my counter top wouldn't quite fit either. |
|
 |
|
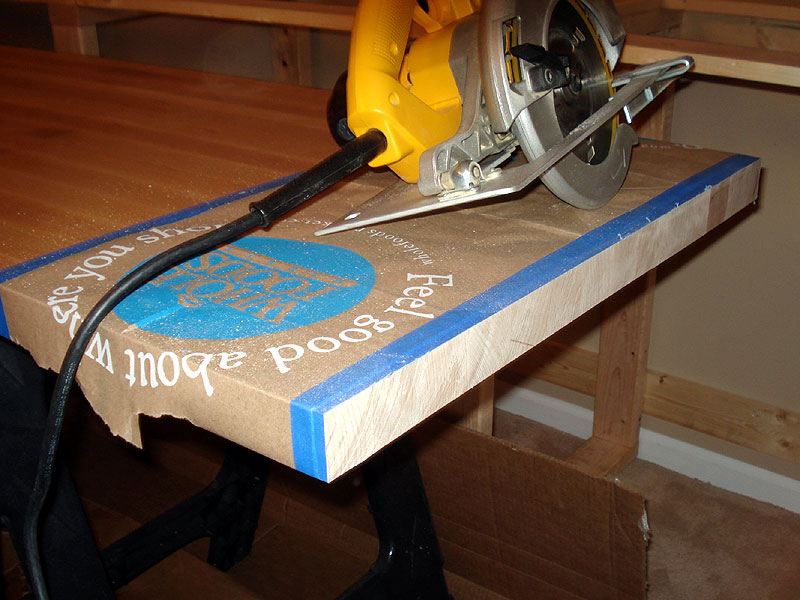
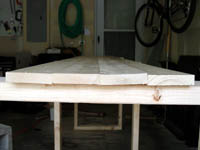
Cutting 1/2" off the ends of the base framing wasn't so hard, but the challenge was figuring out a way to cut 1/2" off of a 9 foot long, 200 pound slab of hardrock maple.
The simplest solution was to rip (cut a narrow piece) it off with my circular saw and rip fence (guide for ripping) but that also meant that I would have to re-sand and re-polyurethane the edge, delaying my progress for a full day.
I also had to do all of this in my dining room since moving such a big piece to the garage is a huge pain. I figured with good tarping I could handle most of the cleanup later. |
|
 |
|
Once I got all the cutting done, I could finally put the base frame into place and check for level/plumb and all that good stuff.
And what do you know, it all came out level and plumb! Amazing! |
|
 |
|