| |
|
Click an image to enlarge. |
To
install door speakers, please see the DIY here.
For my STi, I felt like I wanted to do the stereo right, but that
didn't last too long. But at least I wanted to do a better job than
the Accord, which uses a lot of electrical tape for electrical connections
and string to secure the amplifier.
Anyway, I didn't want to spend outrageous amounts of money, but then
again, the Subaru stereo option costs $1200 so certainly I should
be able to do better than that.
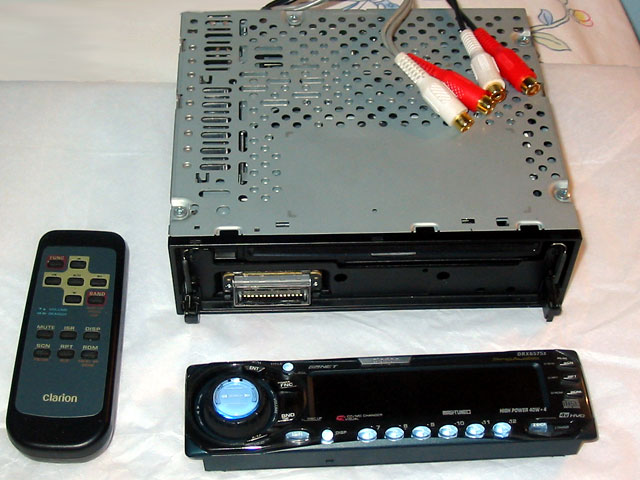
But I must admit that this stereo was kind of randomly pieced together.
Case in point, the head unit to the right was purchased from my apparent
favorite place to shop... a random stranger's trunk. It's a used Clarion
head unit with CD player and removable face plate. |
|
 |
|
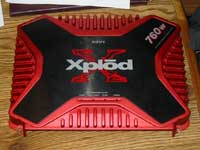
| This used Sony Xplod amp was also purchased
from the stranger's trunk mentioned above. This one will actually
go into the Accord since it only has 2 channels and the one in the
Accord will go into the STi since it has 4 channels in case I ever
need to power rear speakers or an absurd number of subs. |
|
 |
|
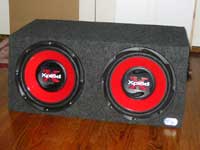
| Here's the pair of 12" subs that
I picked up last fall but never used. I also picked up an enclosure
at Best Buy and put in the subs. Now they're ready to go into the
STi. |
|
 |
|
The HU comes with it's own wiring harness
and does not plug directly into the Subaru harness, so I went to Best
Buy and picked up a Subaru wiring harness that will allow me to pair
up the correct wires from the head unit.
Unlike the Accord in which I just twisted all the wires together and
taped them, I decided to actually solder these together for a cleaner,
more secure connection.
As a side note, my HU only supports either speaker outs or RCA outs,
it does not support both at the same time. Therefore, I did not connect
the speaker wires between the two harnesses. Instead, after the RCA
cables run to the amp in the trunk, I ran another set of speaker wires
back from the amp to the Best Buy harness to power the door speakers.
|
|
 |
|
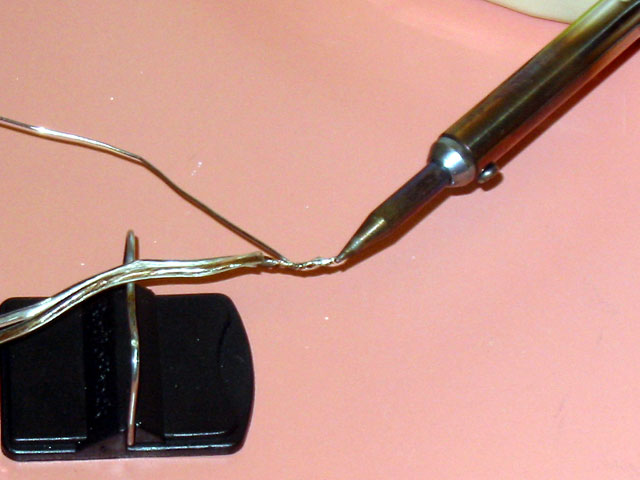
Soldering is easier than I thought. The
main problem I had in the past is that I failed to properly clean
the wires, so the solder would just bead up and fall off the wires.
Here's what I did to get good solder joints:
1. After you strip your wires, clean them! You can use steel wool
or an emery board, but I just used the scouring pad on a new sponge
and it worked fine. I put the stripped wire onto a piece of cardboard
and ran the scouring pad over it a few times.
2. Tin the soldering iron. Especially if it's a new iron, while it's
heating up hold the solder to it so that it covers the tip of the
iron. This will help heat conduct better (note that it must also be
cleaned before tinning).
3. Hold the soldering iron to the wire until it gets warm. Touch the
solder to the wire and it should melt and flow easily into the wire.
I did do something that is not generally recommended and that is touch
the solder to the iron. It helped it to melt initially and then the
heat conducts better and melts better through the rest of the wire.
|
|
 |
|
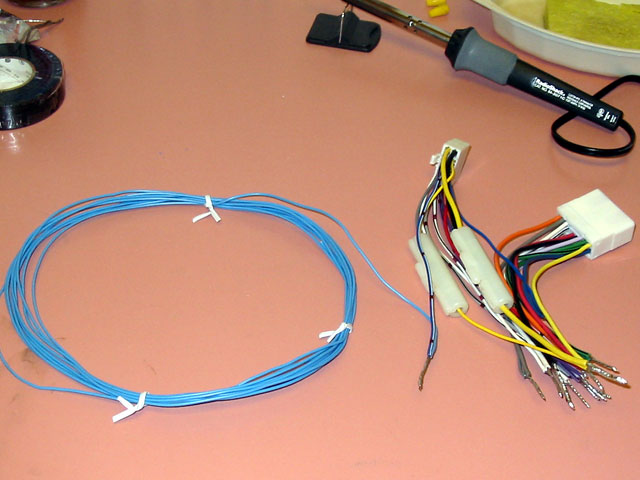
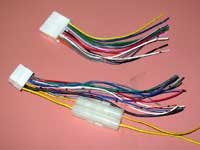
Line up all the correct wires based on
color. Both harnesses had the same color codes, but you should double
check them. The Best Buy harness has each wire marked with it's meaning
(i.e. "front left speaker (+)" or "accessory power
"). Keep in mind that I ended up not connecting the speaker wires
since I had to run speaker wires from the amp in the trunk back to
the Best Buy Harness. The HU harness came with sheet explaining each
wire. Some special wires you may have: orange illumination, blue antenna
power, brown car phone, blue/white amplifier turn on lead.
I had the orange, blue and blue/white wires (no car phone). The orange
and blue ones matched the Subaru wiring. The blue/white amplifier
turn-on lead runs from the HU to the amplifier. Many stereo power
wiring kits will come with an extra blue 18AWG amplifier turn-on lead
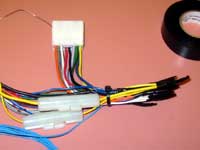
just for this purpose. Solder this in as well. You can see mine on
the right, along with all the other soldered connections. |
|
 |
|
| When you're done with the connections,
wrap them with electrical tape so they don't cause a short circuit
or anything. For safety and to make sure nothing comes loose, I also
bundle all the wires together with a zip tie or more tape. I also
checked to make sure the two parts of the harnesses could move independently
so that I have more flexibility when shoving all those wires into
the car. |
|
 |
|
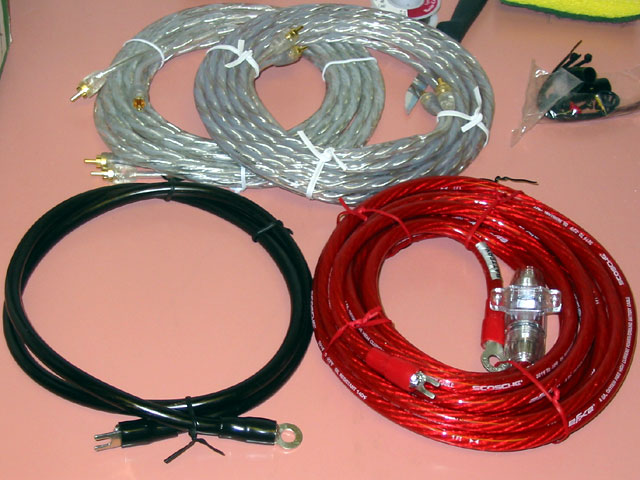
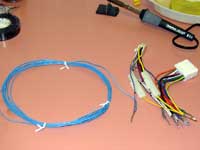
I also put on the connectors for the power
wire kit and soldered those as well. The ground wire is on the left
(black) and the power wire is on the right (red). The two in the back
are pre-made RCA Audio cables from the power wiring kit. Those will
connect to the RCA out cables on the HU and run to the RCA (high-level)
inputs on the Amp.
Not shown are the speaker wires that I used to run from the amp back
to the front to connect to the front speakers. |
|
 |
|
| Preparation
| Routing Power Cables | Installing
and Wiring the Head Unit |
|
|
| |
|
|