| |
|
Click an image to enlarge. |
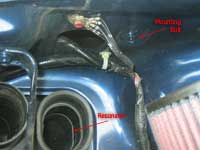
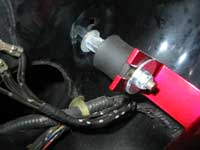
| Look in the pit where the stock filter
box used to be. You'll see a single screw in the body of the car (not
holding anything). Remove this screw. |
|
 |
|
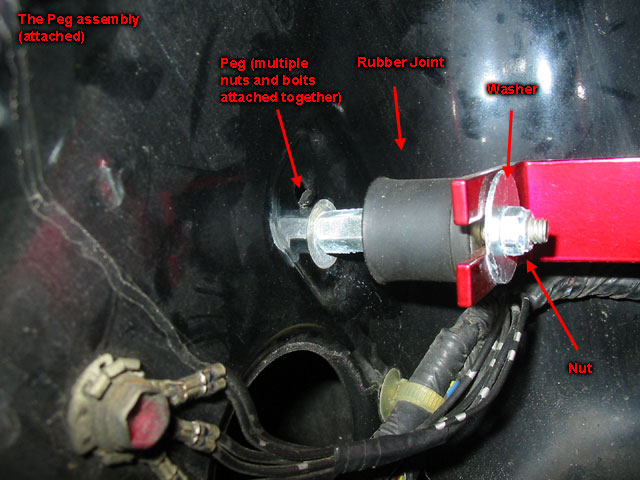
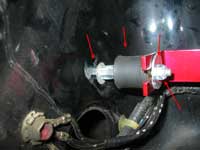
| In the hole where you just removed the
bolt, attach the rubber mounting peg assembly. Remove the washer and
nut off the bolt and save them for later. |
|
 |
|
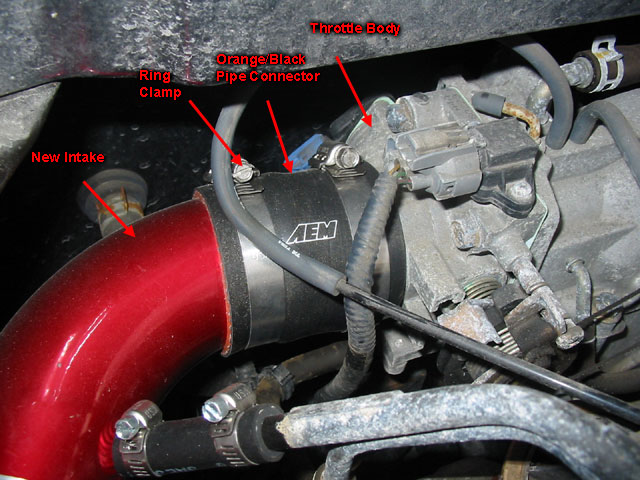
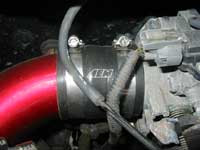
| Put one of the large ring clamps on the
right end of the pipe (the end with the small breather hose pipe sticking
out). Then attach the orange/black pipe connector to the pipe. Push
the connector on at least an inch, then move the ring clamp over the
rubber connector and tighten it just enough so that it stays in place.
Don't tighten it all the way. Place the second large ring clamp onto
the orange/black connector. |
|
 |
|
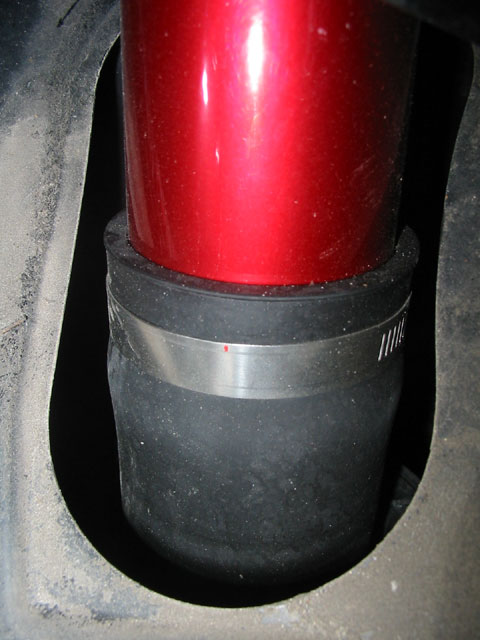
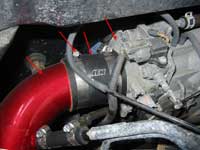
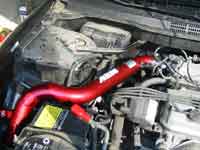
Take the left end of the intake pipe
(the one without the orange/black connector) and stick it into the
hole that connected the stock filter box to the resonator (about 2-3")
then wiggle the rest of the pipe until the orange/black connector
lines up with the throttle body. While doing this, line up the bracket
on the intake pipe with the peg bolt so that you'll be able to replace
the washer and nut. Push the intake pipe and orange/black connector
over the throttle body and push it in about an inch.
|
|
 |
|
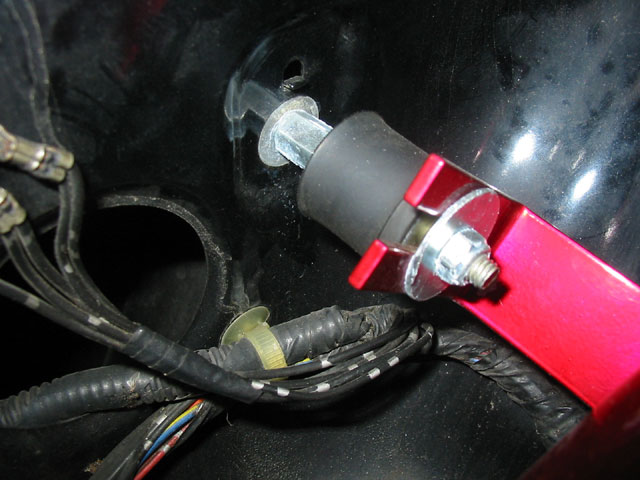
| Put the washer and nut back on the peg
and tighten partially. This nut is tough to tighten b/c you don't
have much space and the rubber on the peg will twist as you tighten.
I used an adjustable crescent wrench to do it while holding the rubber
connector so it wouldn't twist as much. |
|
 |
|
| Get your K&N filter and the last ring
clamp. Put the ring clamp on the rubber tube holding the filter. |
|
 |
|
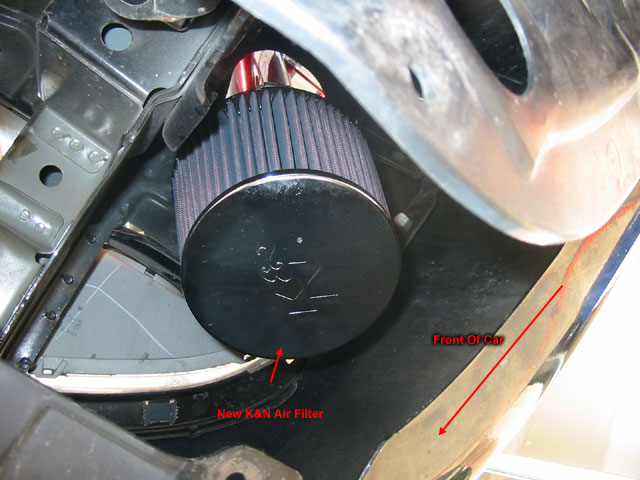
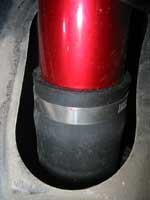
| Lay down to access the space behind the
bumper where the resonator was. Fit the rubber tube and filter over
the end of the intake pipe sticking into the space. Adjust the clamp
and tighten it just enough to hold the filter in place. |
|
 |
|
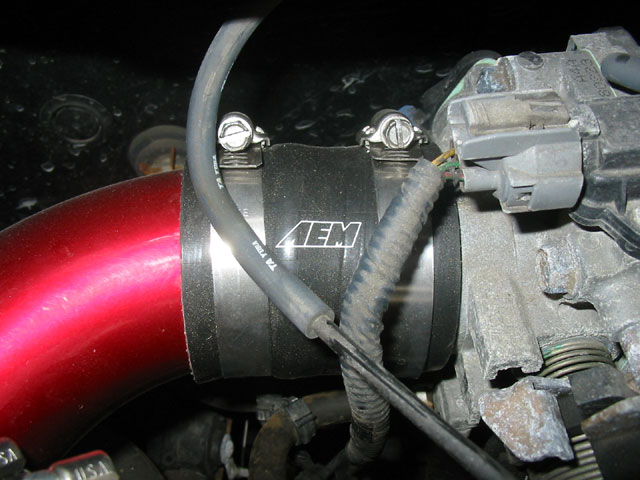
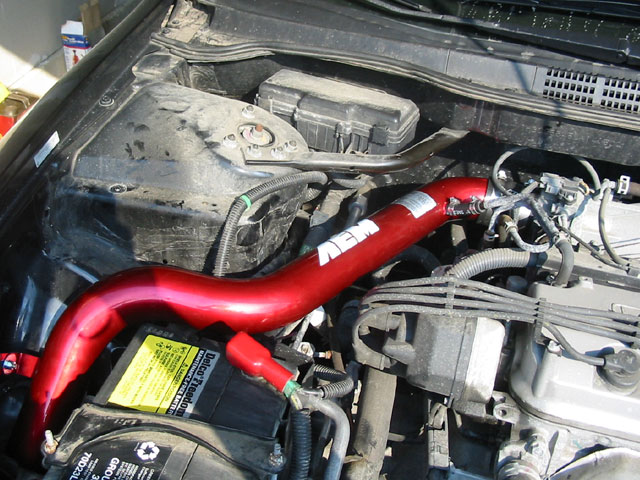
| If you are satisfied with your installation,
then tighten all the ring clamps (2 on the throttle body connector
and one on the filter) and then tighten the bolt holding the intake
to the chassis. The intake should not move much when you are complete.
|
|
 |
|
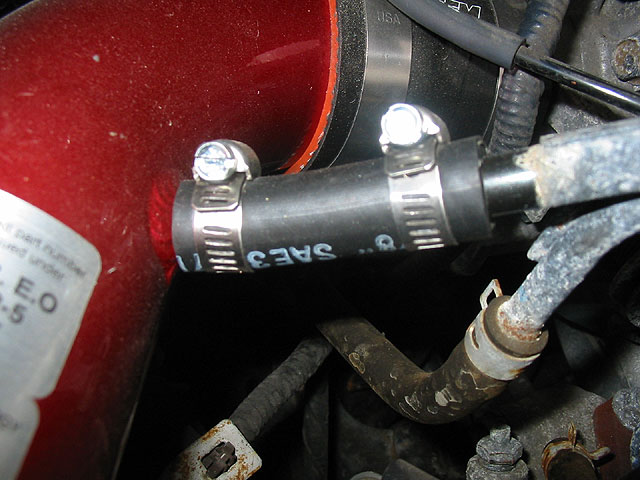
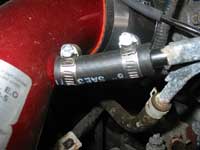
Re-attach the breather hose to the intake
pipe. Put the two small ring clamps on the included small rubber hose
(the un-cut one). Connect the metal breather hose to the little tube
sticking out of the intake pipe and tighten the ring clamps.
|
|
 |
|
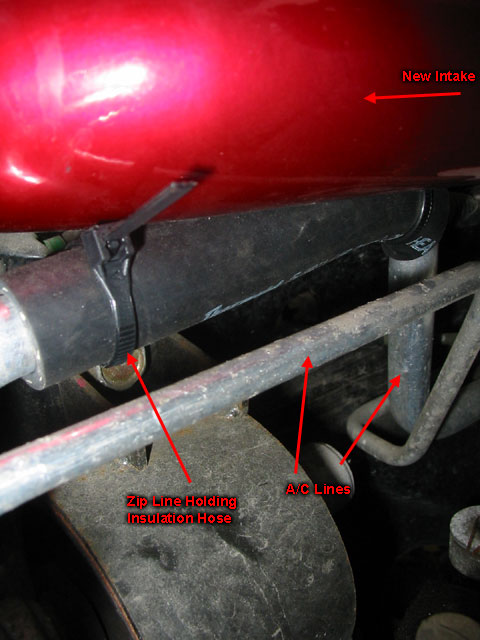
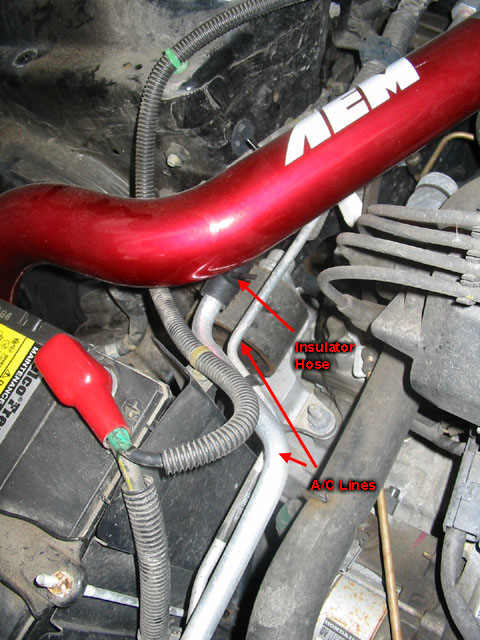
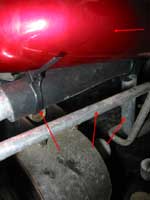
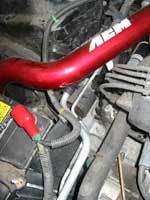
The last thing to do is use the last small
rubber hose (the cut one) and wrap it around the aluminum air conditioning
line that runs just under the intake. It will probably be touching
the intake pipe but it shouldn't be. If you can, bend the aluminum
line a little so that it no longer touches, or bend the bracket attaching
the line to the front of the engine compartment.
|
|
 |
|
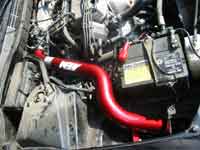
I couldn't do either of these, but you
should be ok just slipping the cut rubber hose over the line so that
the A/C line and the intake aren't touching directly. Tighten the
hose with the provided zip lines.
This picture shows a farther view so you can better see where this
point is. |
|
 |
|
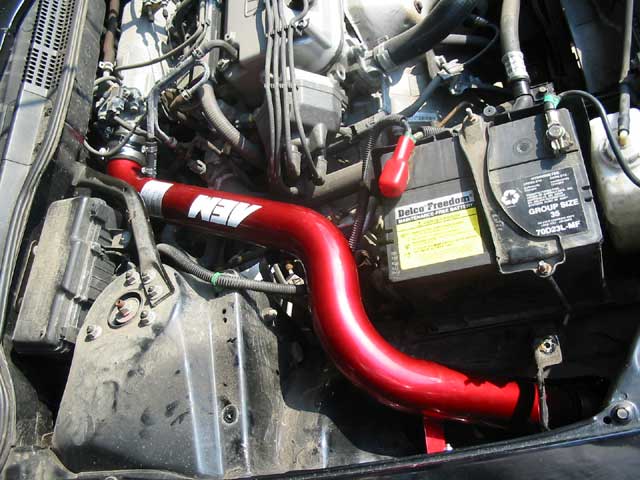
| You're done! Fire up your engine and check
for leaks. You should hear more sound of rushing air and a little
hum. If you rev the engine quickly in neutral you'll hear the air
rushing in but you won't hear much difference in the sound of your
car until you put a load on your engine by actually driving around
and pushing your car over 3000 or 4000 rpms.. |
|
 |
|
| introduction
| preparation | installation
|
|
|
| |
|
|