Welcome to filtsai.com! | Home | Contact | Register | Login
Christ | Cars | Woodworking | Condo | Nutrition | Wifetest | Pictures | Japan
Cooking: savory | sweet | techniques | uncategorized | all recipes
 Mudflaps - Rear

    Click an image to enlarge.

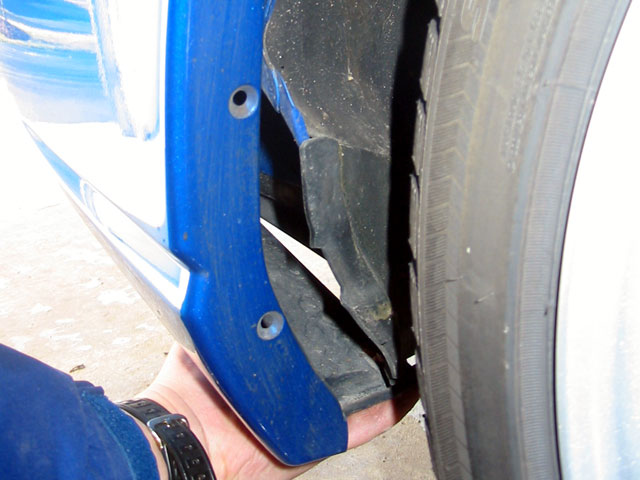
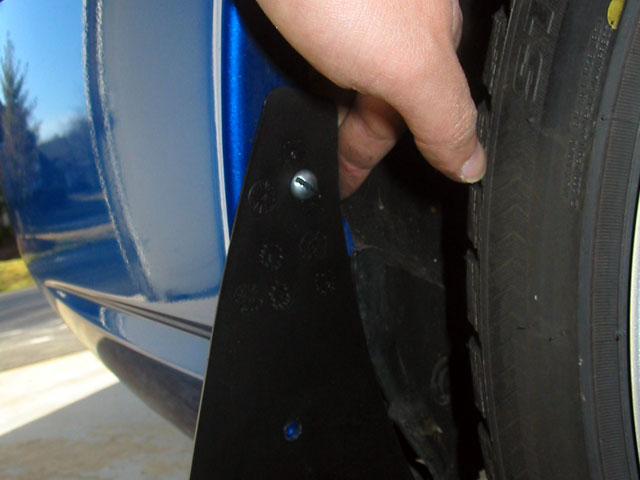
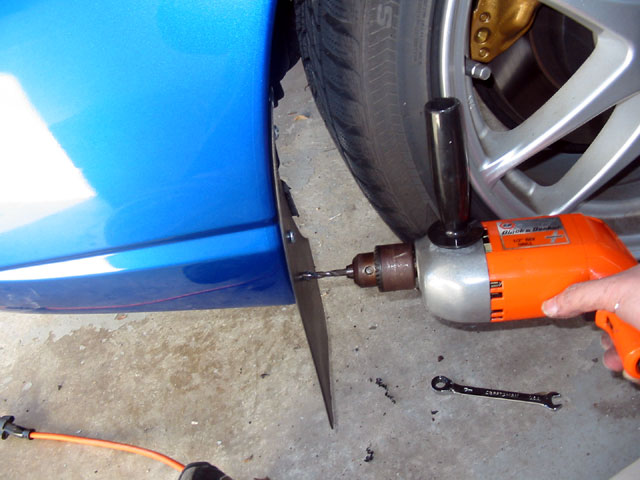
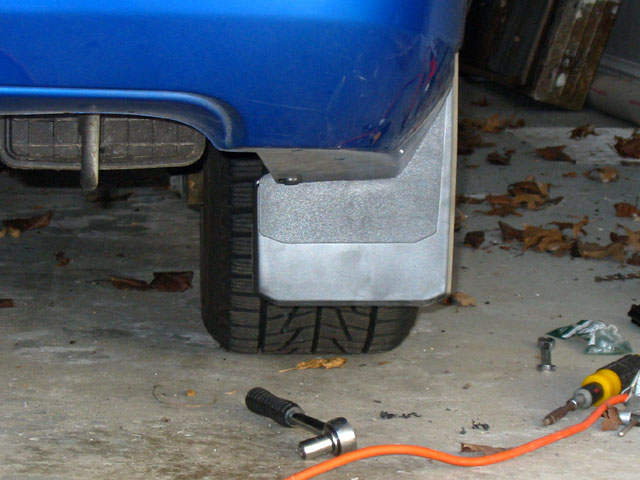
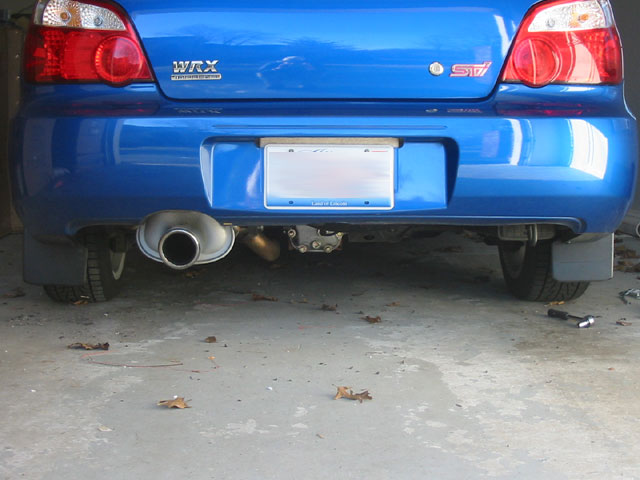
Just like the front, you're going to want to create a paper template and drill the holes in the flaps. For the rear, there are only two holes pre-drilled so just drill these into the flaps. Later we will drill a third hole. Luckily we will only need to drill the plastic bumper so no need to worry about damaging the body or rust problems in the future. There's not as much in the rear bumper to hold anchors, but that also makes it easier to use nuts and bolts, so I think 
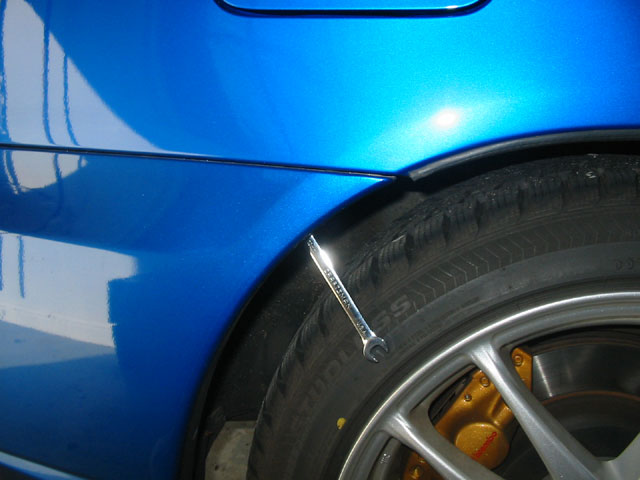
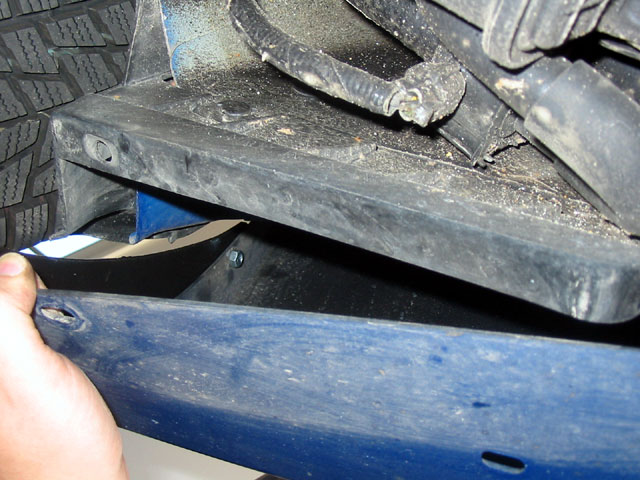
that's the best way. To make it simpler, we'll loosen each side of the rear bumper.

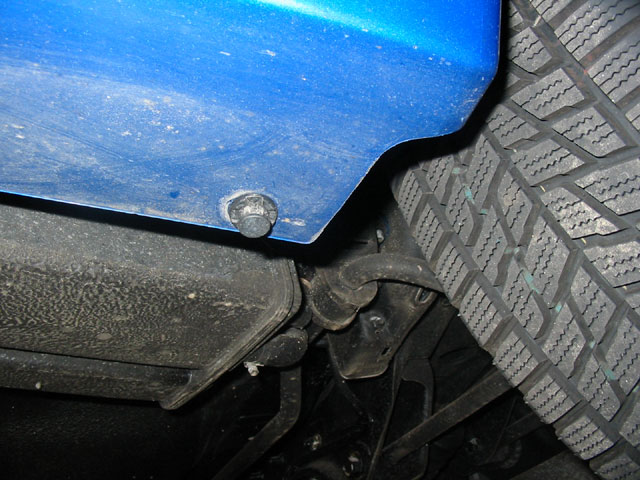
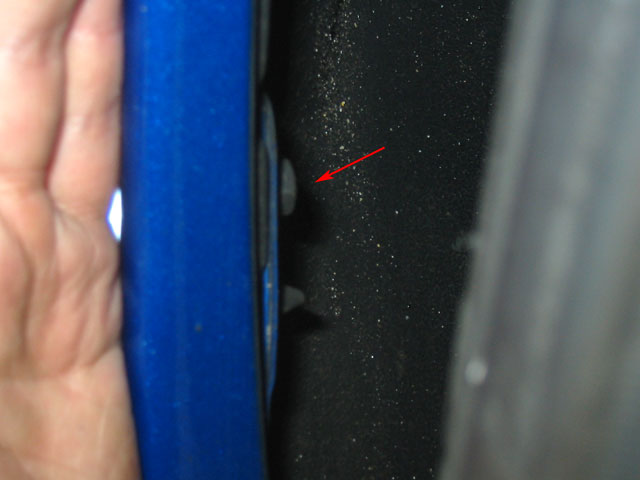
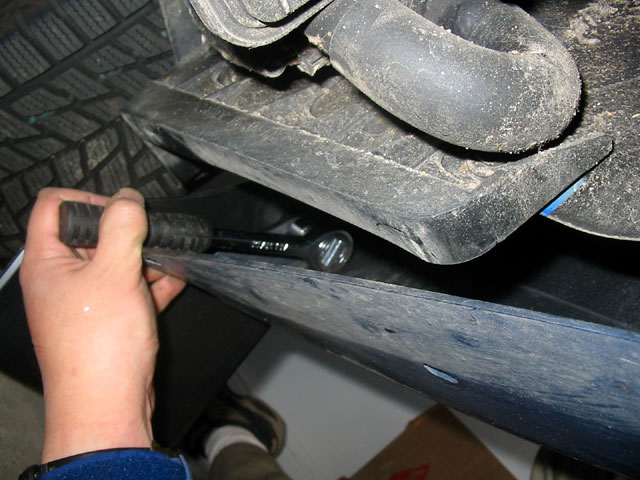
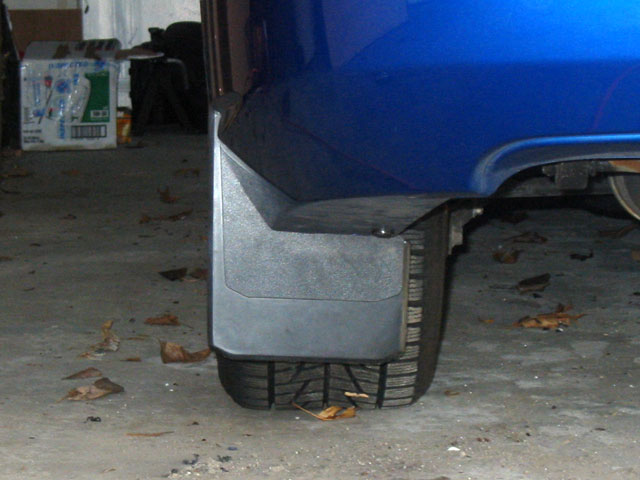
Take out the bottom peg from under the bumper. Use a standard screw driver to pry out the center peg and then you can pull the whole thing out. One thing you'll notice is that your bumper seems to collect quite a bit of dirt!


This step is optional but will make things much easier. Remove the screw holding in the top of the bumper. The easiest way is to use a ratcheting wrench. See the next pic to see where the screw is from the outside.   

The top screw for the bumper is located about an inch underneath the top of the bumper.   

Now that the peg and screw are removed, you can pull the bumper outwards which will make it easier to drill a hole and to install the nuts and bolts.   

Now, get a mud flap and two bolts. I used 1/4" x 3/4" bolts. Put two of the bolts into the two holes. Most likely you will only be able to get one nut onto the bolt (the top one) from this angle but you should do that one so that the mud flap doesn't fall off. The other one you will need to access from underneath/behind the bumper.   

Get down on the ground and when you pull the bumper outward, you will be able to look inside the bumper and you will see the bolts you put in. You should be able to fit your hand in and attach the second nut.


Now, return to the side of the car and pull out the bumper. Drill a third hole at the bottom of the bumper. Install the third bolt into the hole, then return to the back of the car to attach the third nut.   

To tighten all three bolts properly, get a socket wrench and put it inside the bumper to hold the nuts. Then use a screw driver to tighten the bolts.

That's it so put the bumper back together and you're repeat the whole thing for the other side.

Make sure not to leave your socket in the bumper! The socket came off the wrench when I pulled it out and I didn't notice until I had put everything back together, only to realize I had left it inside and had to loosen the bumper again to get it out.
  

Here's a pic of the right rear mud flap.

The first thing you'll notice is that the flaps are narrower than the tires! You probably won't notice it just glancing at it, but if you look, it's a bit funny.
  

Here's a pic of the left rear mud flap.   

From the front.   

From the rear again.   

Both flaps from the rear.

The other thing you'll notice is that the flap hangs a bit low. The thing I was most worried about proved to be true. I made my rear mudflaps hang too low, so on big bumps (such as the one coming off my driveway) they may scrape the ground. I did try a speed bump and that was fine, so the only scrape I've had so far is coming off my own driveway.
  

front flaps | rear flaps    
     

Copyright © 1999-2024 filtsai.com