| |
|
Click an image to enlarge. |
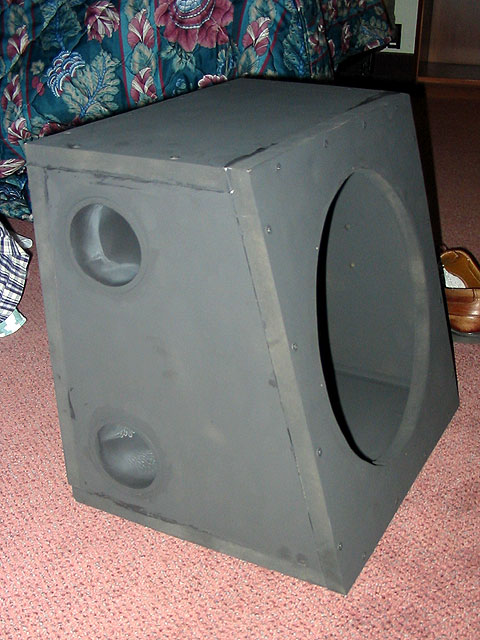
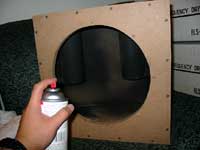
| I decided I wanted to just paint the
inside and outside black and forget upholstery. This required 4 10oz.
cans of matte black aerosol enamel paint (2 per enclosure for 2 coats).
Luckily each can only cost 96 cents for generic paint at Lowe's. |
|
 |
|
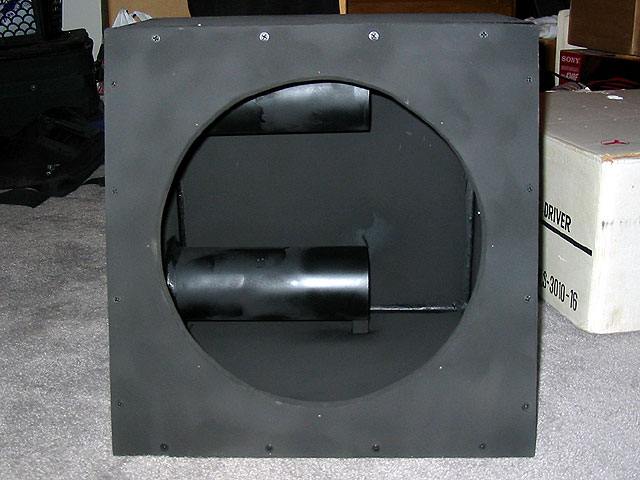
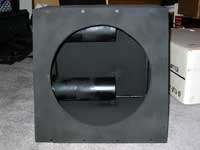
| The tricky part is to make sure you've
covered every surface. I had to spray at some funny angles to get
the backside of the front panel and ends of the pipes. You want to
make sure you get all of the interior as the paint will help seal
up the wood which is not 100% airtight. |
|
 |
|
| Then I moved to the exterior and painted
all of that. You'll notice that you can still see some of the wood
under the paint. This is why you'll need a second coat. |
|
 |
|
| After finishing the first first coat,
I put on a second coat. You can see that the paint is a little blacker
now and that you can't really see any wood anymore. Now let it dry.
The MDF seems to be pretty absorbant so you can probably handle the
enclosure (carefully!) after just 30 minutes but it will take a few
hours to fully dry. |
|
 |
|
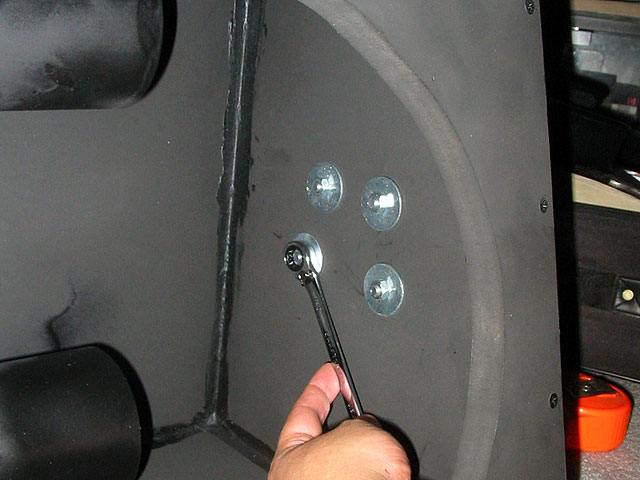
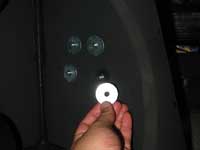
| With the paint mostly dry, you can begin
to install the handles. Simply hold the handle up to the holes you
drilled before and run the bolts through (from the outside). On the
inside, hang your washers (mine were 1" diameter x 1/4"
hole) on the ends. |
|
 |
|
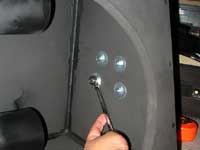
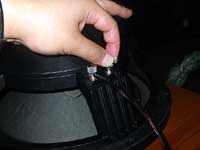
| Next put on the nuts with your fingers.
Then tighten the nuts with a wrench |
|
 |
|
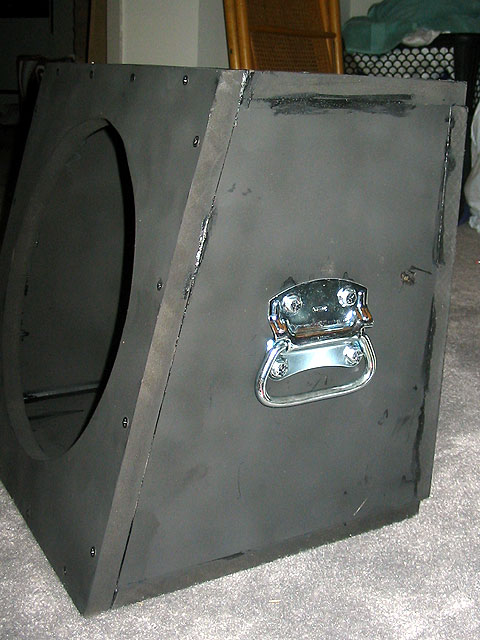
| Now you're done! I chose a pretty beefy
handle since the enclosure and sub will be pretty heavy. |
|
 |
|
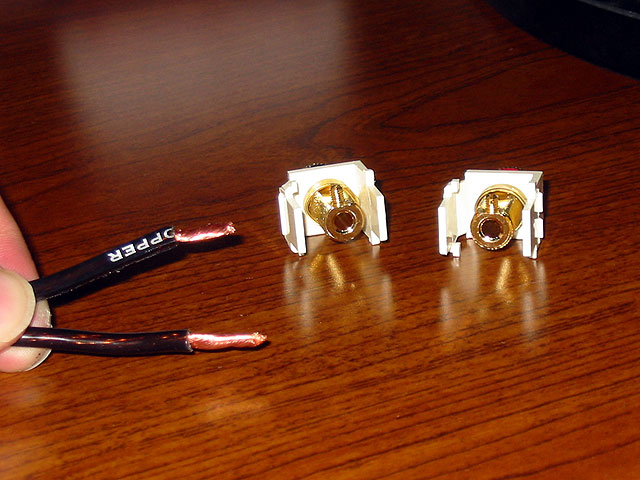
| For the wiring, I picked up some 12awg
(gauge) speaker wire. I cut two 1 foot pieces that will be used to
connect the subs with terminals on the enclosure. Then I stripped
3/8" of the wire. Speaker wire, if not color coded, usually has
markings on one wire to indicate that it is negative. In this case,
the negative wire is square shaped and printed with the the size of
the wire. |
|
 |
|
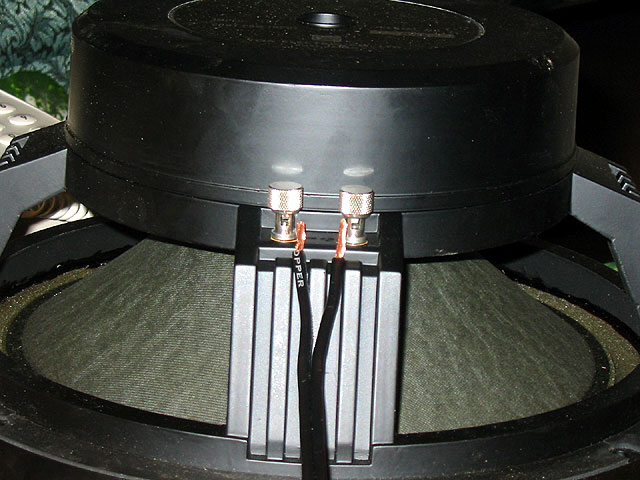
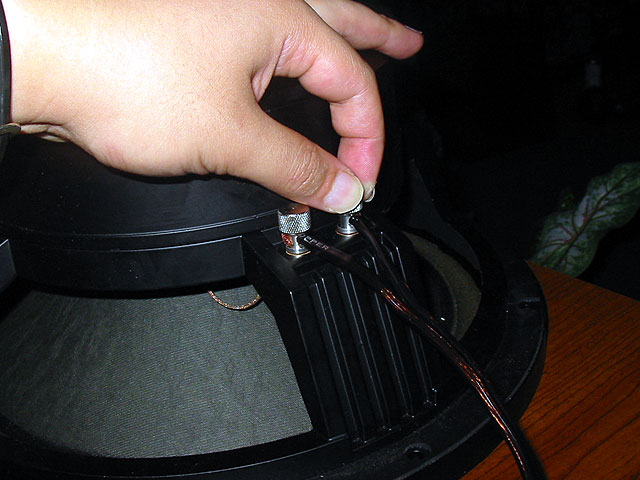
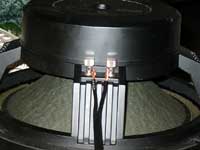
| I then twisted the ends of the wire and
fed it through the terminals on the sub. Make sure you note which
terminal is negative (-) and which is positive (+). On these subs,
the terminals could only accept 12awg wires with a little finessing
as the hole was barely big enough. Once through, I tightened down
the terminals |
|
 |
|
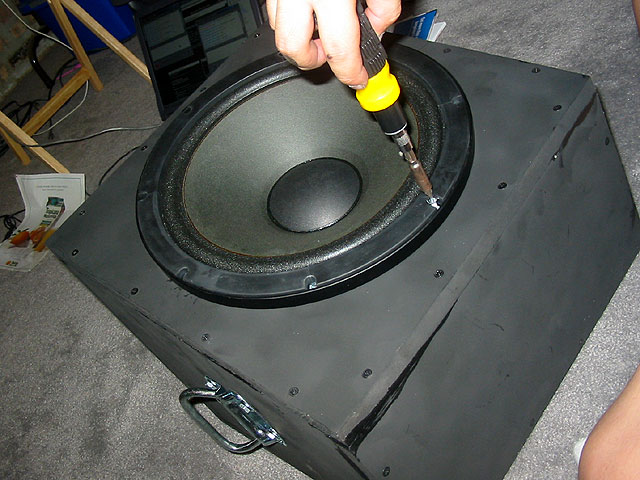
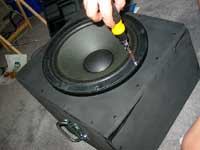
Place the sub in front of the enclosure
and feed the speaker wire from the sub into the cnclosure and out
the back hole you drilled for the wires. Since the wire is a foot
long, it should be enough to just barely poke out of the hole.
Now install the subwoofer and screw it down. I used 1" long wood
screws. You should tighten by hand so you don't strip the holes. |
|
 |
|
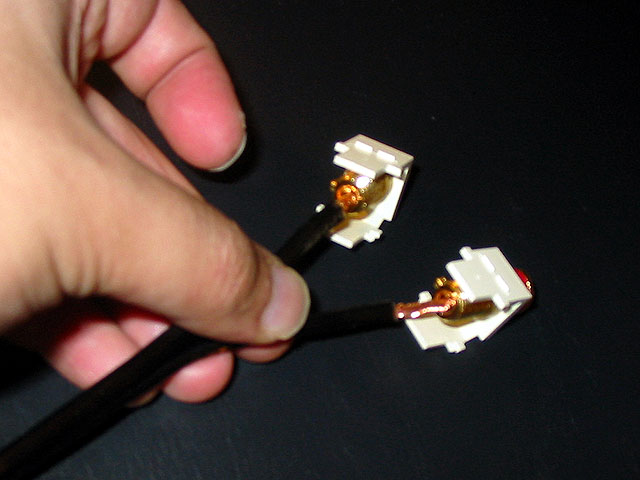
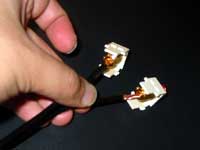
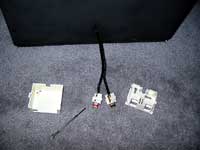
| For the end of the wires sticking out,
strip 3/8" of the wire. Get some terminals and install the wires.
I chose gold-plated home speaker wiring terminals that fit in the
same type of boxes you see for telephone lines (see later pictures). |
|
 |
|
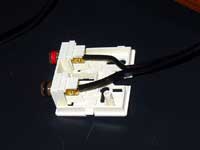
| For these terminals, there is a screw
on one side that needs to be loosened. Then feed the stripped wire
into it and tighten down the screw until the wire is secure. Make
sure that you note the negative (black) and positive (red) terminals
and attach them to the appropriate wires. |
|
 |
|
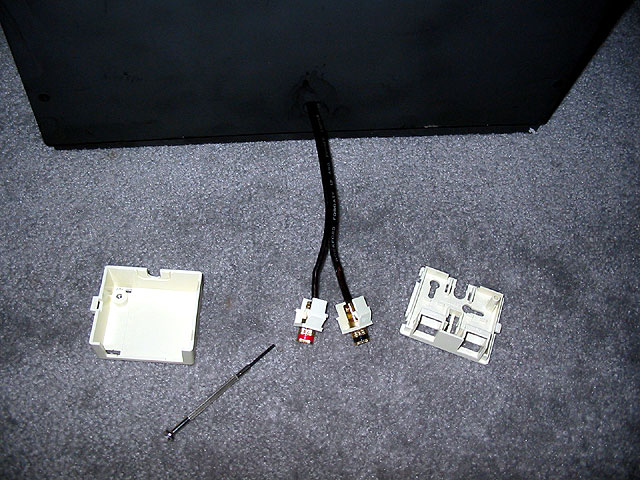
| Here's what it should look like with the
terminals sticking out of your enclosure. To secure the terminals
I chose to use the type of boxes you see for phone lines. It has two
holes on one side which the speaker terminals fit into. |
|
 |
|
| Here I've installed the terminals into
the box. Make sure you've got the terminals lined up properly otherwise
they won't fit right. When you're done, pop the cover onto the box. |
|
 |
|
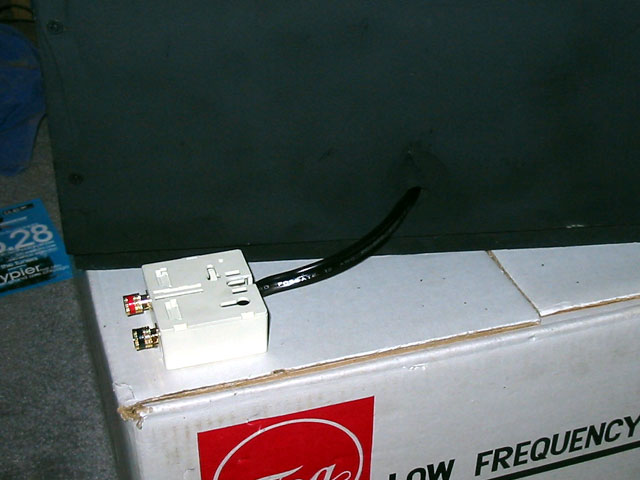
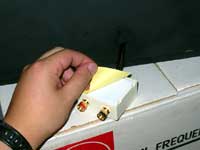
| Here's what it looks like with the terminals
installed in the box. |
|
 |
|
| Since I've already drilled so many holes
into my enclosure, I decided to just use the double-sided tape that
the terminal box came with to fasten it to the enclosure. Hopefully
it will last for a while, otherwise I'll need to screw it into place. |
|
 |
|
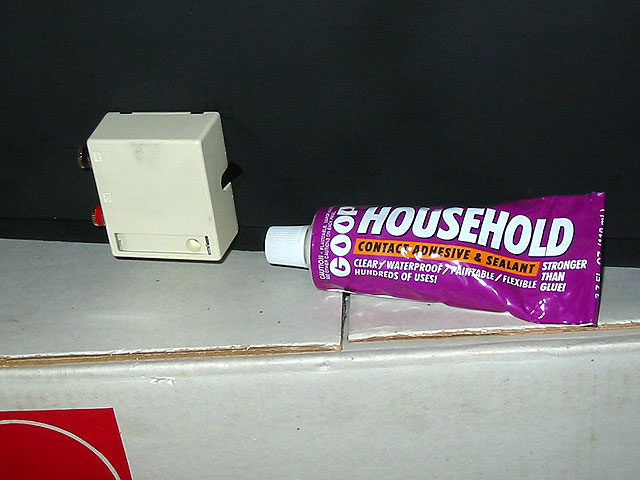
| With the terminal box secured right next
to the hole, the only thing left to do is seal up the hole with some
caulk or silicon. Your enclosure is done! |
|
 |
|
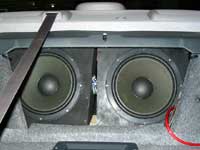
| Now install them into the rear of the
car and hook them up to your amplifier
and you're done! Here's what they look like installed! |
|
 |
|
| Construction 1
| Construction 2 | Construction
3 |
|
|
| |
|
|