| |
|
Click an image to enlarge. |
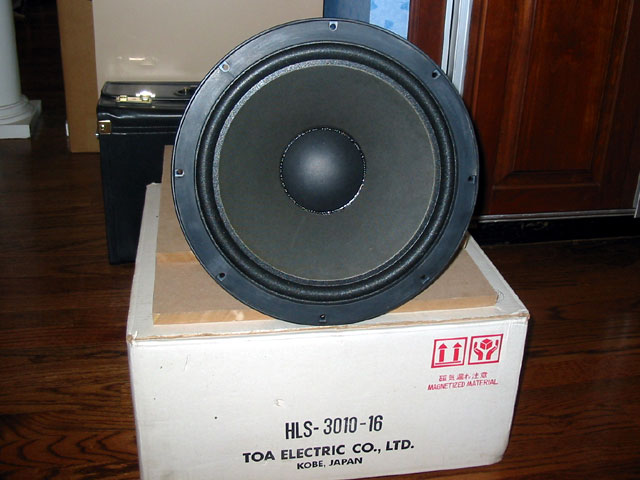
| I picked up a pair of 300 watt, 12"
subwoofers from someone's trunk. Here's is a picture of one. I've
been thinking about getting subwoofers for a while and this deal for
$50 was just what I needed. |
|
 |
|
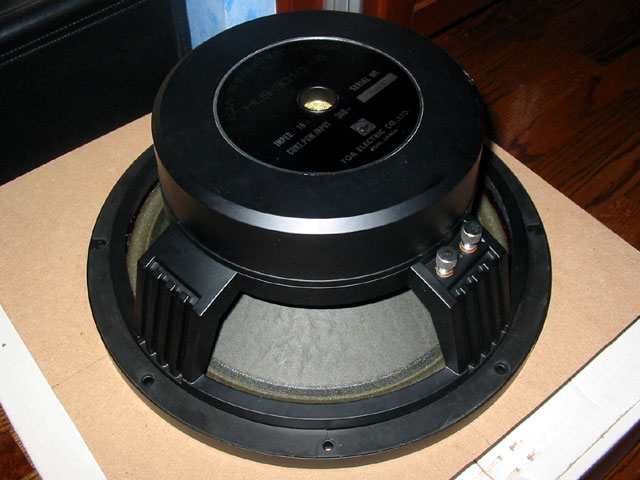
| It seems to be a pretty hefty subwoofer
so hopefully it's a good one. After looking on-line at the type of
enclosures, I decided I wanted a ported/vented box. Ported boxes are
more expensive, starting around $100 so I decided to design and construct
my own. |
|
 |
|
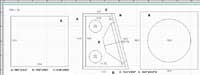
| After calculating the volume of the enclosure
I would need, I designed this enclosure. I chose to not make it a
cube but to make it angled since symmetrical shapes are more likely
to have problems with resonance frequencies. Here are the blue prints
for the enclosure I designed. These blue prints are NOT perfect so
please verify all measurements if you plan to use these as a base. |
|
 |
|
| After determining the sizes of the wood
boards I would need, I put this diagram together to figure out the
best way to cut the wood and to make sure I purchased the correct
size of wood. Because of this, I found out that I could fit all the
pieces with plenty of extra wood to spare. The 4'x8'x3/4" panel
of Medium Density Fiberboard (MDF) cost me $20. |
|
 |
|
| Here are the tools I used. On the bottom
row, a tape measure, Liquid Nails (a strong wood adhesive) and a portable
square and ruler. On the top row, my current collection of DeWalt
power tools: a heavy duty jig saw for cutting the circular holes in
the wood, a power drill for creating holes and driving screws, and
a heavy duty circular saw for cutting the boards. |
|
 |
|
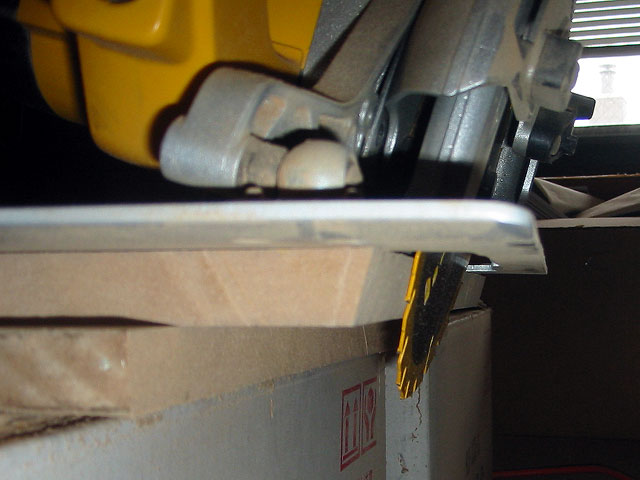
| Here's a picture of my circular saw set
at a 15 degree angle for some of the angled cuts on panels B, C and
D. |
|
 |
|
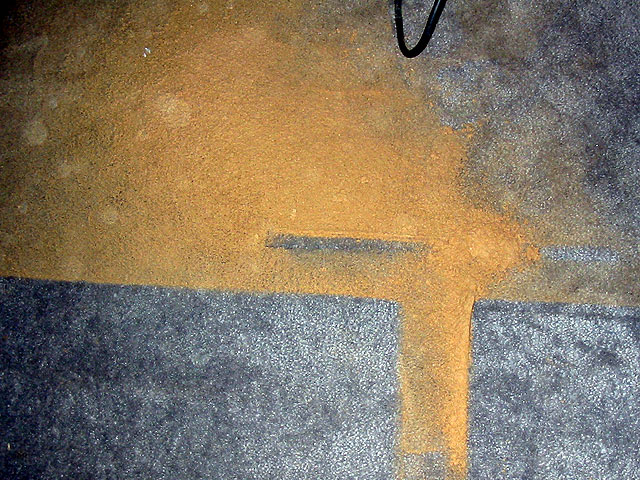
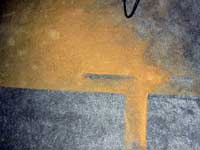
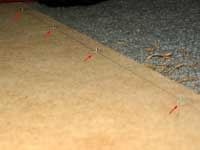
| Here's one of many reasons not to saw
wood indoors. You can see the amount of sawdust that has collected
on my carpet after just 4 cuts out of many, many more. By the time
I was done, my entire room was covered in a thin layer of sawdust,
even my clothes in my closet, my laptop and my bed (which is elevated
almost 7 feet). |
|
 |
|
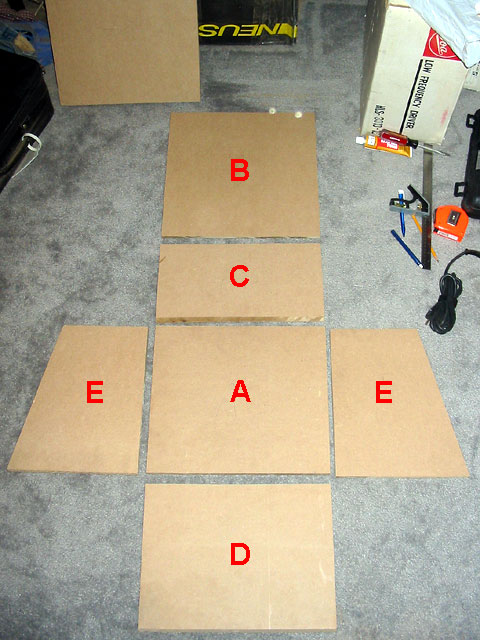
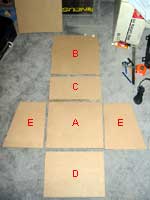
| Here's a picture of all the pieces after
they've been cut. I labelled them so you can see how they fit into
the plans. |
|
 |
|
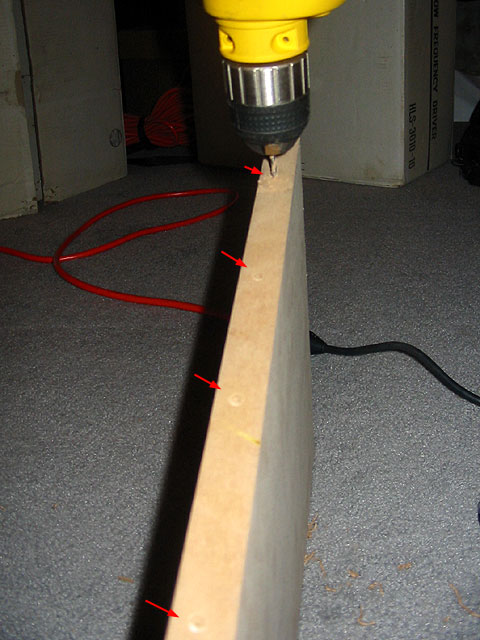
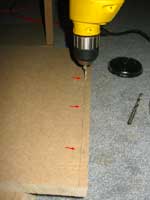
| In order to make the panels snug, I decided
to screw the panels together. To reduce the risk of splitting any
of the wood, I drilled pilot holes. I used the rule of thumb that
there should be one screw every 4 inches and made the appropriate
measurements. |
|
 |
|
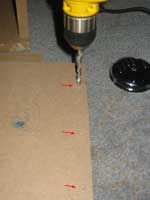
| In order to make the screws fit better,
I decided to counter-sink them so they would screw in and be flush.
I used a 1/4" drill bit to do this by making the top of the hole
larger. |
|
 |
|
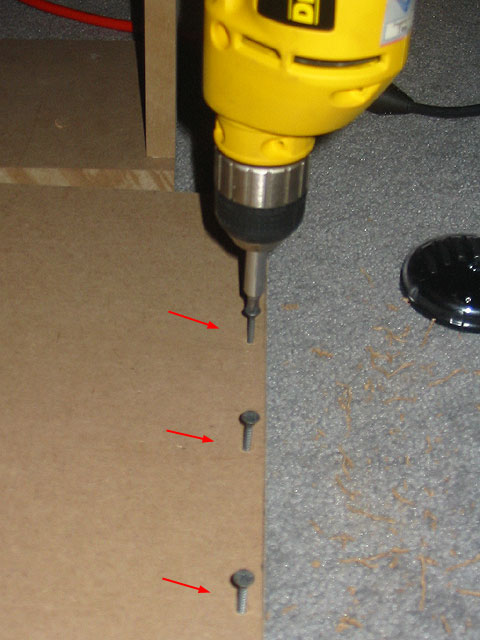
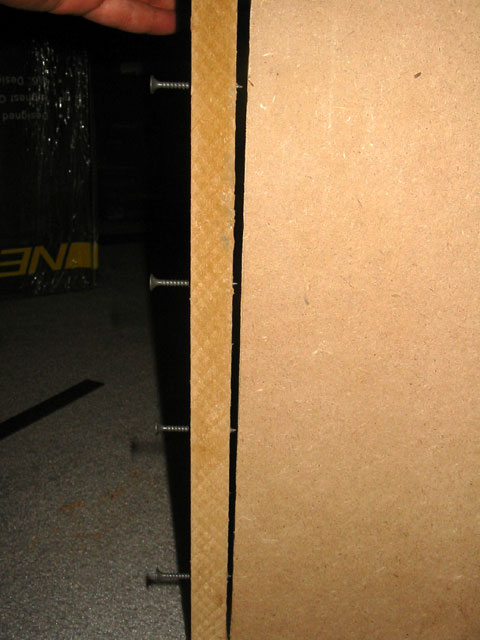
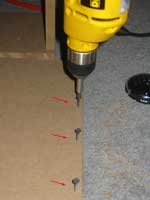
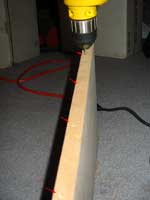
| Next, drive the screws into the holes
partially, just enough for the points to come out the opposite side
about 1/8". |
|
 |
|
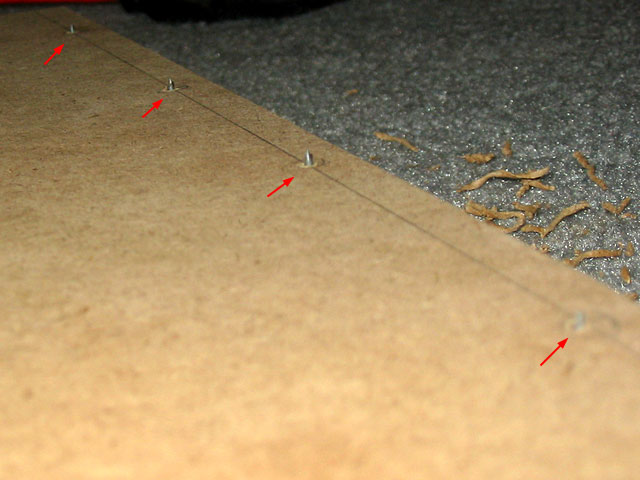
| Here you can see the other side with the
tips of the screws pointing out. |
|
 |
|
| Next I line up the pieces I am planning
to mount together. Using the points of the screws and a hammer, I
put the pieces together. The result is that the piece being attached
to has small holes in it. |
|
 |
|
| With the holes marked, I can now drill
pilot holes in these pieces as well. |
|
 |
|
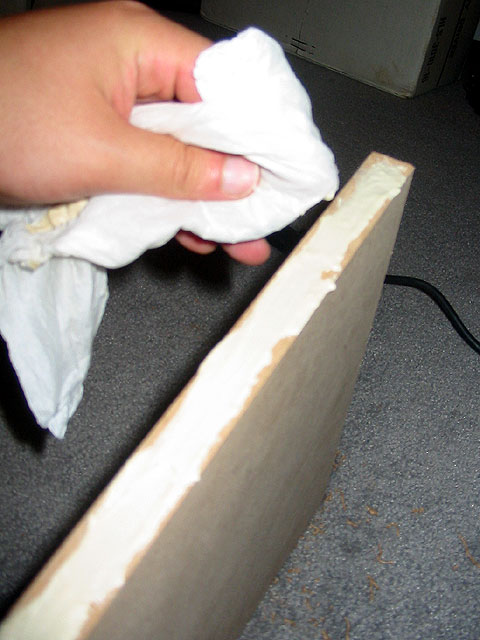
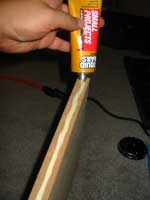
| Now, in order to provide a tight seal
at all the seams I put down a layer of Liquid Nails wood adhesive
that will both bond to the wood panels and fill in the cracks. |
|
 |
|
| To ensure even coverage, I used a piece
of moist paper towel and smoothed out the bead of Liquid Nails. Then,
I quickly aligned the boards to be connected, matched up the screw
tips and then tightened it all. |
|
 |
|
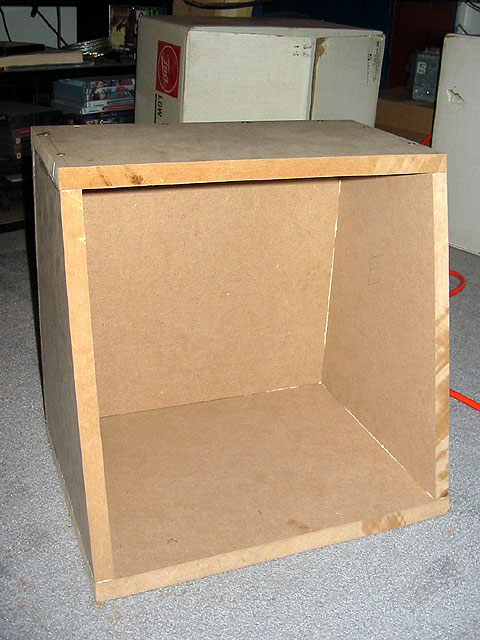
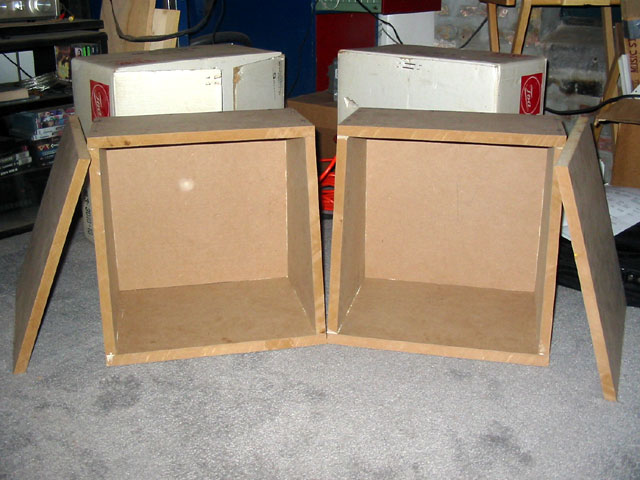
| Here's a picture of the enclosure half
done. The next step is to put another bead of Liquid Nails or similar
caulking material along all the inner seals. Following that, holes
for the ports will need to be drilled in one side and a handle attached
to the other side. The inside of the box will then be primed and painted
to ensure an air-tight box. |
|
 |
|
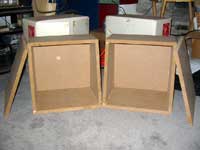
| Here are both enclosures along with the
front panels. The front panels will need to be cut to accept the 12"
subwoofers. Once all the holes have been cut and the boxes painted,
the subwoofers will be installed. |
|
 |
|
| Construction 1 | Construction
2 | Construction 3 |
|
|
| |
|
|