| |
|
Click an image to enlarge. |
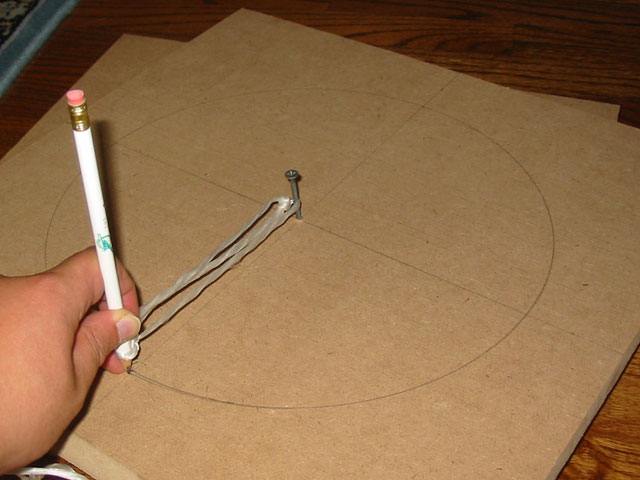
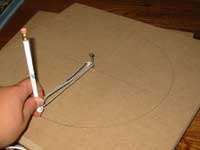
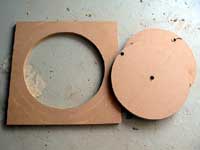
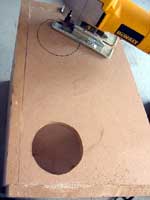
| I needed to cut a hole in the front panel
to fit the 12" subwoofer. The part that fits into the hole is
actually 12" in diameter so I found the center of the front panel
by drawing two lines down the center. I drove a screw into the center,
tied some twine to the screw and tied a pencil to the twine so that
it was 6" from the center. I followed the screw around and voila,
I had a nice circle drawn. |
|
 |
|
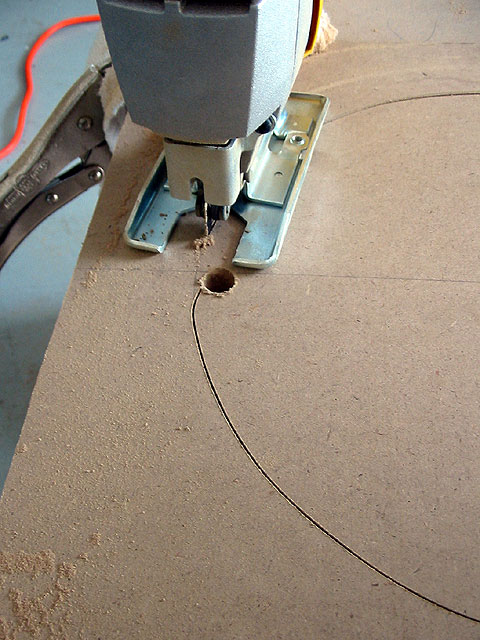
| Next, I drilled a pilot hole near the
circle so i could start my sawing as close to the line as possible.
In this case, I used 1/2" drill bit to give me a nice big hole
to work with. |
|
 |
|
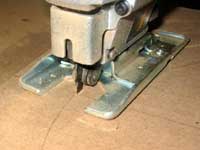
| Once I got the jig saw into the wood,
it was fairly straight forward, just follow the circle to cut out
the wood. |
|
 |
|
| As I got near to my starting point, I
had to support the wood a little and then I could finish up the last
section. |
|
 |
|
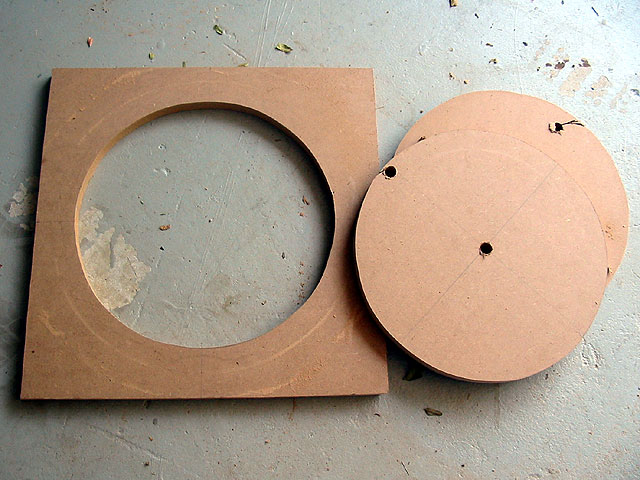
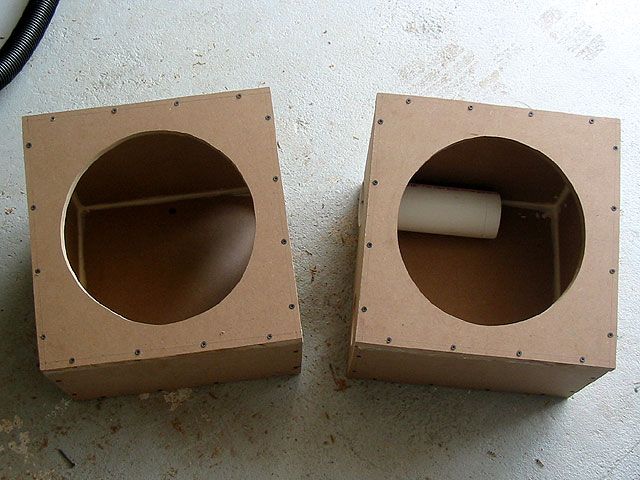
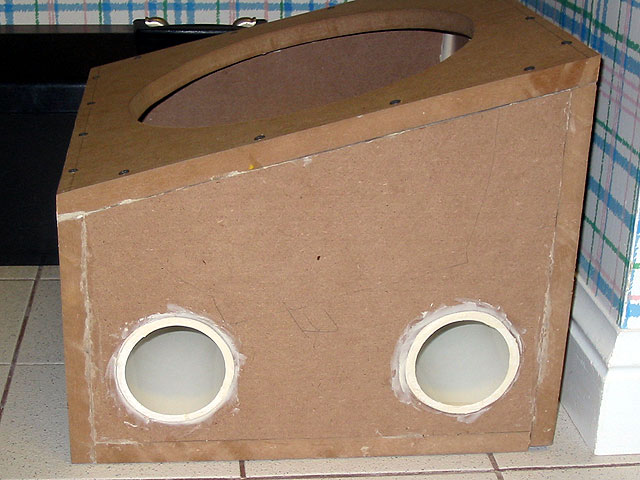
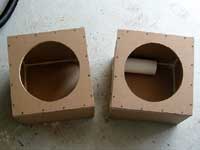
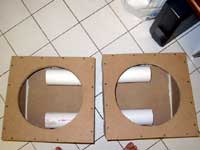
| Here you can see the final product. The
center circles are basically junk now and the front panel is perfect
for the subwoofers. |
|
 |
|
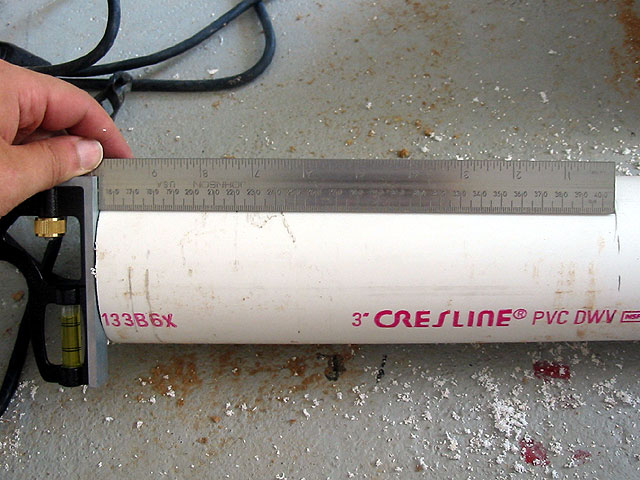
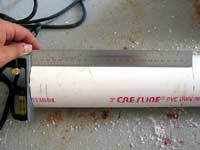
| Next, I worked on the ports. According
to the calculations, I should have one 4.75" wide port which
seemed huge to me. So I decided to put in two 3" ports instead
(the total volume of the two smaller ports is equal to the volume
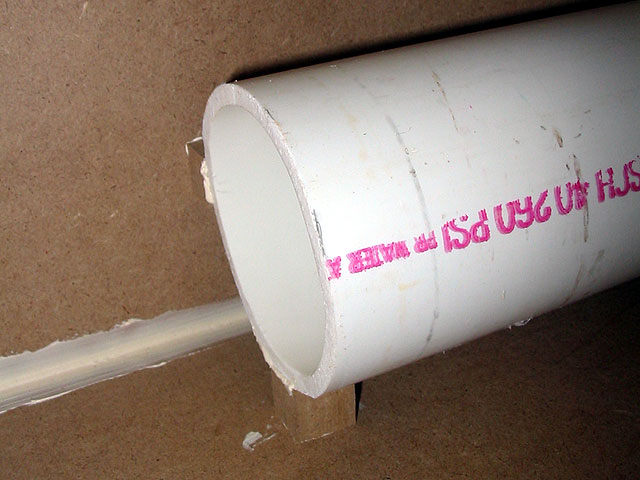
of the original port so the effect is the same). I bought 3"
PVC piping (which only came in 10' lengths, even though I needed less
than 4') and measured them to 10" long and made pencil marks
all around the pipe. |
|
 |
|
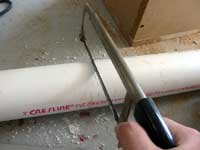
| To start the cutting, I used a hand hack
saw to cut on the lines until I broke through the wall of the pipe. |
|
 |
|
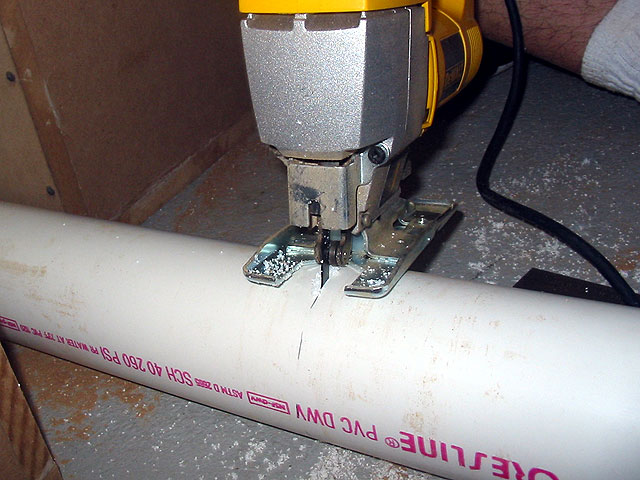
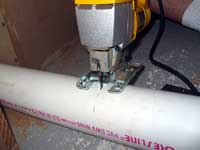
| Once I was through the wall of the pipe
with the hacksaw, I could put the jig saw in and do the rest of the
cutting pretty quickly. |
|
 |
|
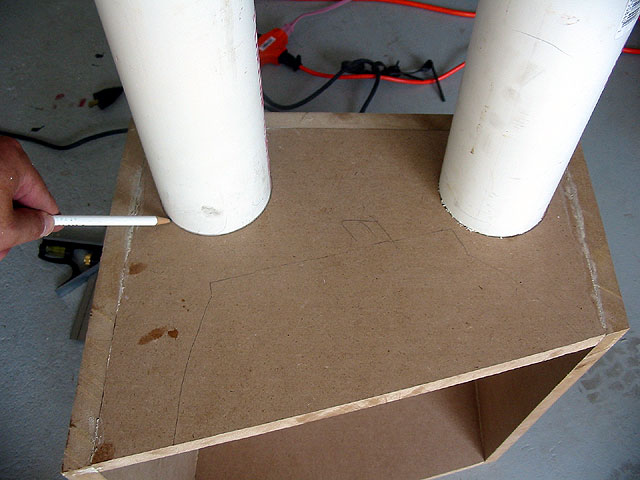
| Next, I took the pipes and traced them
onto one side of the enclosure as holes would have to be made to fit
the ports. Again, I drilled pilot holes so that I could get my jigsaw
in. |
|
 |
|
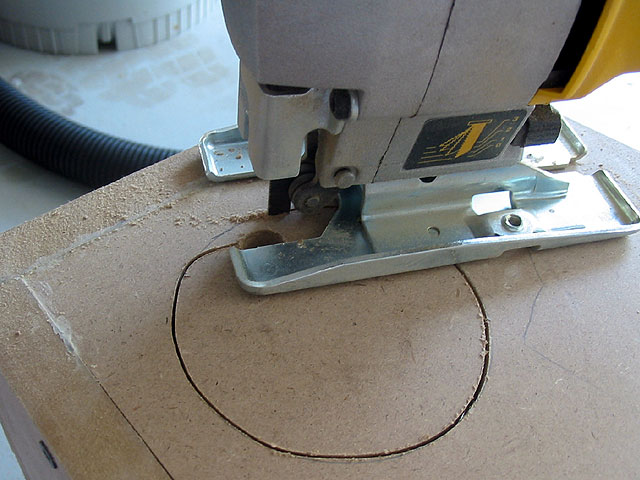
| Here I'm finishing up the first hole which
turned out to be pretty big and a bit loose. |
|
 |
|
| Subsequent holes I tried to stay on the
inner side of the pencil line giving me nice tight holes for the vents. |
|
 |
|
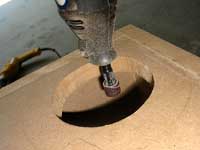
| The pipes didn't quite fit into some of
the holes so I used my Dremel on high speed with a sand paper attachment
to smooth out the holes and widen them at the appropriate spots to
give me nice fits for the vent pipes. |
|
 |
|
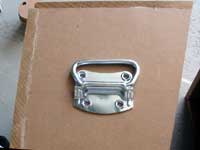
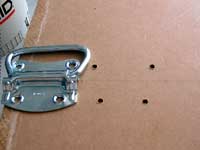
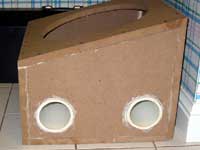
| I decided to attach a handle to the enclosure
to make it easier to handle in the future. I basically put it in the
center where I thought would be a good location. |
|
 |
|
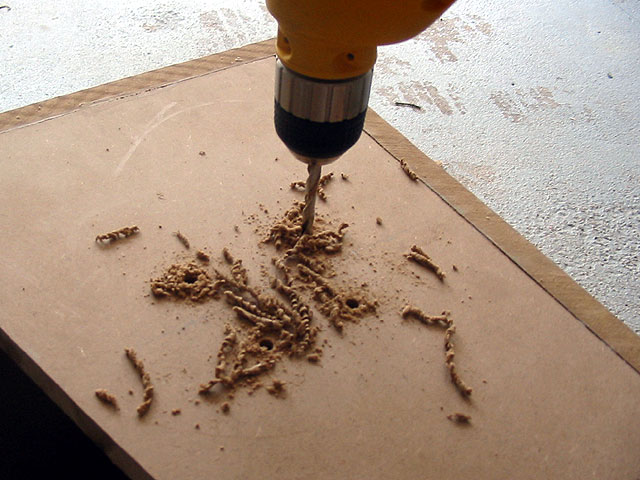
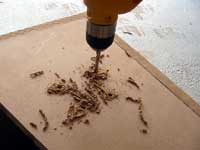
| Instead of drilling pilot holes and trusting
four little screws to hold the weight of fiberboard and a subwoofer,
I decided to drill 1/4" holes all the way through the wood. When
the handles are ready to be installed, they will be fastened with
1/4" bolts and washers to distribute the weight better. |
|
 |
|
| Here are the completed holes for the handle. |
|
 |
|
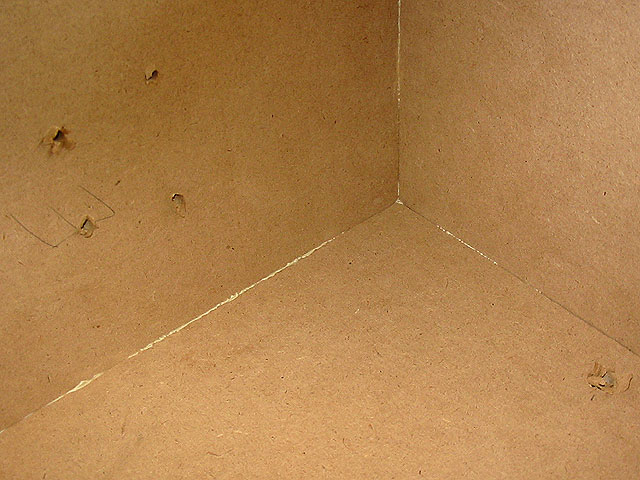
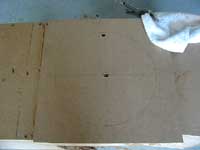
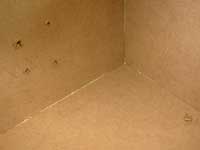
| From the inside, you can see the holes
for the handle. These holes had to be cleaned up a bit and I ended
up using my Dremel tool with the sand paper attachment to do this.
You can also see a 1/2" hole I drilled in the back panel near
the bottom (see the small hole on the bottom right of the image).
This is where the speaker wire will run from the subwoofer to a set
of terminal posts that will be attached to the back. |
|
 |
|
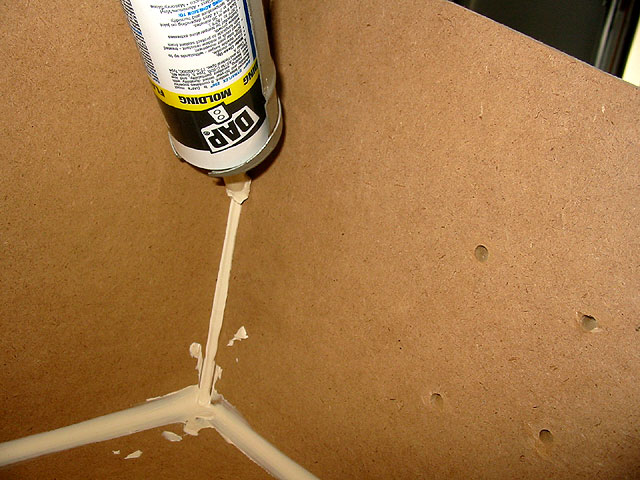
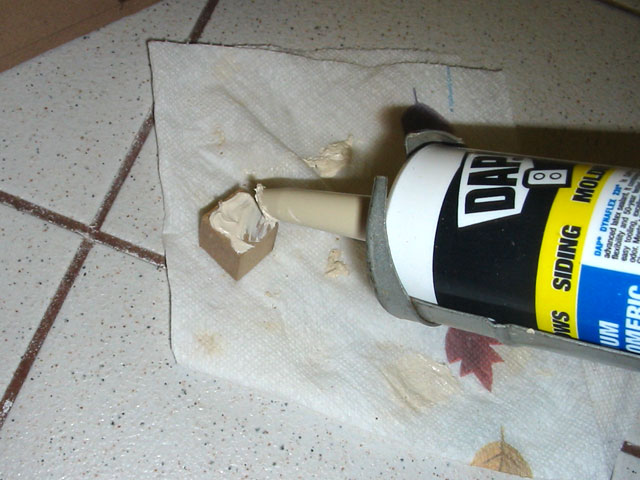
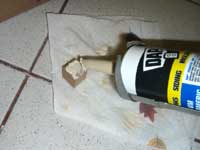
| With all my drilling and cutting complete,
I vacuumed the enclosure then wiped it down with a rag. Then, I proceeded
to continue the air-proofing by caulking all the joints. I used a
caulk gun and some wood trim caulk/adhesive. |
|
 |
|
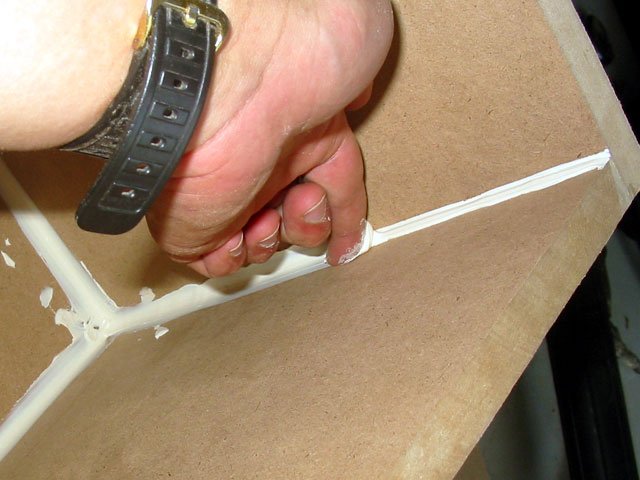
| To insure a good seal, I went over the
beads of caulk with my finger to make sure it was pressed in and would
stick well. |
|
 |
|
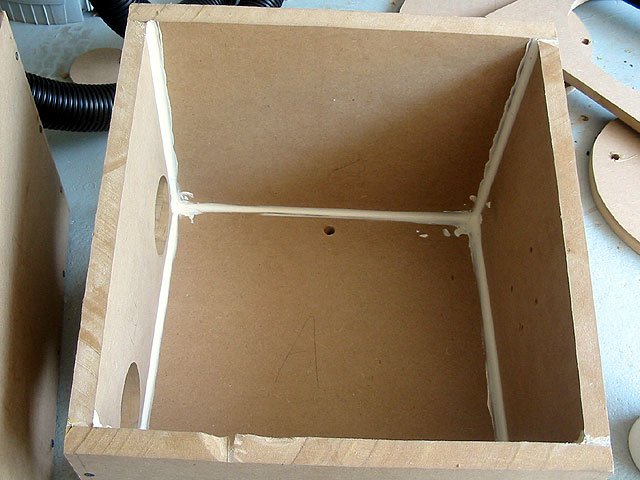
| This was my first time caulking so it
was a little messy, but here's the result so far. |
|
 |
|
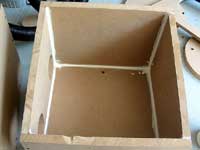
| Next, I drilled all the holes for the
front panel and placed it onto the enclosure for fitting. I drilled
pilot holes for all the screws just like I did in the previous day
of construction. You can also see one of the ports temporarily installed. |
|
 |
|
| As before, I applied a layer of Liquid
Nails to the wood and spread it out. I then began to screw in the
front panel, making sure the front panel was snug. |
|
 |
|
| Now that the top is attached, I let the
Liquid Nails set for an hour. During this time I got the pipes ready
by sanding the ends to be smoother and cutting a set of 3/4"
cubes (8) out of my scrap MDF with my jig saw. These will serve as
supports for the vent pipes (see next step). Then cleaned up the mess
I made so far. Then, I caulked the inside of the front panel. This
was tricky as it was difficult to get the caulk gun inside the enclosure
so I ended up applying about half the caulk with my finger instead
of the caulk gun. |
|
 |
|
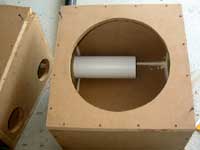
| I measured the holes for the vent pipes
to be 3/4" away from the walls. However, my vent pipes ended
up being 10" long each and only supported on one end, which is
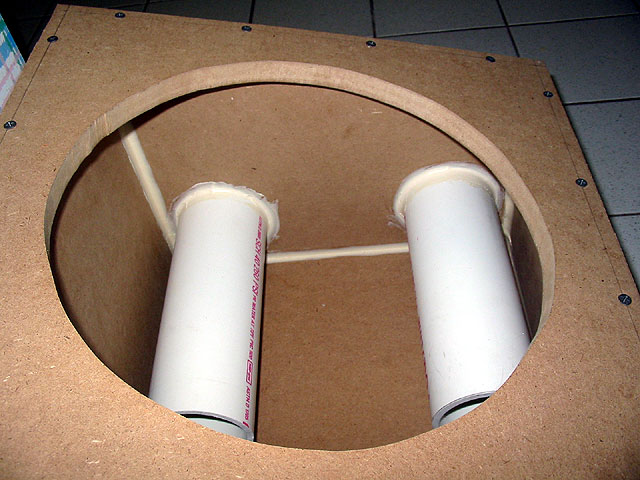
why I needed the 3/4" cubes I had just made. I installed the
pipes into the vent holes, brushed the sawdust off the supports and
applied caulk to two opposite sides of them (I was out of Liquid Nails). |
|
 |
|
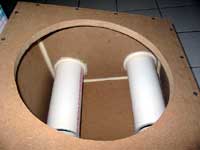
| Then I placed the caulked supports underneath
and behind the pipes to fasten them to the enclosure walls as you
can see here. |
|
 |
|
| Next, I proceeded to caulk the vent hole
around the pipes. Again, this was difficult as there was even less
space to work with and no way to get the caulk gun behind the pipes,
so I had to apply half the caulk with my fingers again. |
|
 |
|
| Just to be safe, I also caulked the outside
of the vent hole around the pipes. I used mostly my fingers so I could
push the caulk into the gaps as much as possible. Since the caulk
needs at least 12 hours to set we're going to wrap up this day. |
|
 |
|
| I forgot to take pictures of this, but
you should put the sub-woofer into the hole you've cut and line it
up the way you want it. Then mark the holes around the subwoofer with
a pencil and drill pilot holes into the enclosure. You'll want a fairly
small hole about 1/2" deep. |
|
 |
|
| Construction 1
| Construction 2 | Construction 3 |
|
|
| |
|
|