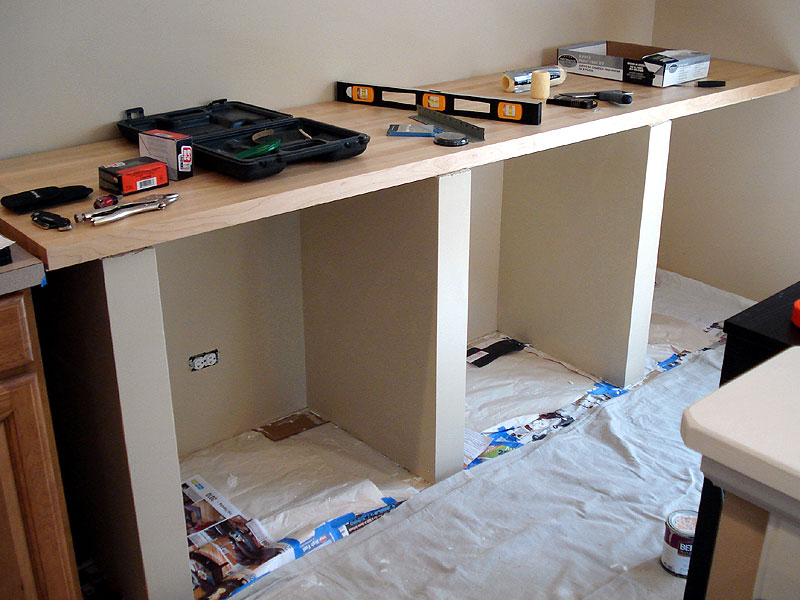
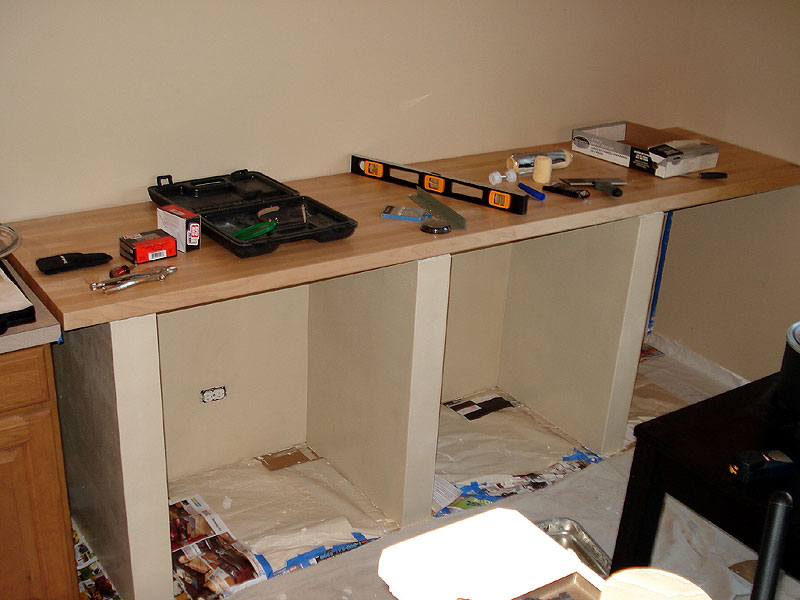
| |
|
click for a larger image |
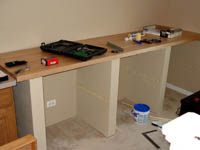
| For finishing, I first put down a layer of white primer using a paintbrush for the corners and edges and a roller for the rest. |
|
 |
|
| The first coat of paint, it's starting to match with the wall! |
|
 |
|
The second coat of paint. Now I can finally remove the drop cloths and clean up some.
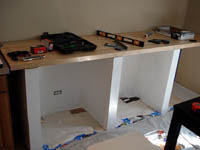
Next, I decided to build rolling shelves to store small appliances. Each shelf had to be custom fit for the appropriate cubby hole since their widths varied by up to 1/2". The shelves were cut 1" narrower than the actual opening to accomodate the tracks. |
|
 |
|
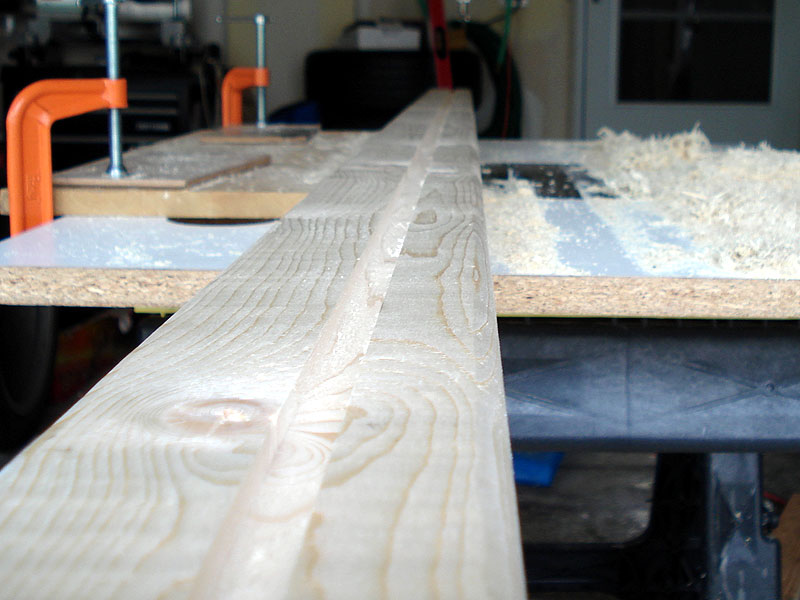
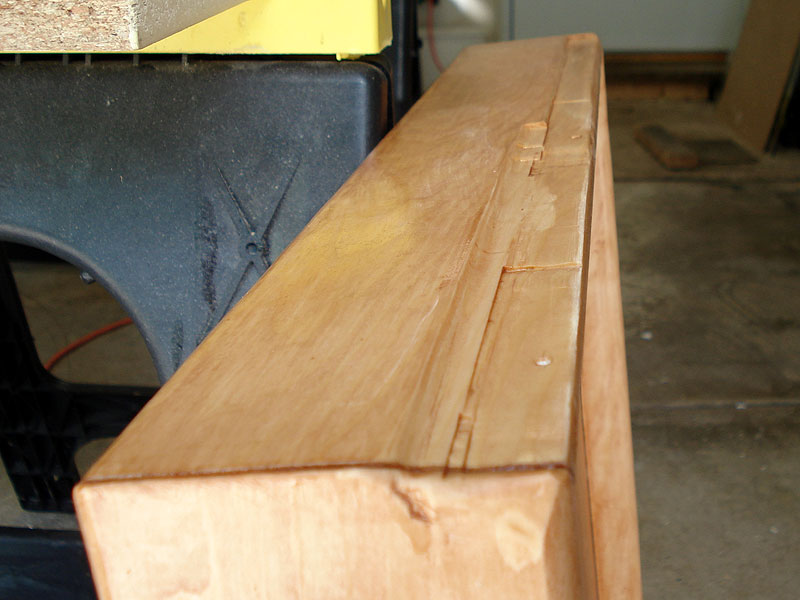
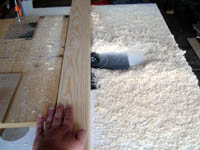
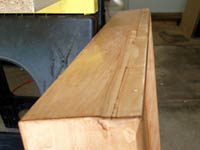
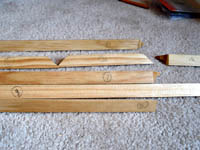
I started with 1"x4" pine that would act as the edges of the shelves.
First,
I routed all four edges with a round over bit. It's easier to do all of the lumber at once before cutting it up. |
|
 |
|
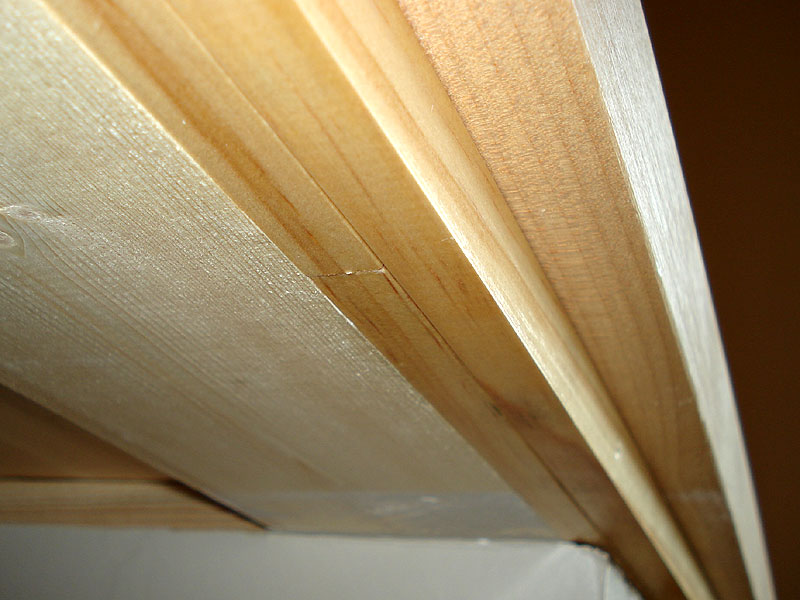
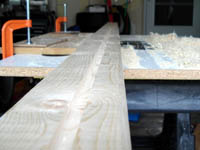
Then I routed grooves into the sides of the edge pieces to hold the shelf. The groove was 1/4" deep and 1/2" wide to accomodate the 1/2" (7/16") plywood panel that would be the actual shelf.
|
|
 |
|
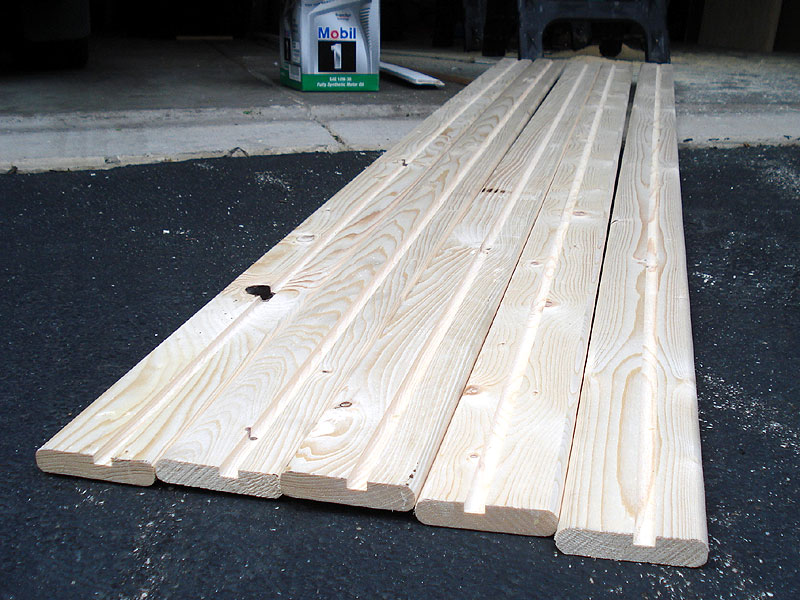
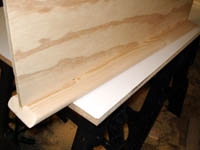
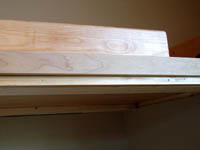
| Here is the finished edge wood. |
|
 |
|
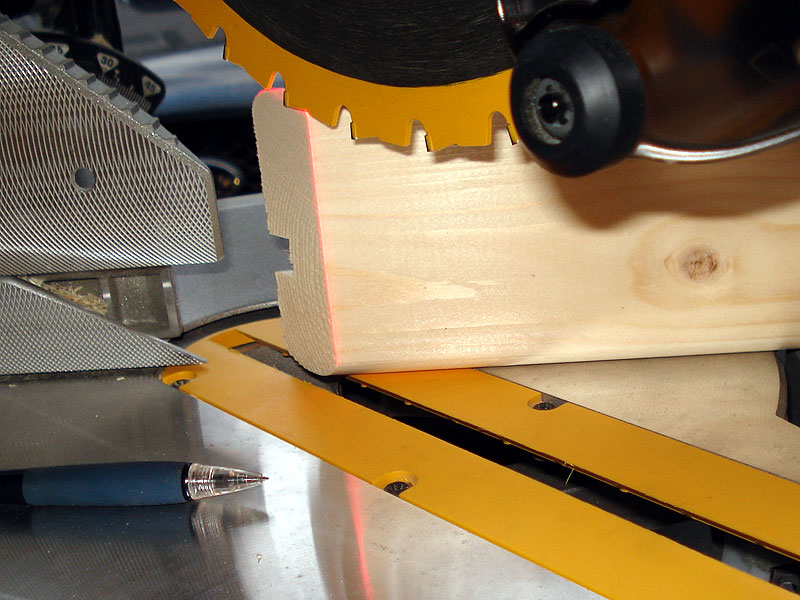
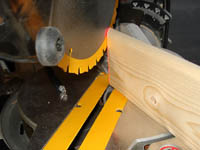
| Next, I cut the edge wood with my miter saw at a 45° angle. |
|
 |
|
| Another view of the miter cut. |
|
 |
|
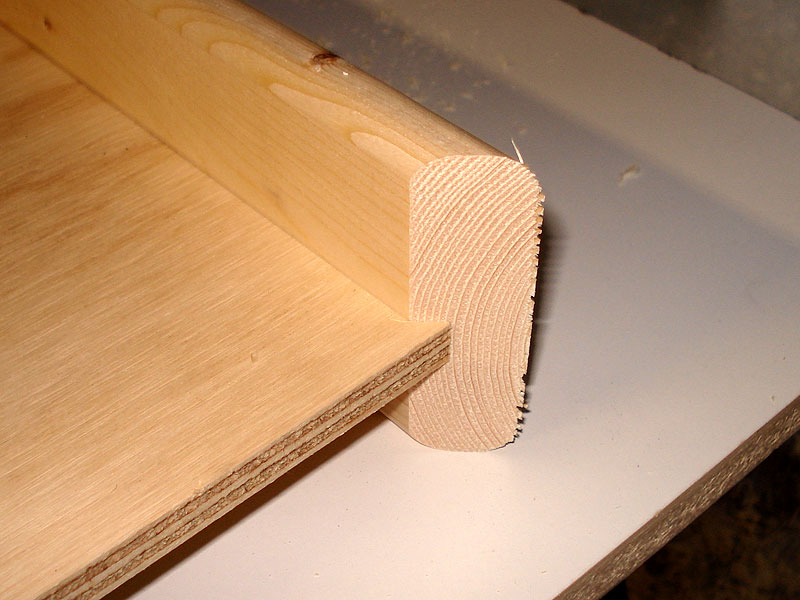
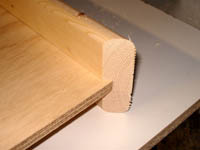
Here is a test fit of the edge wood and the shelf.
The shelf was cut 1" shorter than the overall shelf width since 1/4" of the shelf would be fit inside the groove, leaving 1/2" of the edge wood on each side, making up the overall width (same thing for the depth of the shelf). |
|
 |
|
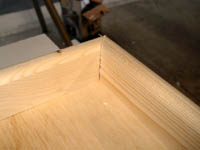
| Testing that the corners fit together properly. |
|
 |
|
Once all the pieces were trimmed to fit, I sanded them with fine 230 grit paper.
I also gave them a test fit into the cubby holes to make sure they would fit with the roller tracks. |
|
 |
|
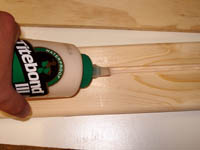
With the assembly verified, I glued each edge piece by applying glue in the groove and angled edges, then spreading it with Q-tips.
Note that wood glue (and even Elmer's white glue) is actually stronger than wood once it has dried. |
|
 |
|
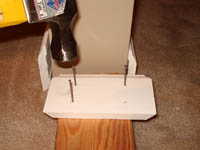
| Working one edge piece at a time, I assembled the edge pieces, making sure they were aligned properly. |
|
 |
|
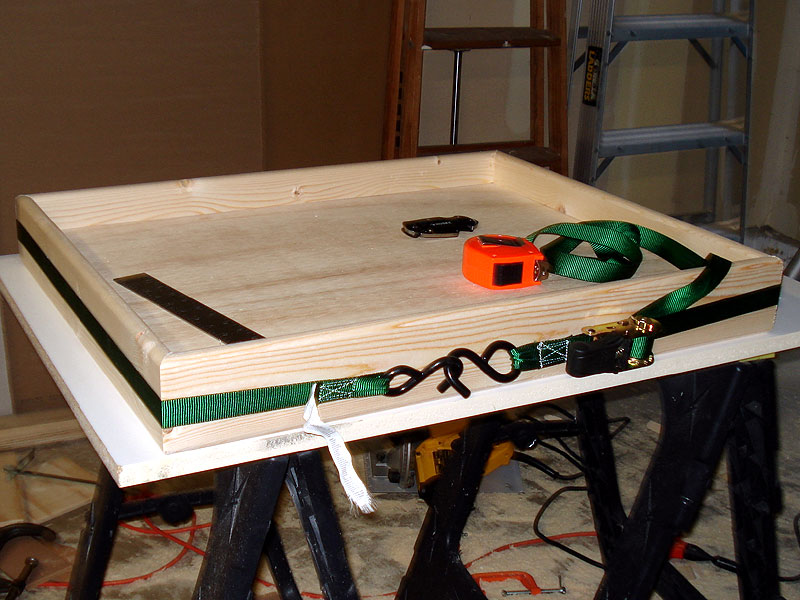
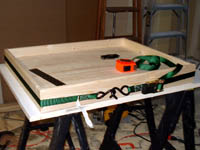
| Once all the pieces were glued and assembled, I used a ratcheting strap to hold the shelf in place while it dried overnight. |
|
 |
|
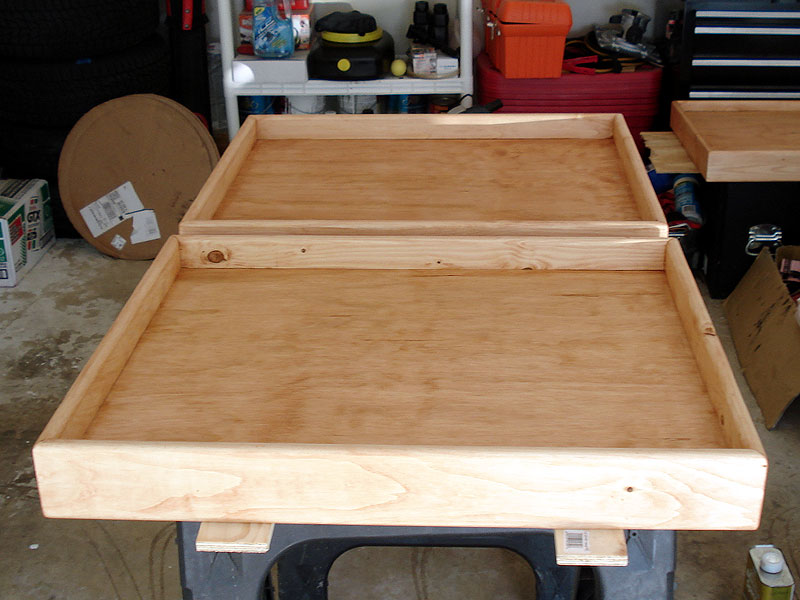
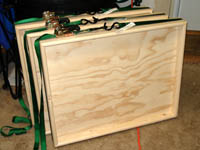
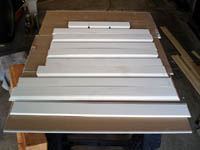
| Here are all three shelves, custom fit for each cubby area. |
|
 |
|
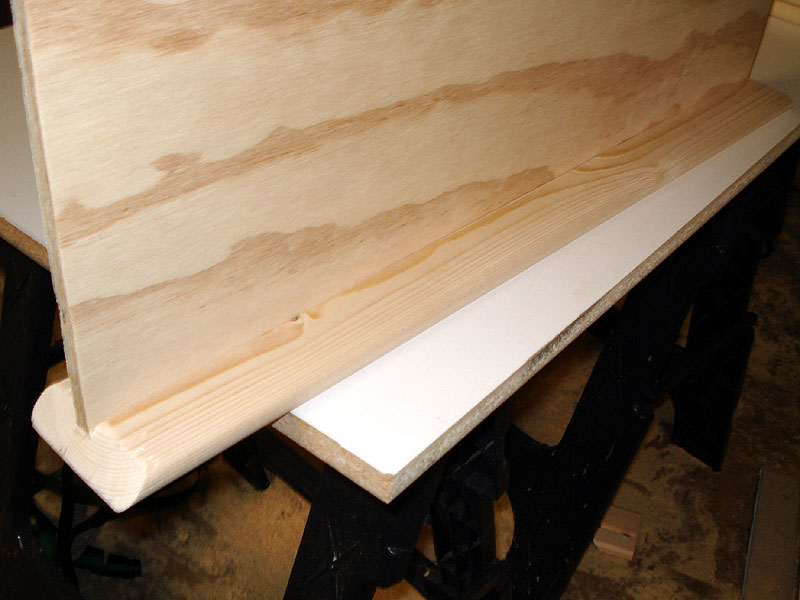
| After the glue dried, I sanded the corners to clean them up and remove excess glue, then stained them with a polyurethane stain. |
|
 |
|
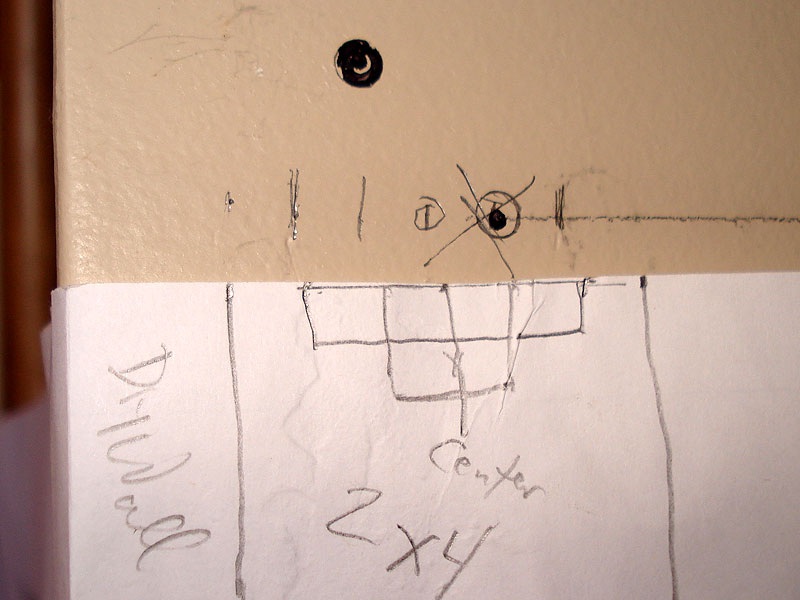
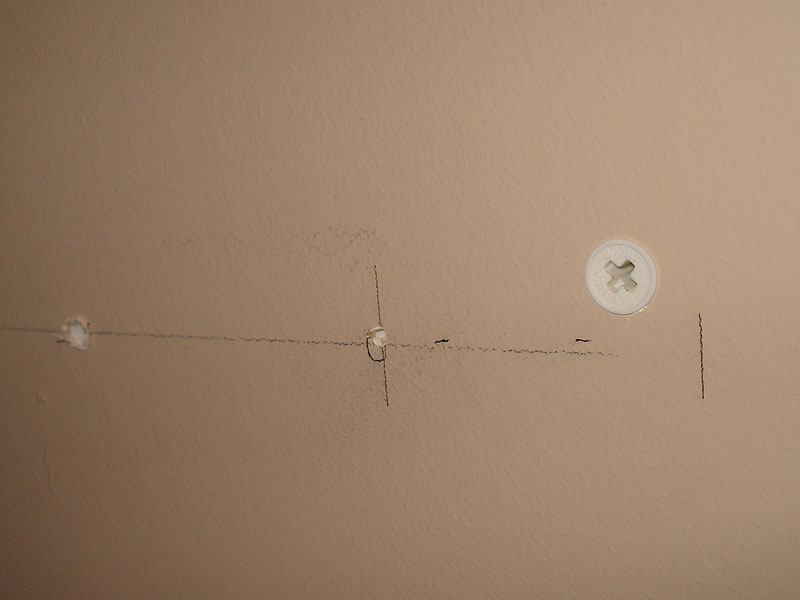
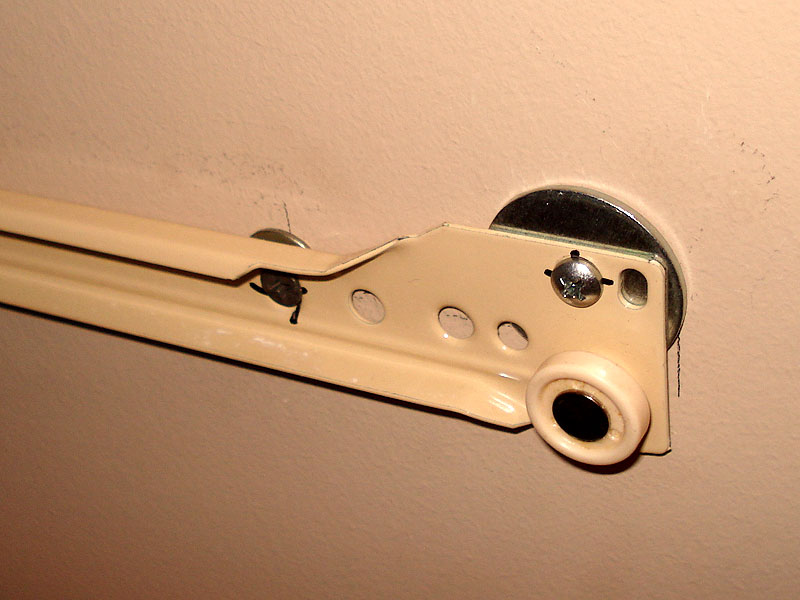
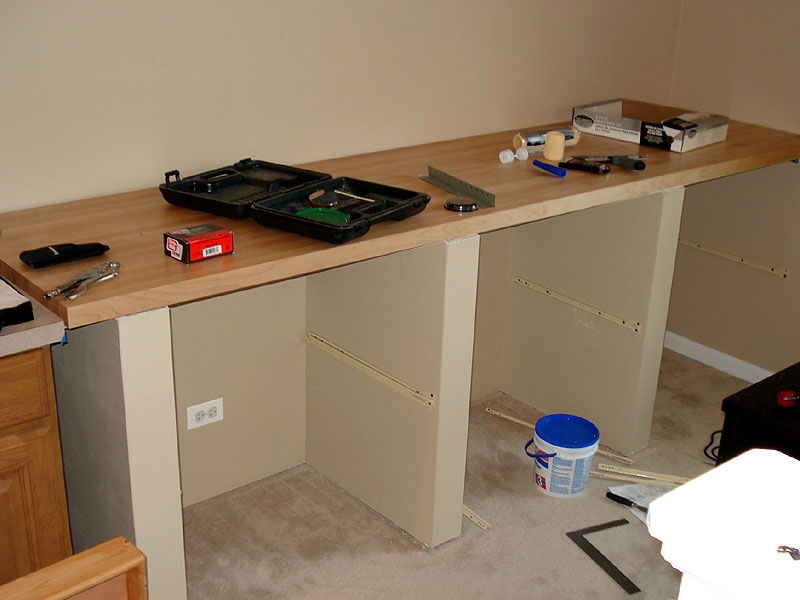
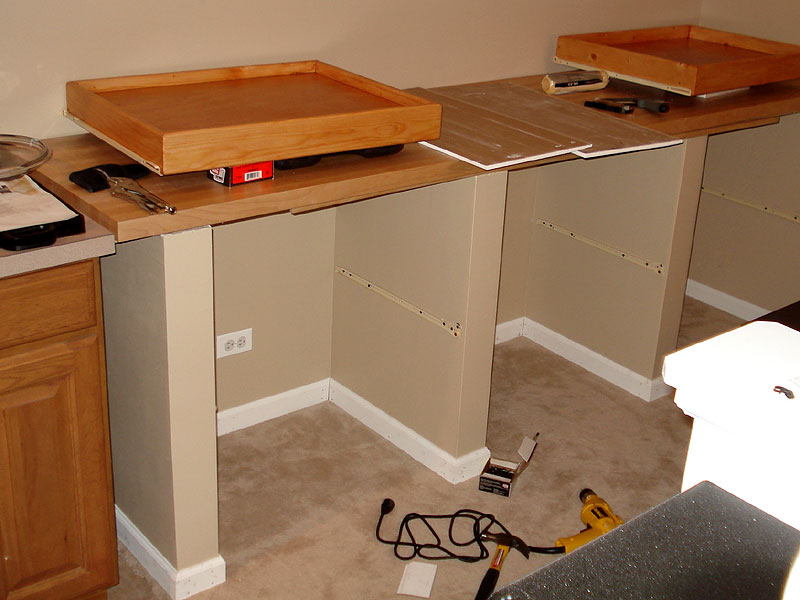
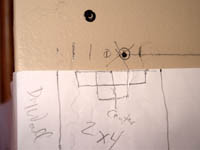
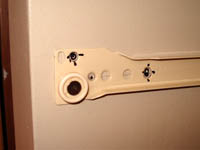
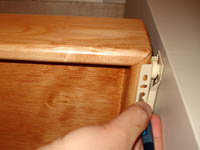
Meanwhile, I installed the rolling tracks. The first step was to make sure I could secure the tracks properly.
Since I put the center stud supports in for the drywall, that actually turned out to be perfect for supporting the drawers as well. I just had to align the tracks properly so they could be supported by the studs.
This was a rough drawing of how thick the drywall was so I could make sure I was hitting the 2x4s. |
|
 |
|
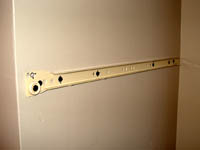
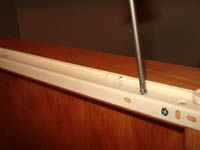
| Based on that information, I aligned the tracks and marked the holes I would use. |
|
 |
|
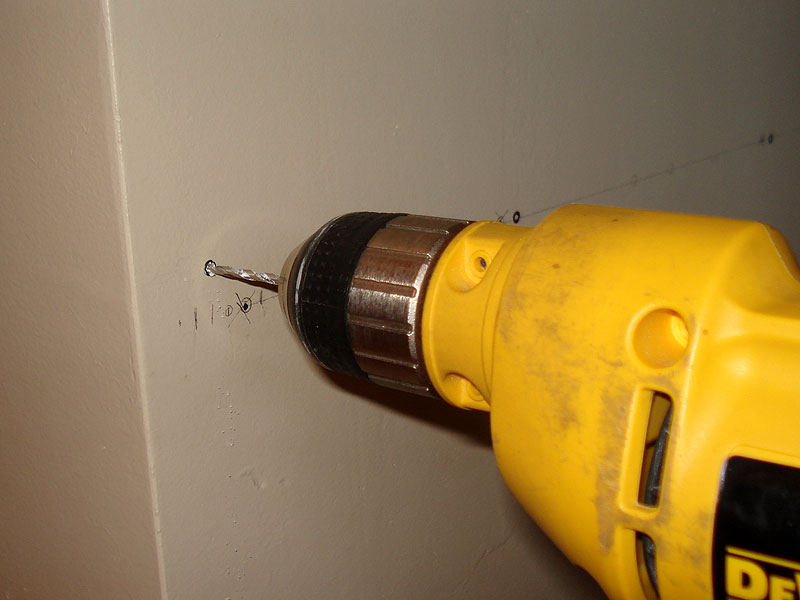
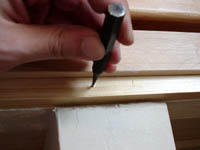
Drill pilot holes to reduce drywall damage and to make sure you're hitting wood.
The pilot holes near the edge may also hit the corner bead, which you should be able to push through.
However, one of my holes was directly over a nail so I had to drill an alternate hole. |
|
 |
|
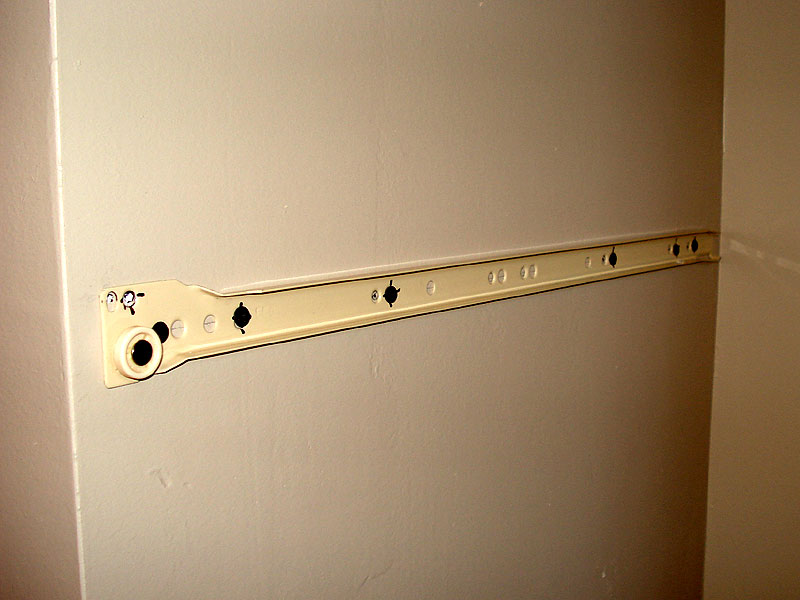
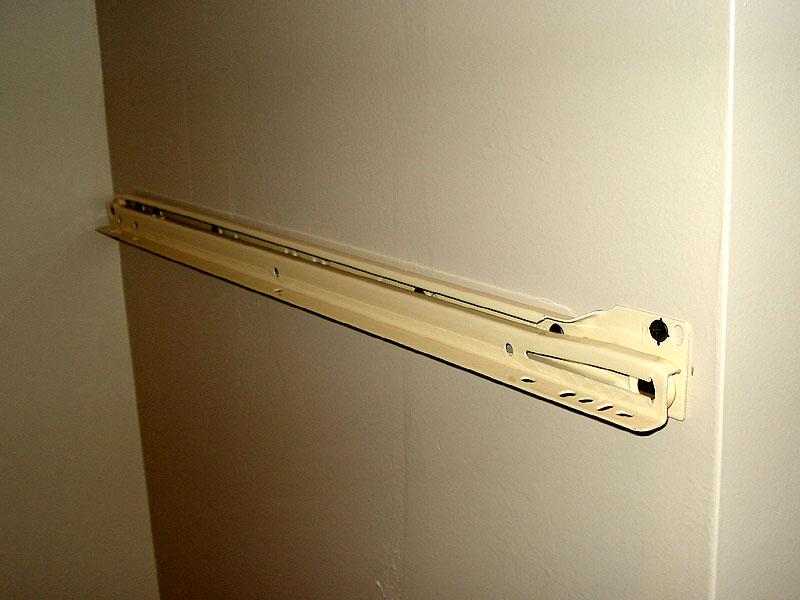
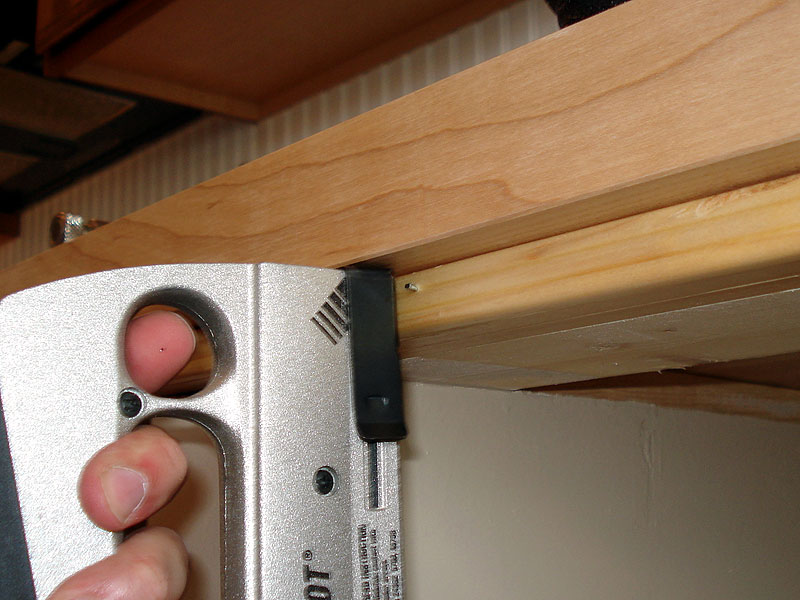
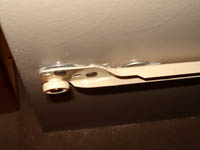
Fasten the tracks with screws. I kind of overkilled the fastening with 6 screws. You probably only need 3-4, based on the track instructions.
Here you can see the alternate hole I used (behind the little wheel) isntead of the originally chosen hole which happened to be over a nail (above the wheel). |
|
 |
|
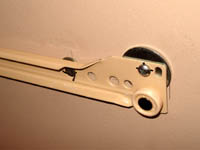
The far right wall was a bit of a challenge since I had to work with the studs that were already in the existing wall.
Using the stud finder, I located two studs and made sure to drive screws into those (center hole).
I also had to use a couple heavy duty drywall anchors. This required drilling 1/4" holes (left hole) and then driving the anchors into the hole (right hole). I could then fasten screws into the anchors. |
|
 |
|
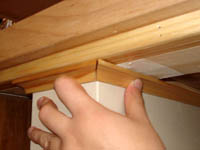
| Here's a track on the other side, along with the matching drawer support. |
|
 |
|
| Next I aligned the drawers with the front of the base. |
|
 |
|
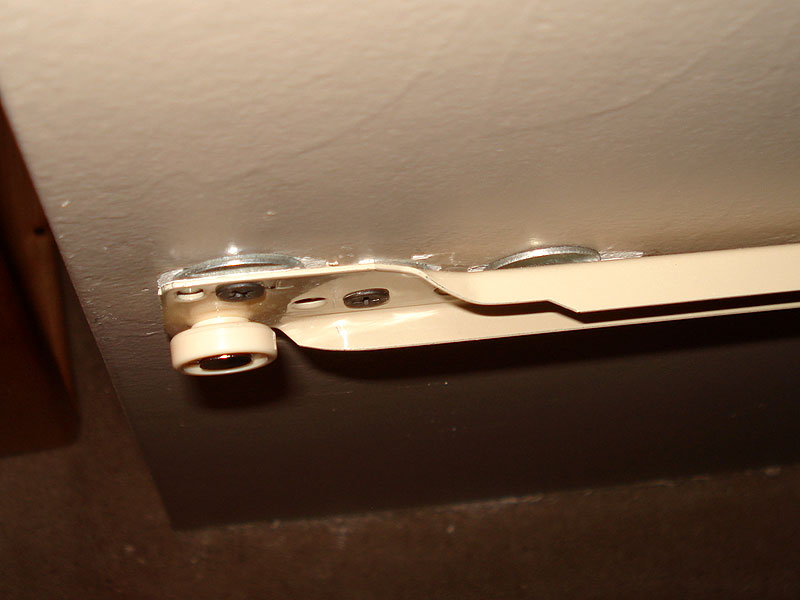
| I also discovered some misalignments in the tracks. Some were angled slightly outward at the front so I added washers to align them better. |
|
 |
|
| I did the same on the other side as necessary. |
|
 |
|
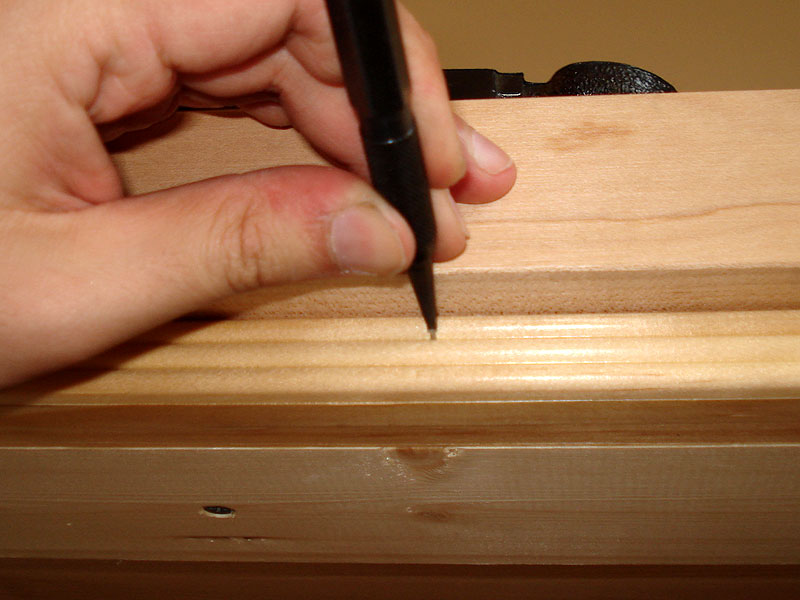
| Then I marked the screw locations on the drawers. |
|
 |
|
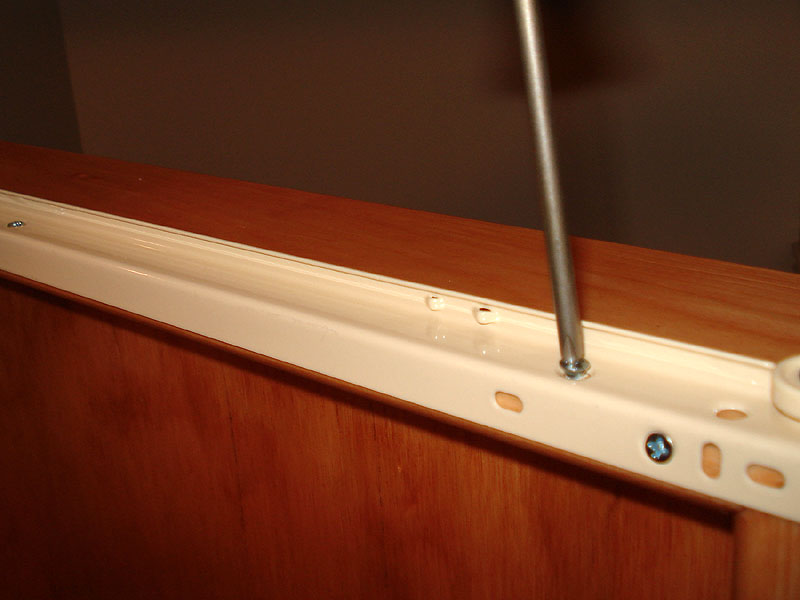
| Then I drilled pilot holes and used the included wood screws to attach the tracks. |
|
 |
|
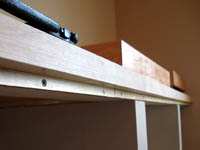
| I also discovered one drawer that was too wide. If you look carefully you can see that only one part of the track is shown and alone it is too close to the drawer. |
|
 |
|
| In order to make the drawer fit I had to route 1/8" off the side of the drawer to make it fit. |
|
 |
|
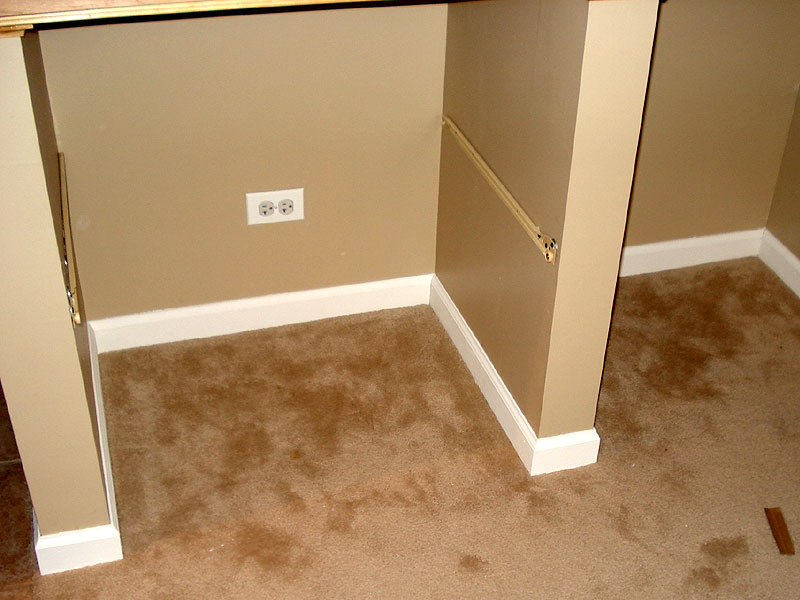
| Here are the tracks installed, as well as all the drop cloths removed, outlet cover installed and after a quick clean up. |
|
 |
|
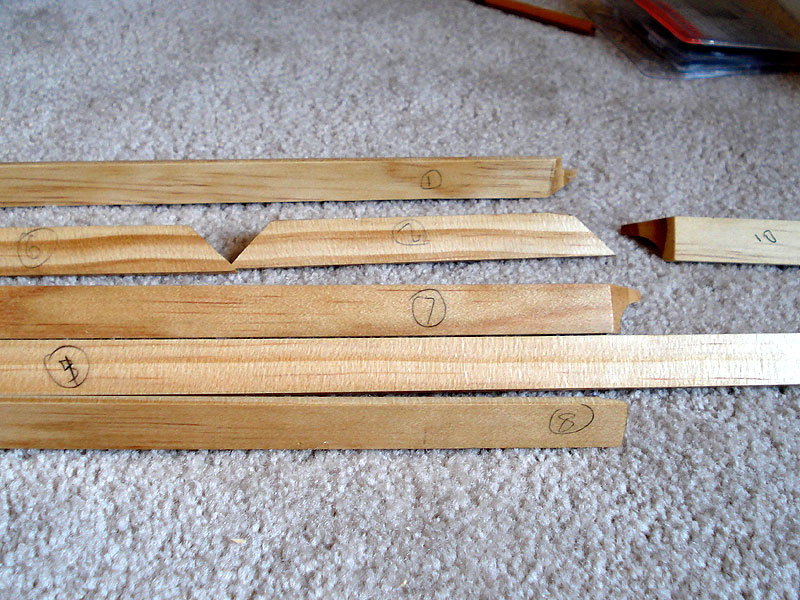
| Next I worked on the baseboards. After taking measurements I mitered all the pieces and checked them for fit. |
|
 |
|
| I had many trips back and forth to get the pieces to fit just right. |
|
 |
|
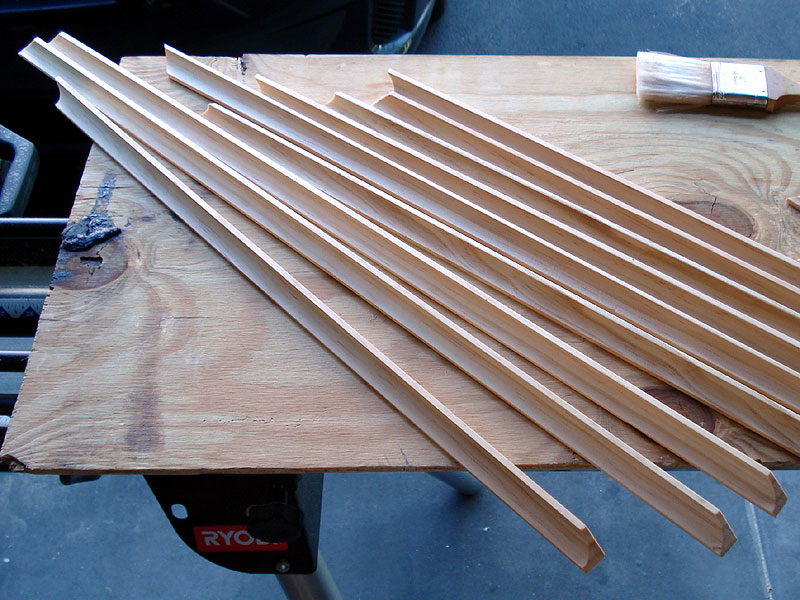
| The baseboards came pre-primed, but I put a first coat of paint on them. A second coat will be applied after they are installed. |
|
 |
|
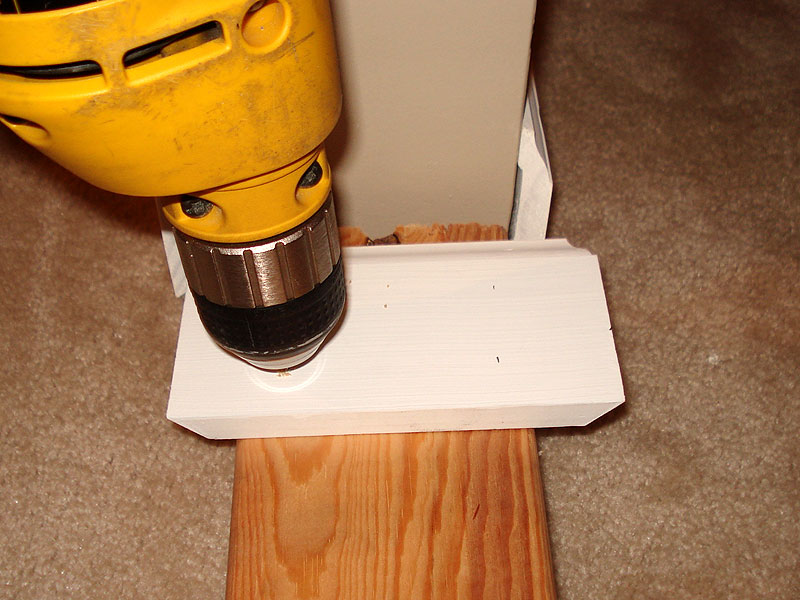
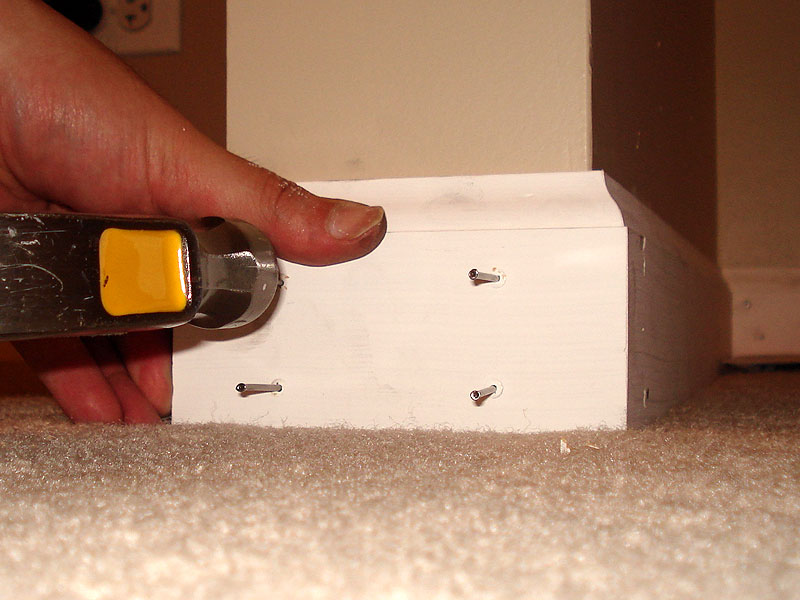
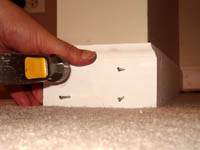
| To prevent splitting, baseboards should get pilot holes, taking care to align the holes so that nails will hit studs where possible. |
|
 |
|
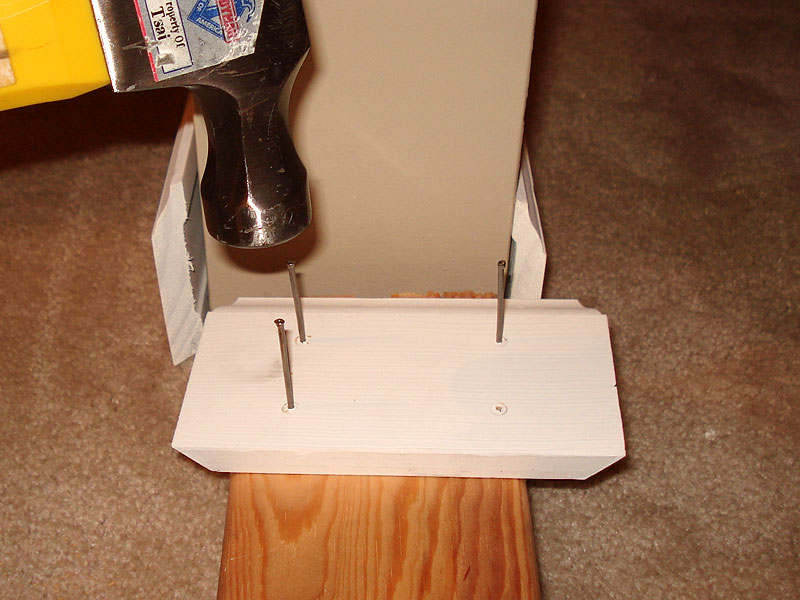
| Drive the nails in the pilot holes. |
|
 |
|
| Align the baseboards as desired, then nail them to the wall, |
|
 |
|
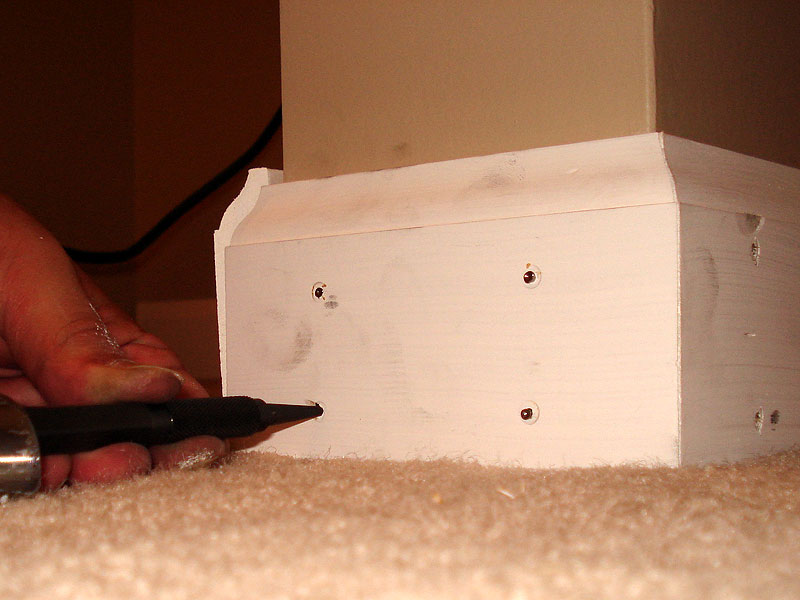
| Use a nail set to drive the nail heads just under the surface of the baseboards. |
|
 |
|
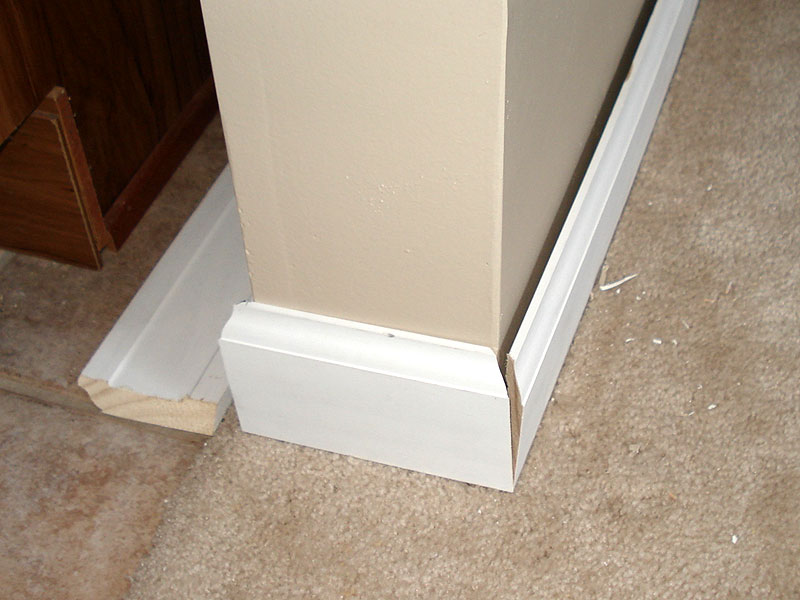
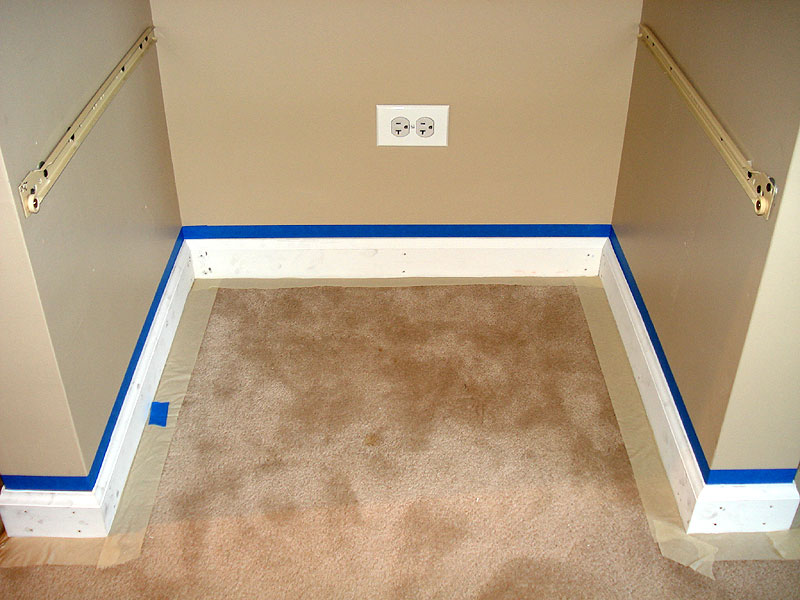
| Here are the installed baseboards. |
|
 |
|
Here I masked the baseboards both on the wall and on the carpet to put the final coat on.
You can see that they're pretty dirty from the nails and hammers. |
|
 |
|
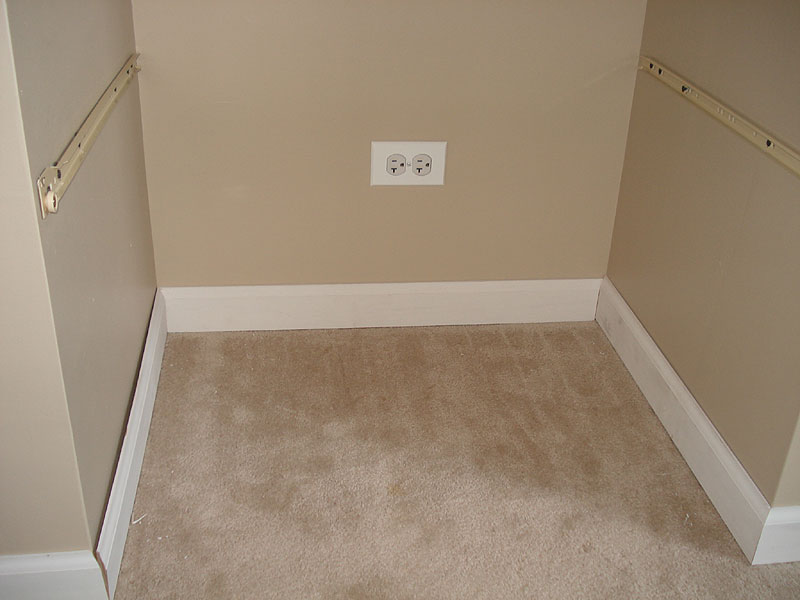
| And here are the finished painted baseboards. |
|
 |
|
| The upper trim should be handled in much the same way, measuring, cutting then fine tuning the size to fit. |
|
 |
|
| As you size all the trim pieces, you may want to number them or keep track of them in some other way. |
|
 |
|
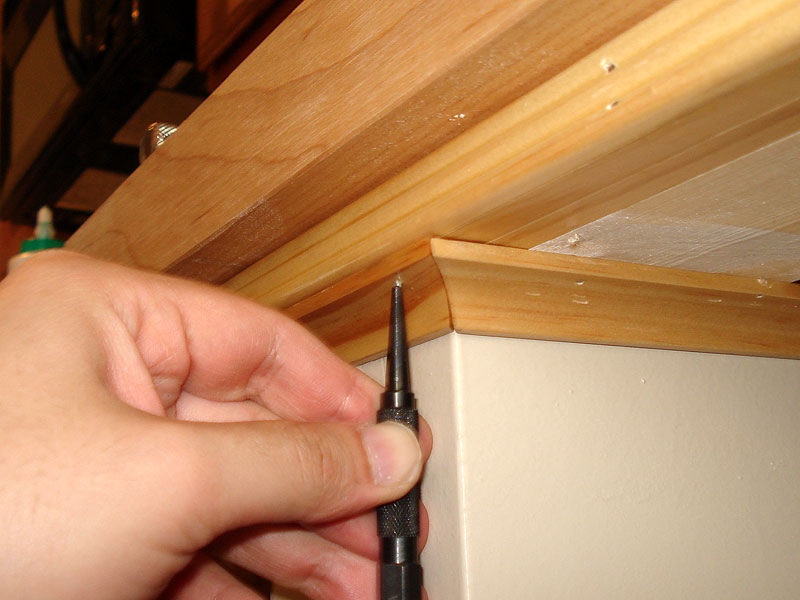
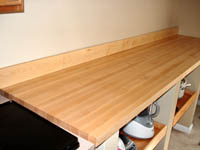
For this trim, I am treating it with clear polyurethane to match the counter top.
These short pieces will be used to follow the cubby walls. |
|
 |
|
These long pieces will be used to cover the front, just under the counter top.
I failed to properly design for the gap between the trim and the counter so I had to put in multiple long pieces of trim to build up a proper face. |
|
 |
|
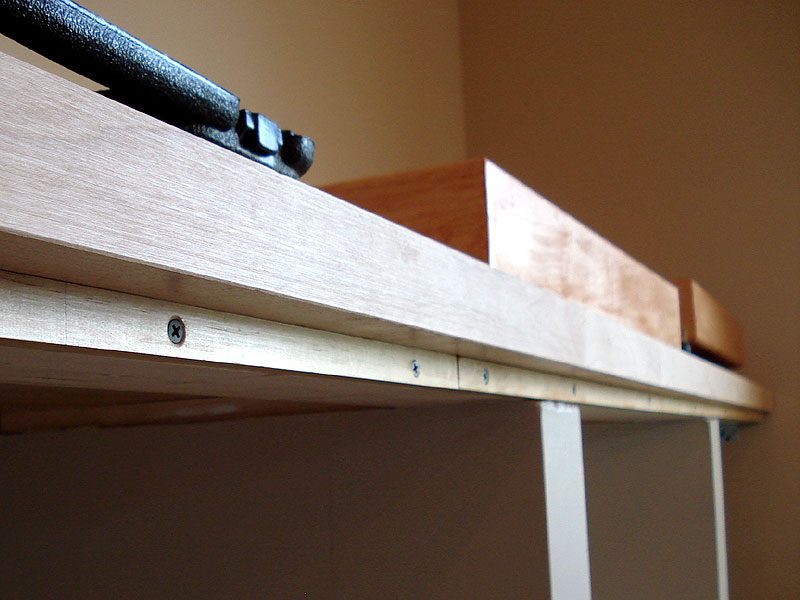
| Here is the first piece of long trim, which I fastened to the runner with counter-sunk screws for stability. |
|
 |
|
| The second piece I nailed to the first piece. |
|
 |
|
| Again, I used a nail set to make sure that the nail heads weren't protruding. |
|
 |
|
| Here you can see the two layers of trim attached to the runner. |
|
 |
|
| The final layer of decorative trim I attached using brads (small nails) in a staple gun. |
|
 |
|
I used the nailset again since this is the piece that will be seen.
I attached this piece with brads along the top and along the bottom to make sure it was secure.
I considered gluing this piece on as well but I decided not to. In retrospect, this thin face piece should have been glued and it probably would have looked better b/c I would not have needed to double nail it.. |
|
 |
|
| I then attached the rest of the small trim with brads and the nailset again. |
|
 |
|
| Here you can see all the trim installed. |
|
 |
|
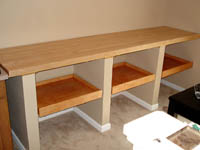
| Here are the drawers installed. |
|
 |
|
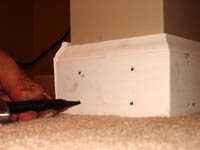
The last step is to install the backsplash. Here I am positioning it to determine the best way to install it.
I decided the least intrusive way was to drill "keyholes" into the backsplash. |
|
 |
|
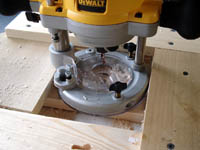
I drove screws through the wall into studs and transfered the locations to the backsplash.
Then I
built a quick guide for my plunge router which I used with a keyhole bit. |
|
 |
|
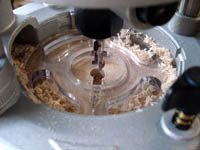
| Here's a close-up of the keyhole. |
|
 |
|
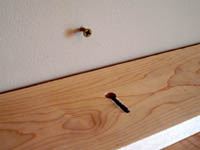
| Then I simply slipped the backsplash keyholes onto the installed screws, adjusting as necessary. |
|
 |
|
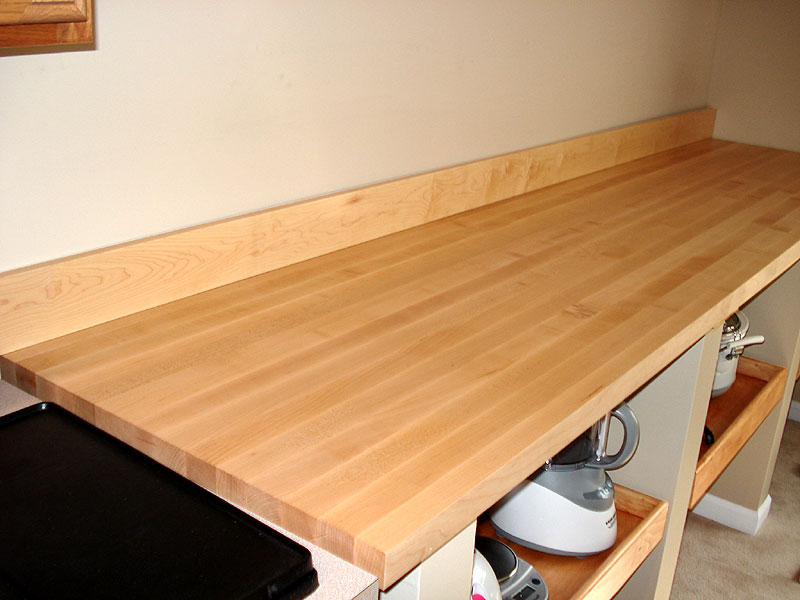
| Here are all of my small appliances organized on the drawers along with my recycling bins and step stool below. |
|
 |
|
| Just about done! I just need to complete installation of the drawers and re-paint the baseboards and I should be done! |
|
|
|