| |
|
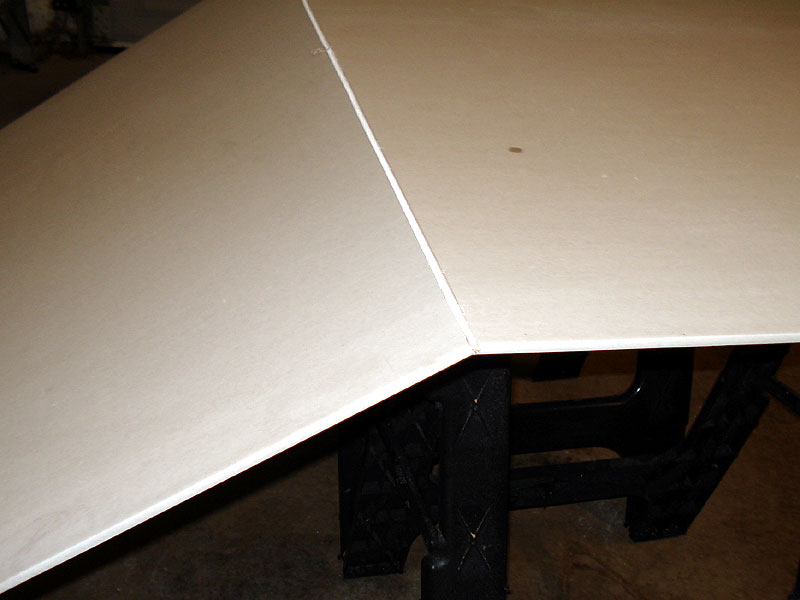
click for a larger image |
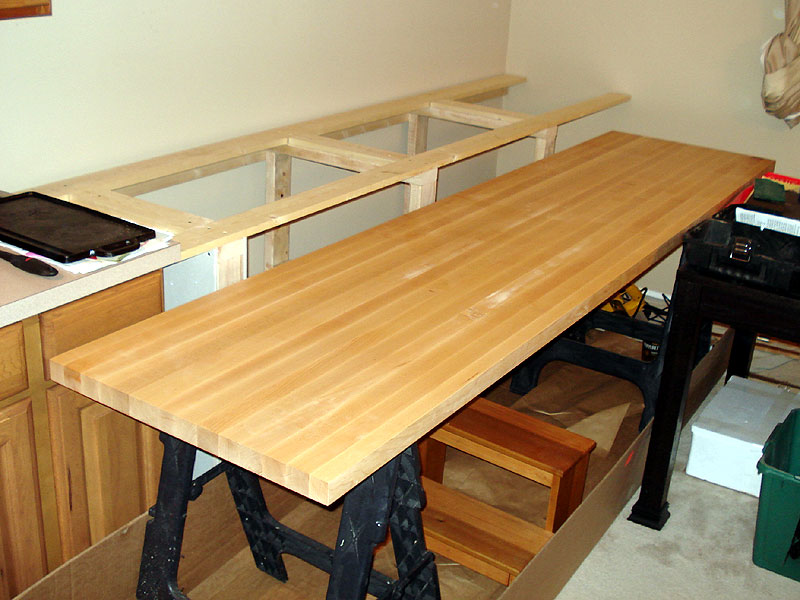
The next step was to start hanging dry wall, and then mount the counter top. Since I'm building on top of the carpet (so the counter can be removed one day if necessary) it'll need some time to settle before I secure it to the wall.
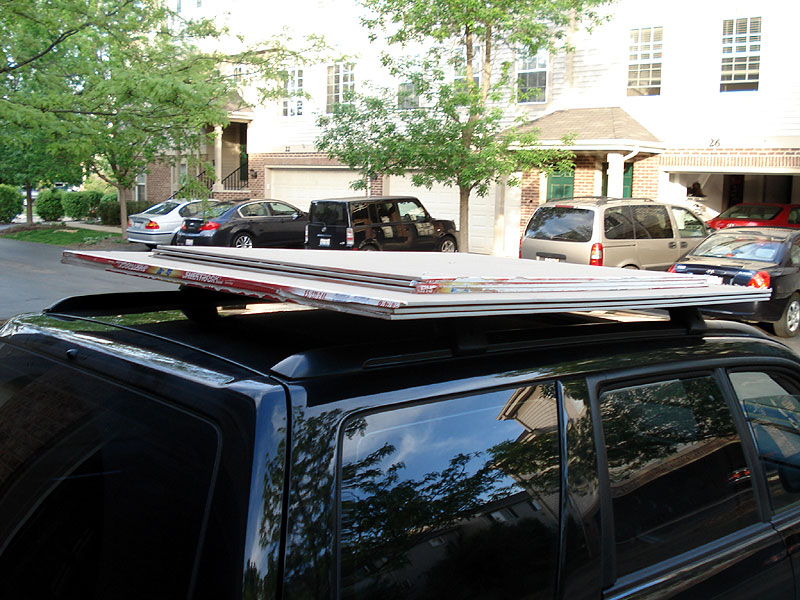
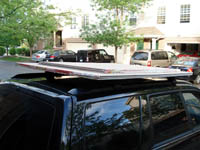
So I went to get drywall from Home Depot, another great use for my Forester. |
|
 |
|
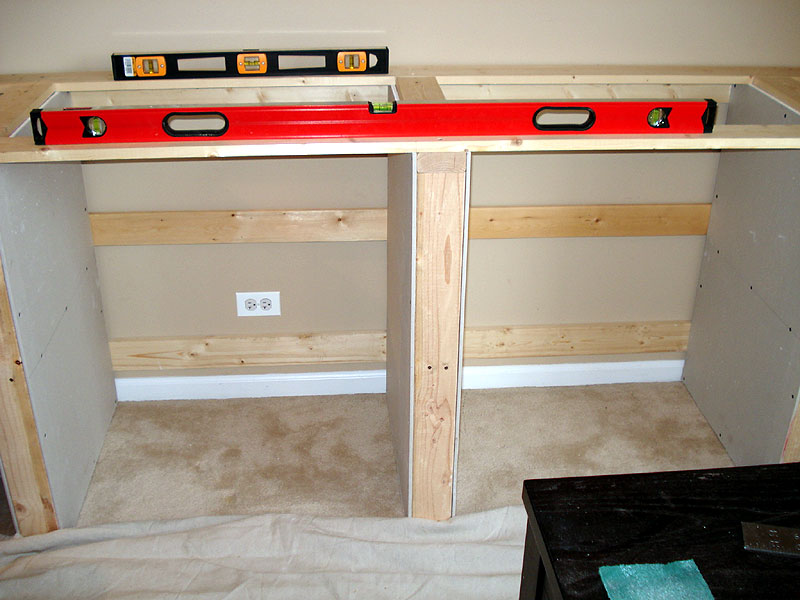
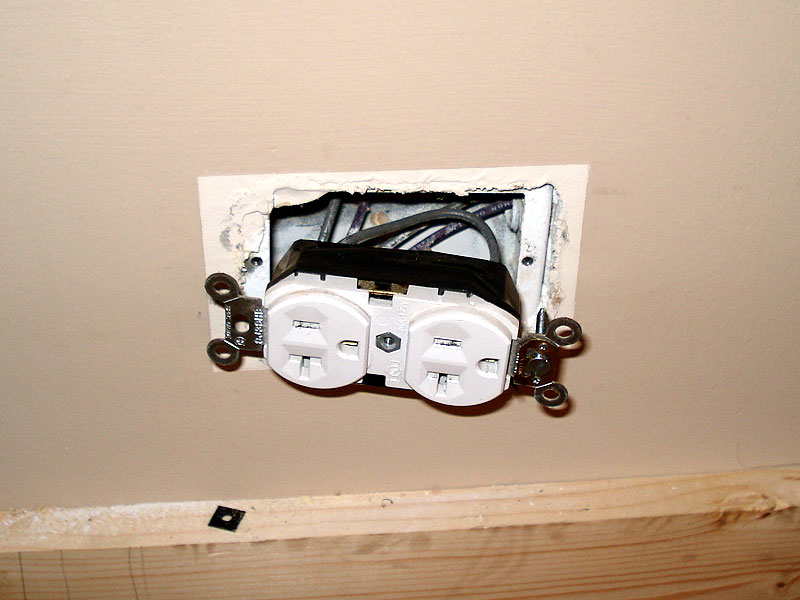
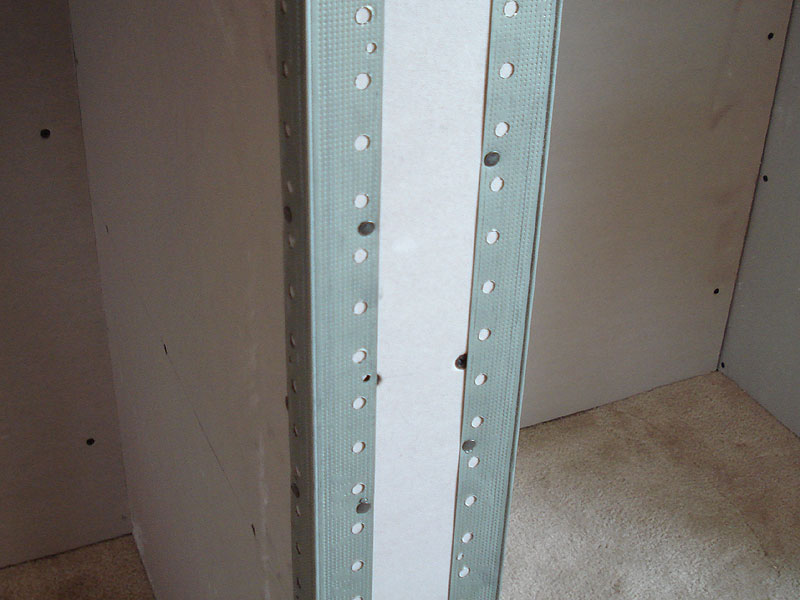
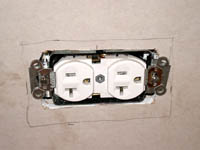
Before getting started, note the third back runner that I put about halfway up the back.
Also note the outlet on the left side that will be covered by drywall. More on that later. |
|
 |
|
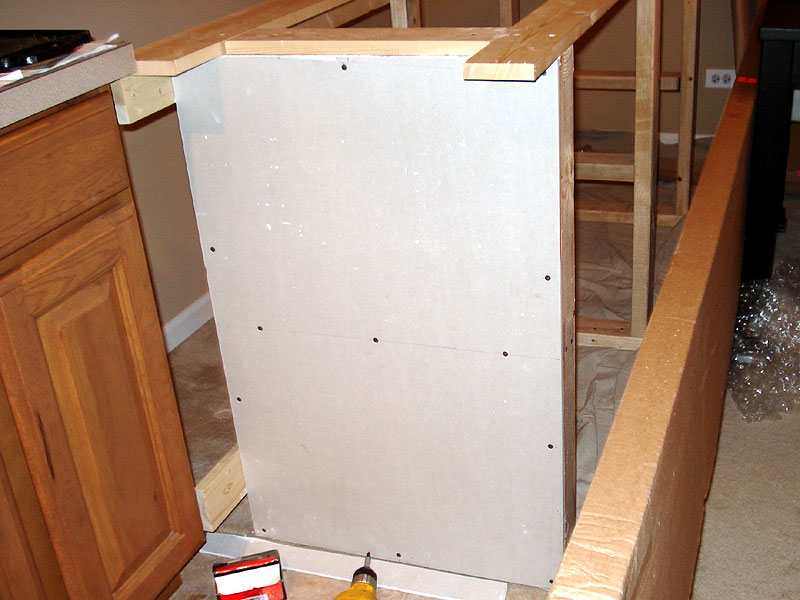
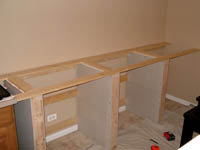
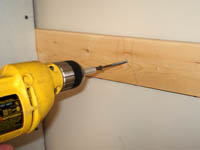
At this point I only hung the side dry wall since I hadn't anchored the runners to the studs, which will be after the counter top is positioned and has time to settle in the carpet.
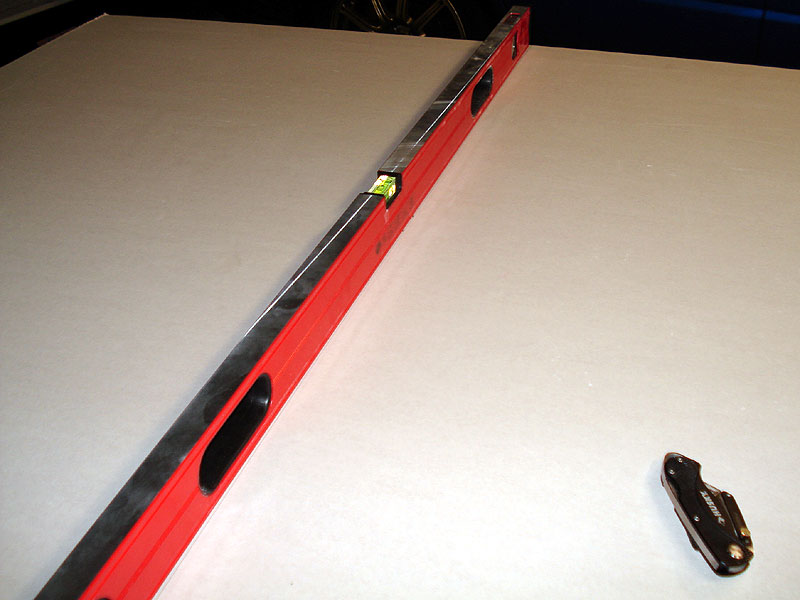
To cut drywall, start by measuring and drawing the cutting line. You should use a drywall square or a long straight edge. I used a 4' spirit level. |
|
 |
|
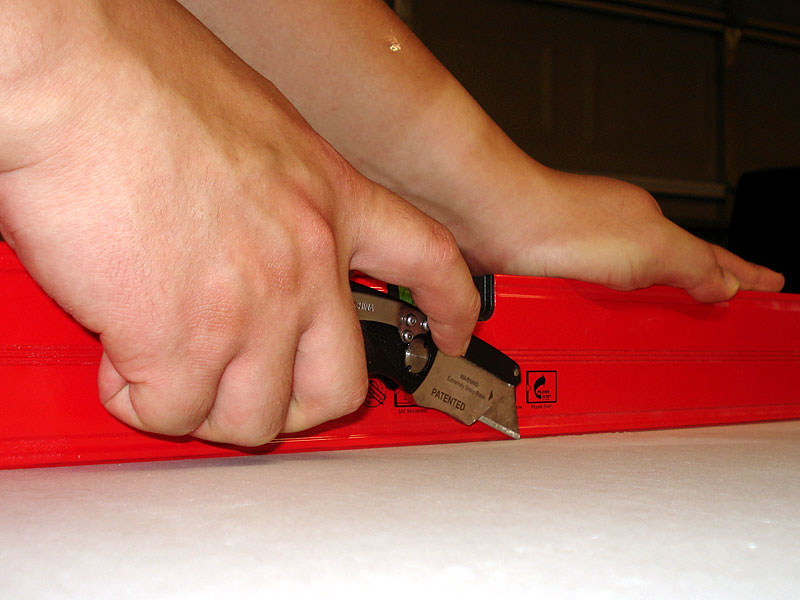
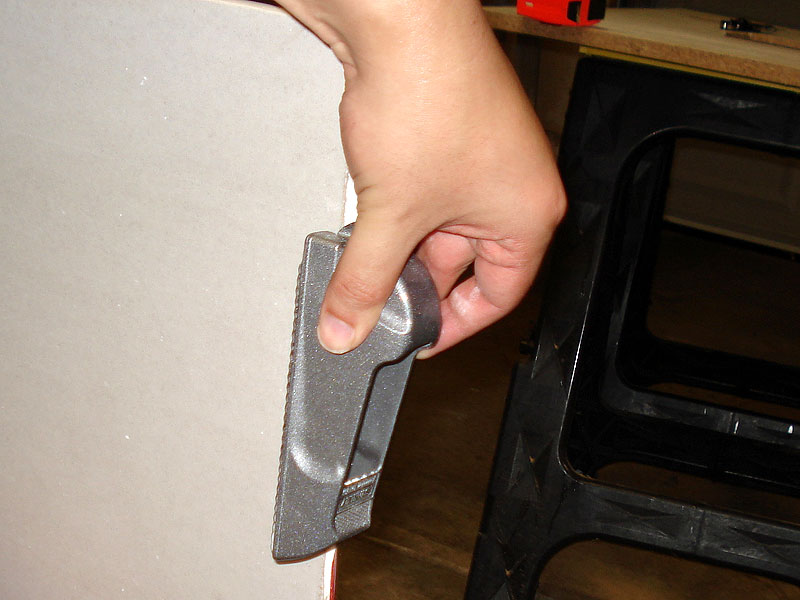
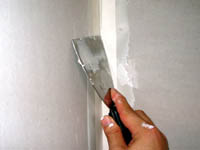
Score the top/front (white) paper with a sharp utility knife, following the straight edge or line you drew.
Make sure you have cut through the paper, going over the score a second time if necessary. |
|
 |
|
| Snap the dry wall in two at the score line. |
|
 |
|
| Use the razor to cut the bottom/back (brown) layer of paper from the back and complete the cut. |
|
 |
|
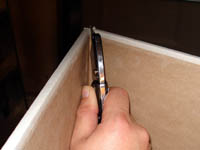
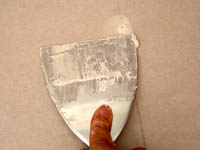
| Clean up the edges with a small rasp. |
|
 |
|
Making sure the frames are square, fasten the drywall every 12" (8" around joints) with drywall screws which should be driven just enough to dimple the paper.
The screw head should not protrude past the level of the drywall (almost like it was countersunk). The slight dimple actually adds tension and strengthens the drywall. However, don't drive the screws so far that it tears a hole in the paper b/c then you've broken that tension.
You'll notice that the frames are significantly sturdier now. |
|
 |
|
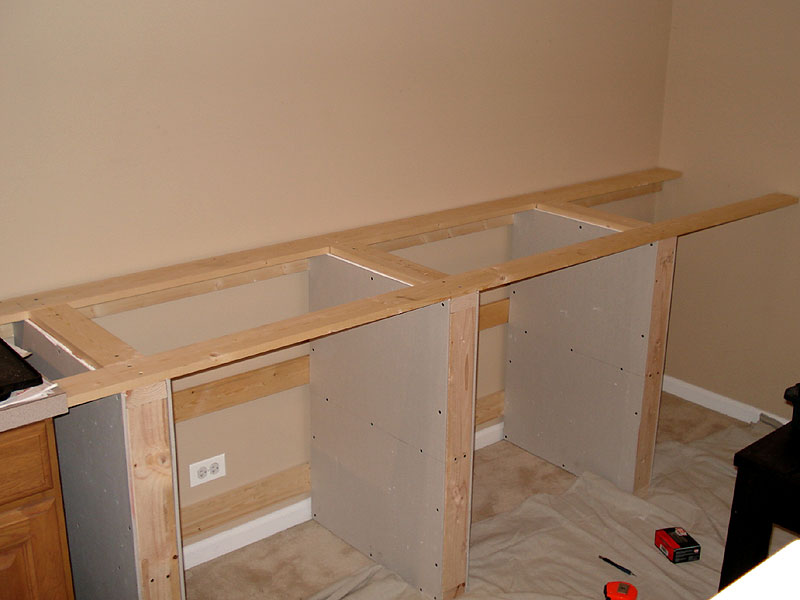
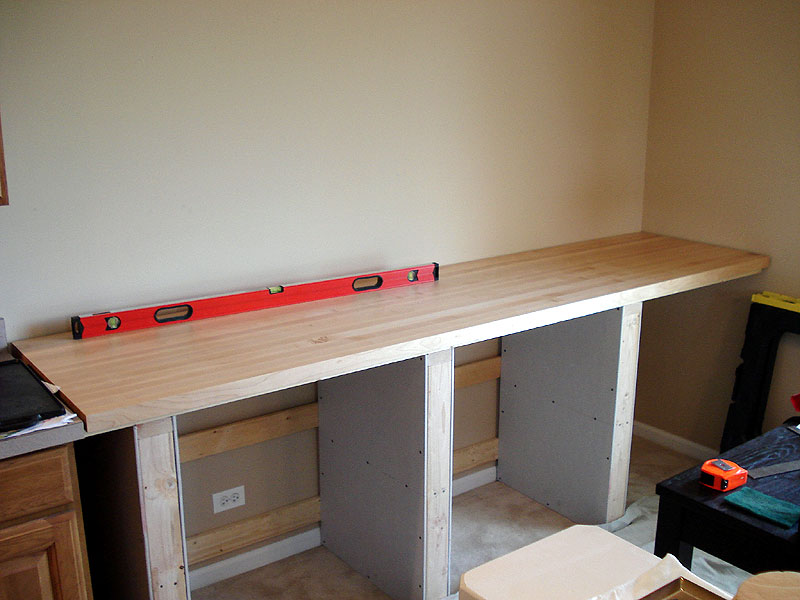
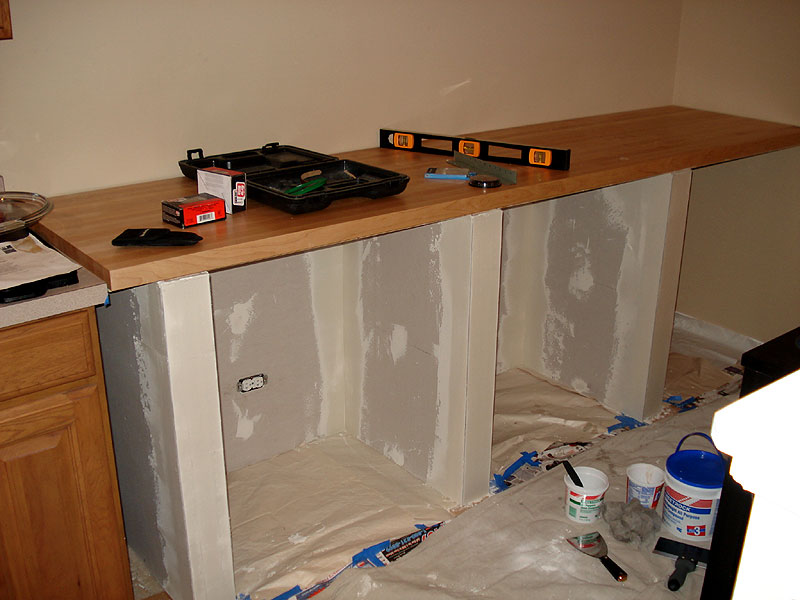
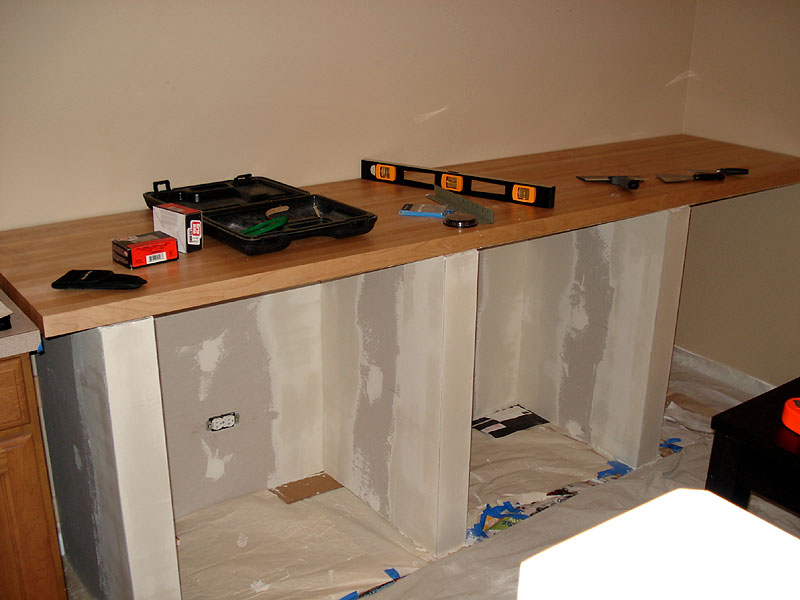
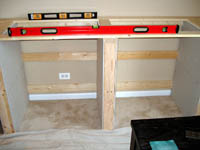
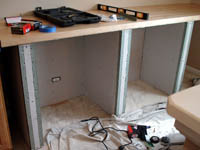
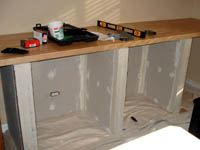
| Once all the sides are done, get ready for the counter top by checking level and all that good stuff. |
|
 |
|
Here you can see me staging the counter top for installation.
When you're ready, move the counter top onto your base. |
|
 |
|
| Align the counter top how you want it and check for level yet again, making any necessary adjustments with shims and such. |
|
 |
|
| Since I was installing over carpet, I left it to settle for a few days. Then, since my wall wasn't perfectly plumb, I shimmed the front of the frame so the back would line up with the wall. |
|
 |
|
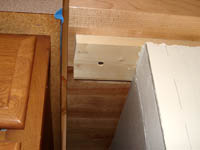
Meanwhile, I located the studs with a stud finder. If you look carefully you can see my pencil marks. Since this was a double-layer drywall (fire code requirement for garage walls to slow down fires) the accuracy is a bit off, so I marked the located edges and then split the difference to interpolate the center of the stud.
I also double checked the distance between all detected studs and found them to be spaced 16" apart (as required by most building codes), supporting the detected locations. All my markings turned out to be dead on. |
|
 |
|
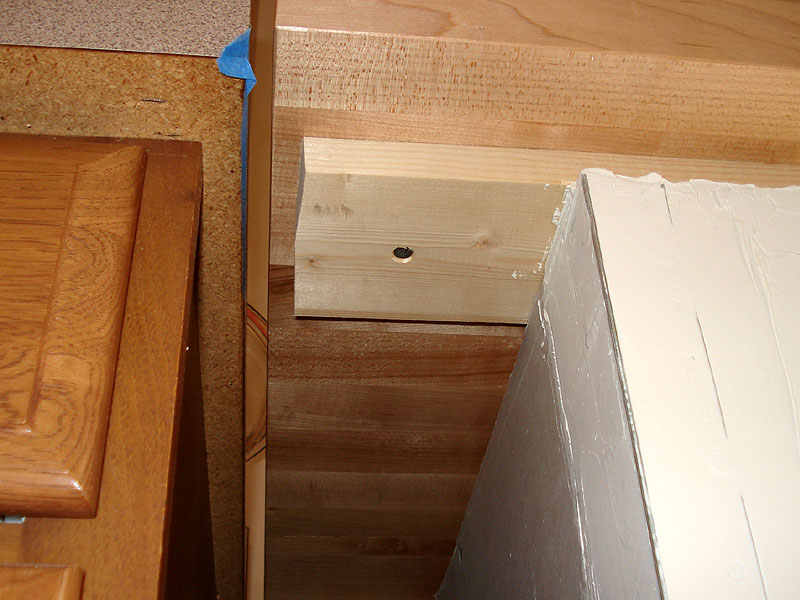
| With the settling and shimming complete, I started to anchor the base. Since I was going through 1"x4" pine and two layers of drywall. I used 3" screws through each of the back runners. |
|
 |
|
| Re-align the top, drill pilot holes, countersink and then drive 1-1/4" screws to fasten the top. |
|
 |
|
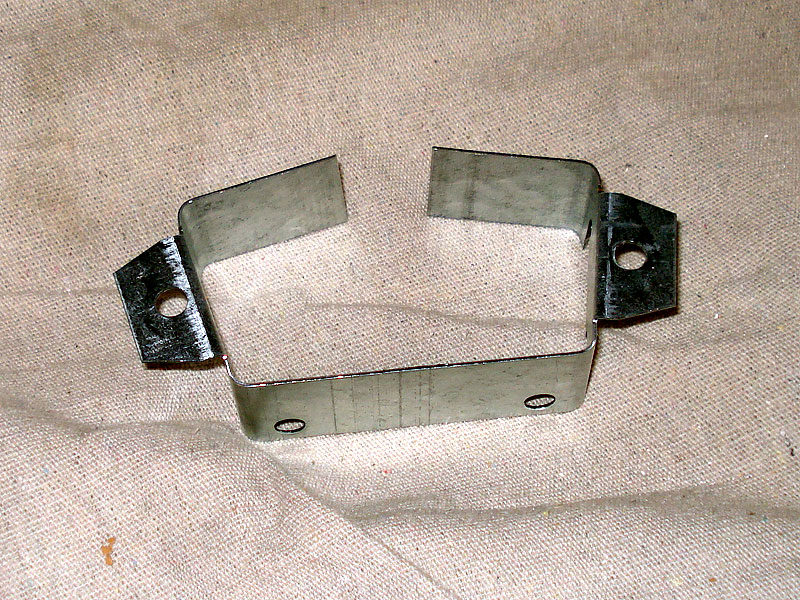
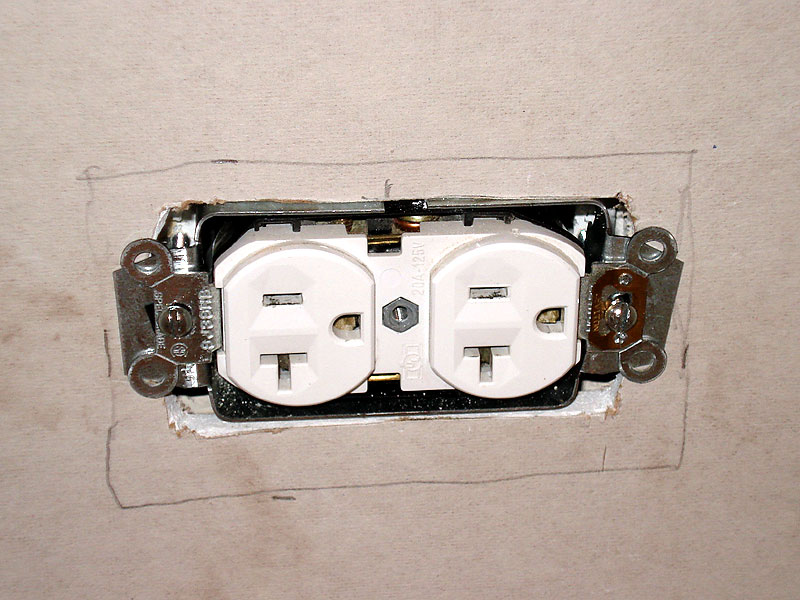
To finish the drywall, I had to figure out what to do with the outlet that would be covered up by the drywall. I knew there was something to address the issue since renovators often put in extra dry wall and need to extend the socket. It just took me a while to figure it out that I needed a "Goof Ring."
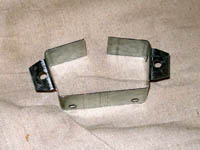
This is aptly named because one person usually installs outlet boxes under the drywall but then someone else will decide to put in tiling or a backsplash that affects the depth of the wall. To fix this goof, an adjustable depth ring fits in the hole and provides protection around the outlet receptacle to minimize fire hazards. |
|
 |
|
You should switch off the relevant circuit breaker for your safety. Remove the face plate and loosen the two screws holding the outlet in. For additional safety, wrap the outlet with electrical tape so the leads are not exposed.
Make the necessary measurements and cut the corresponding hole in the new drywall panel. |
|
 |
|
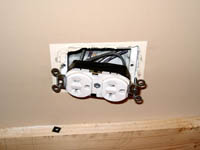
Pull the outlet through the hole you've cut, then wrap the goof ring around it and place the outlet and ring into the hole, lining up the mounting holes and fastening them with new #6-32 bolts. I had to use 2" long screws to take into account the new drywall and the runners.
Fasten the drywall panel before fully tightening the outlet. |
|
 |
|
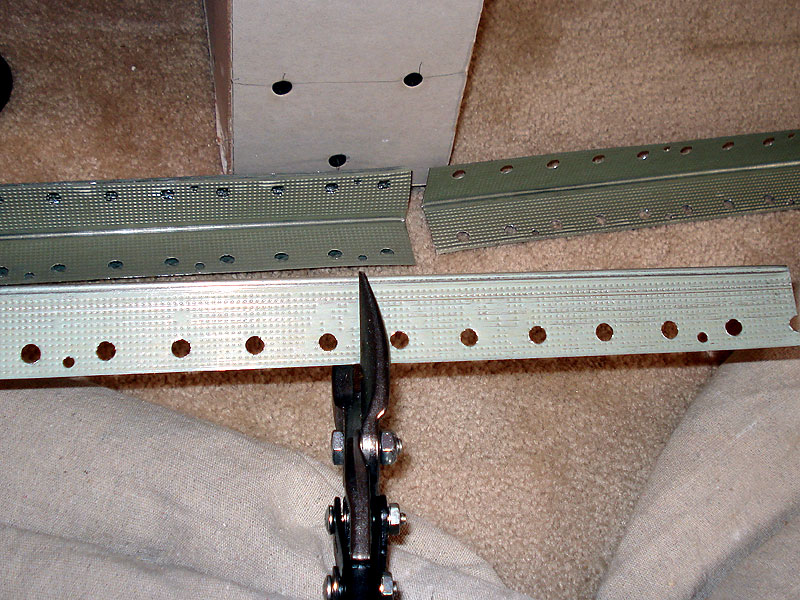
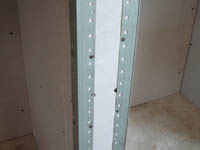
Outer edge corners should be protected from things bumping into them with a metal corner bead.
Trim the corner bead using tin snips. |
|
 |
|
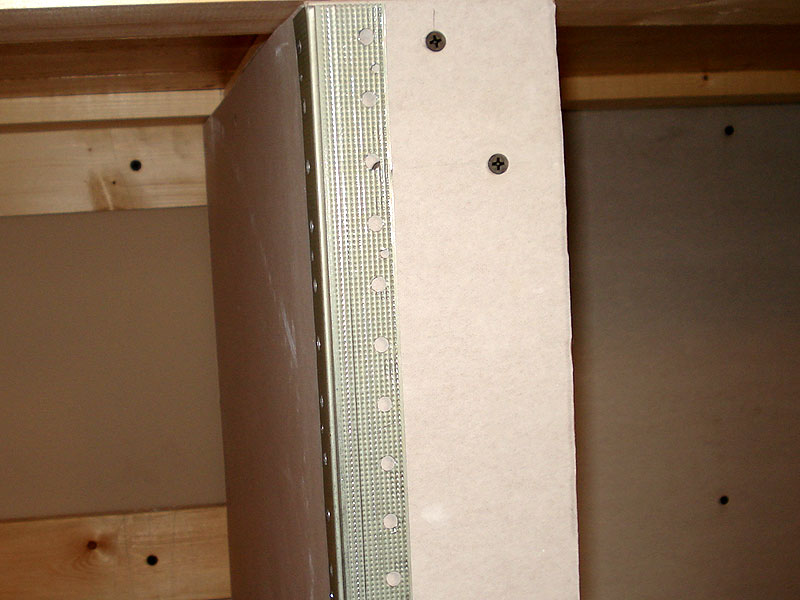
| Align the bead and fasten with ring shank nails. I used 1-1/4" long nails. |
|
 |
|
| Nails should be used every 9 inches or so. |
|
 |
|
| Here you can see all the drywall, beads and the outlet installed and prepared for mud (drywall joint compound). |
|
 |
|
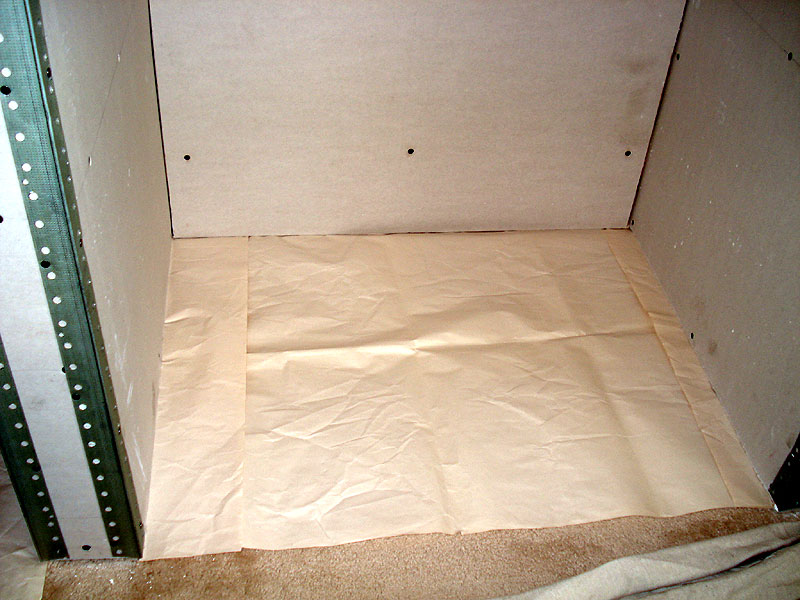
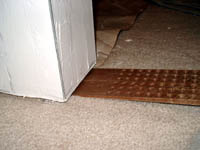
Before starting with the mud, cover up any flooring that you don't want getting dirty.
I just used paper tucked under the drywall. |
|
 |
|
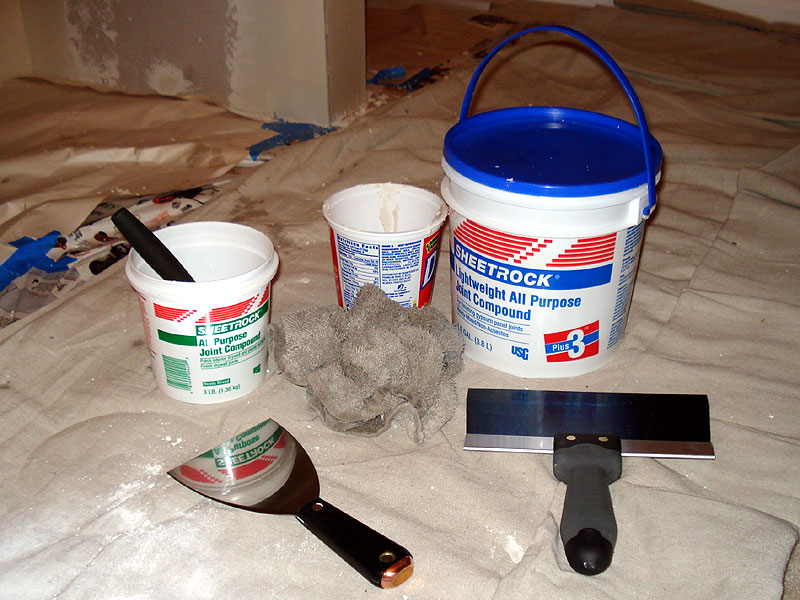
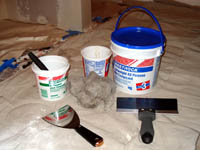
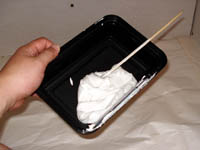
Here are the tools and supplies I used.
Back row: old plastic container to hold water for cleaning up, putty knife for mixing and scooping mud, old plastic container to hold dried mud and other refuse, one gallon container of mud.
Front Row: 4" taping/putty knife for first coat of mud, wet rag for cleaning up, 8" taping knife for second and third coat |
|
 |
|
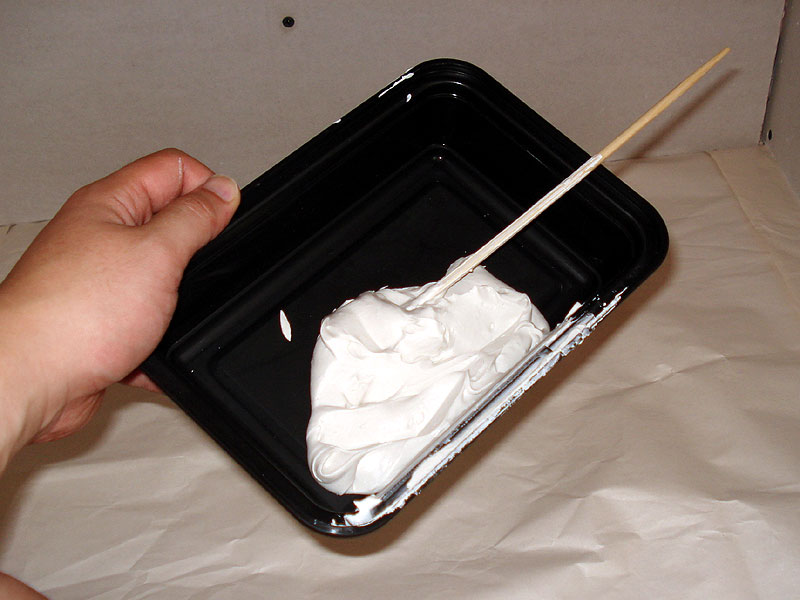
Open the mud container and mix it before use. You can add a small amount of water to loosen it up if you need to.
It will also help to have a mud tray to hold the mud. Instead of spending money on a metal tray, I just used a take out container. |
|
 |
|
All of my seams were in corners so I will focus on that. The concept is the same for a straight seam, just not as involved.
First measure a piece of drywall tape to cover the seam. Using a small taping/drywall knife (4"-5") lay down a thin layer of mud on both sides of the seam. |
|
 |
|
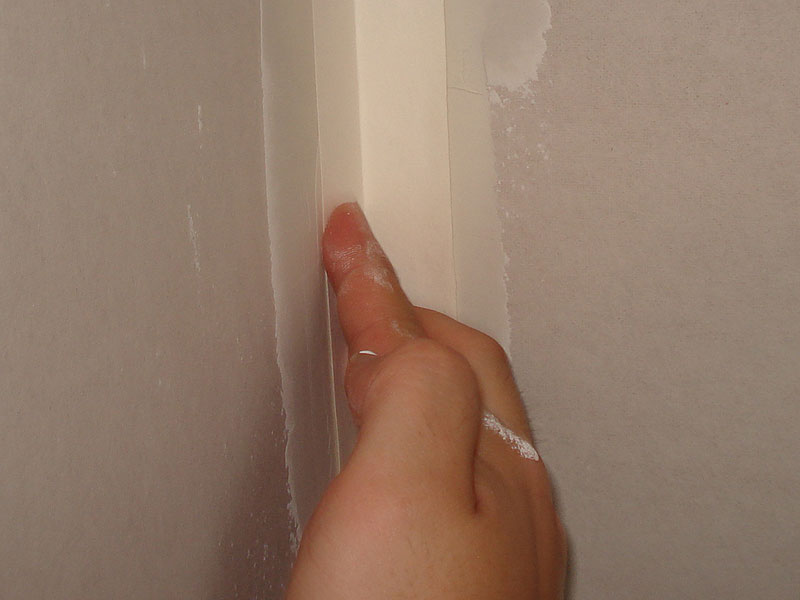
For the corner, fold the tape in half down the center crease, then position in the corner.
|
|
 |
|
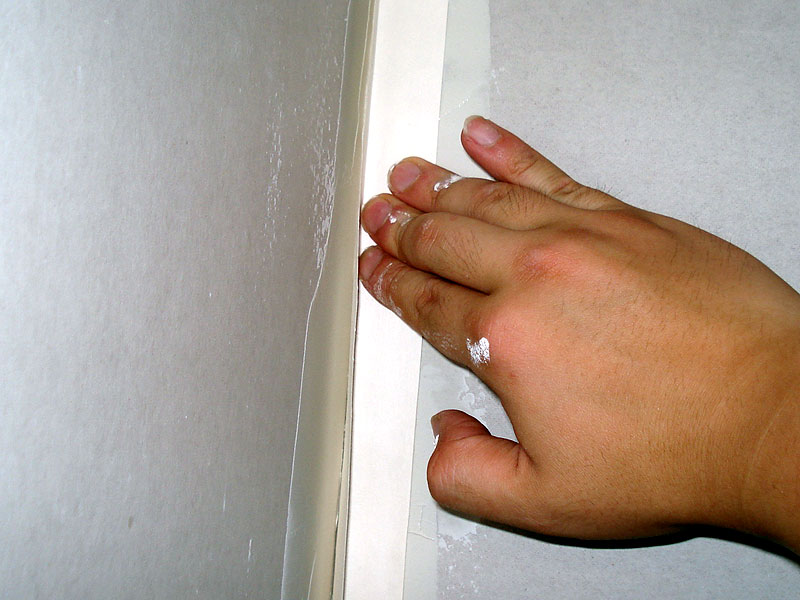
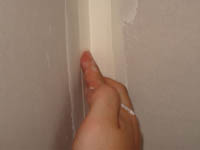
| Embed the tape in the mud with your fingers on both sides. |
|
 |
|
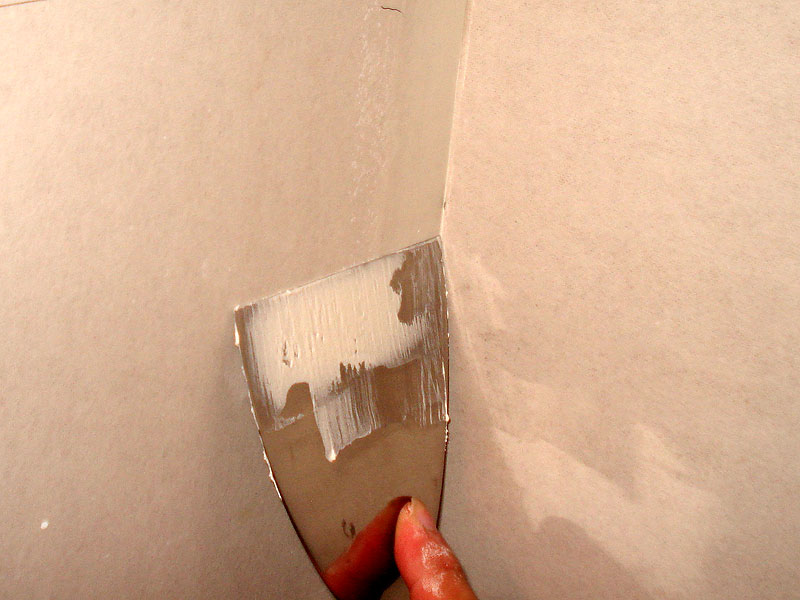
| Further embed it by pulling the taping knife over the top with light pressure. |
|
 |
|
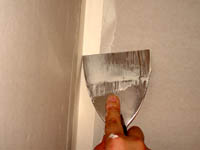
Then cover the paper with another thin layer of mud.
The outer corners are the same but since you have a metal bead, you will need a lot more mud to smooth the edges. |
|
 |
|
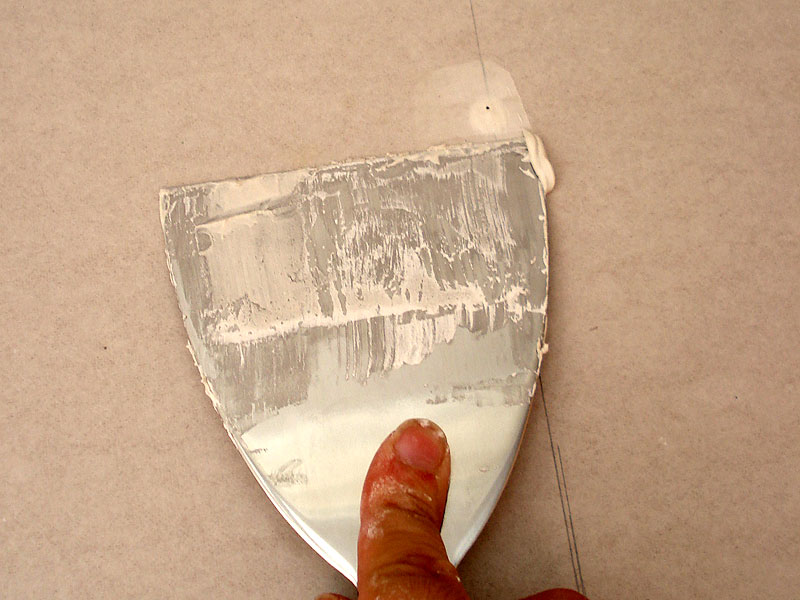
| Finally, fill all of the screw holes with a small dab of mud, then smooth over the entire dimple you created and finish with a single pass perpendicular to your original filling. |
|
 |
|
| Here is what it looks like after the first pass of mud. There will need to be three coats, each one a little wider to smooth out the surface as much as possible. |
|
 |
|
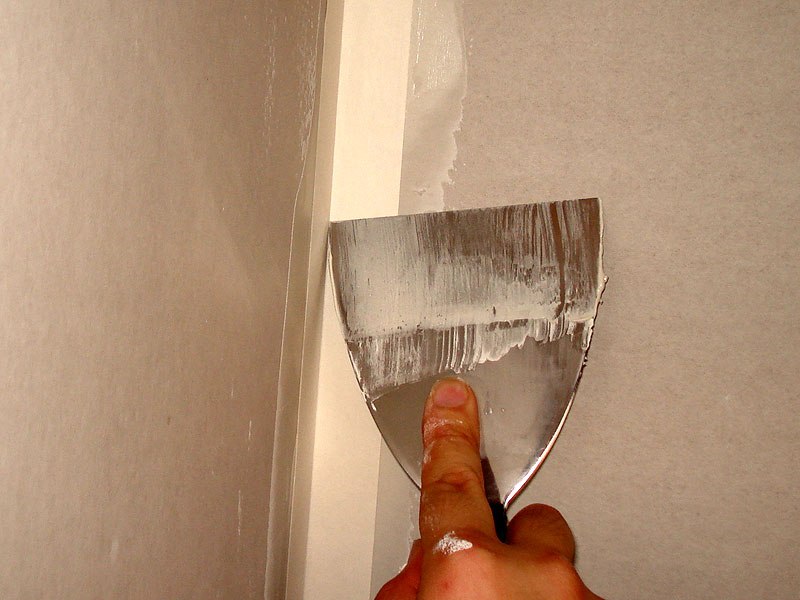
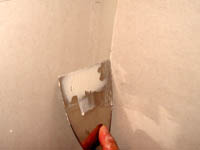
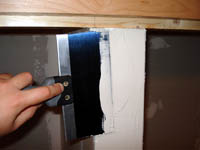
Allow to dry a full day then clean up any particularly rough edges. I just used my 4" putty knife to scrape some of the jagged edges or unwanted chunks.
Then, apply a second code using a larger 6" or 8" taping knife and feathering out the mud farther out to ensure it is flat.
Here you can see me smoothing out the outer corners with my 8" taping knife. |
|
 |
|
Here is what it looks like after the second coat of mud.
Try to keep the mud smooth. If you end up with rough spots or chunks, you can sand them off before the next layer. I found that using my 4" taping knife to scrape off chunks worked well, instead of making a bigger mess with sanding. If necessary, sand lightly with small grit sand paper but most resources I've found recommend avoiding this b/c of the dust it kicks up. |
|
 |
|
And here is the third and final coat of mud. Try to make this layer as smooth as possible.
If needed, clean up any larger problems with the taping knife. If you only need very fine smoothing, you can do wet sanding which creates less dust. Wet a drywall sponge, which has one course side, and ring it dry so it's just damp and then smooth over the mud with the course side. The sponge will trap the dust making less of a mess, but you'll need to rinse the sponge frequently so it doesn't get dirty and clogged up.
With the third layer complete, all major construction is complete! Next it just needs some finishing touches! |
|
 |
|