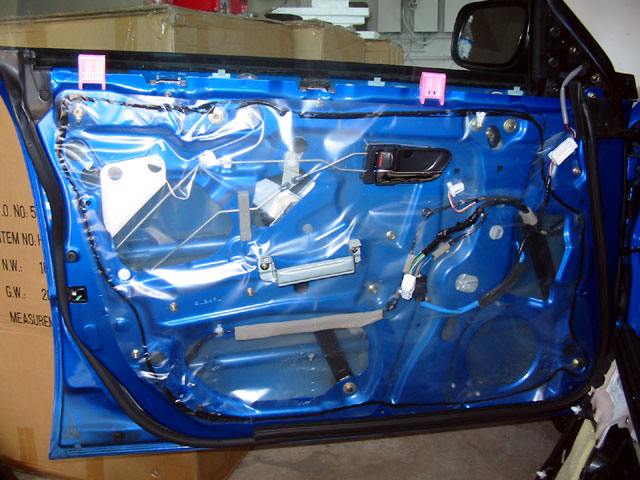
Here is the inside of the door once the
panel has been removed.
Note the plastic cover that is secured by a bead of black goo. I read
that you should take the opportunity to make sure the plastic cover
is secured properly so press it down along all the black goo to insure
it is sealed.
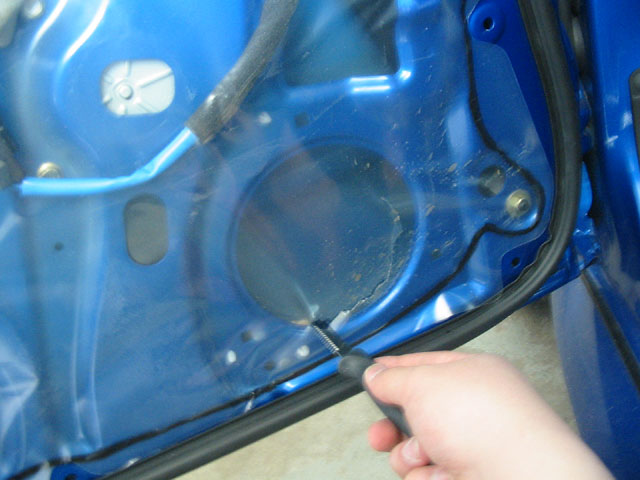
Get a sharp knife and cut a circle out
of the plastic lining where the speaker is going to go.
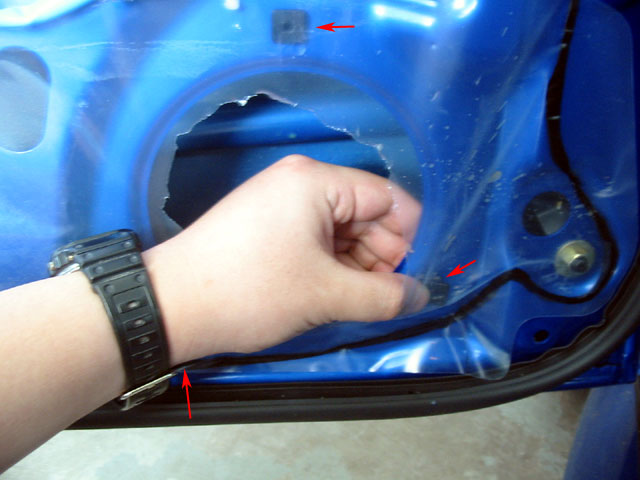
Now, put the nylon fasteners that came
with the IAPerformance spacers into the three square holes in the
door. This is where the spacers will attach to the doors.
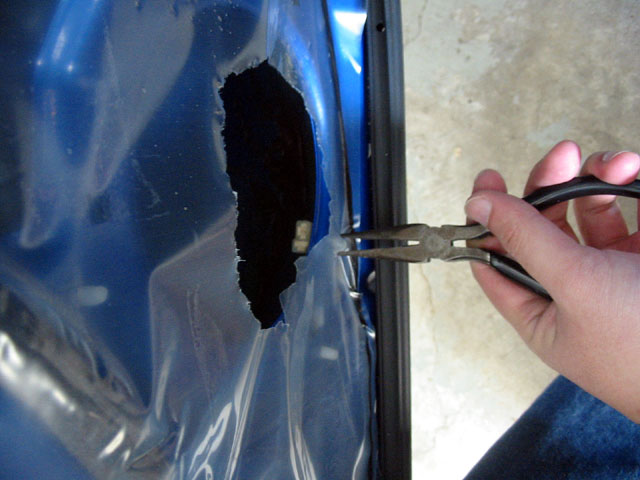
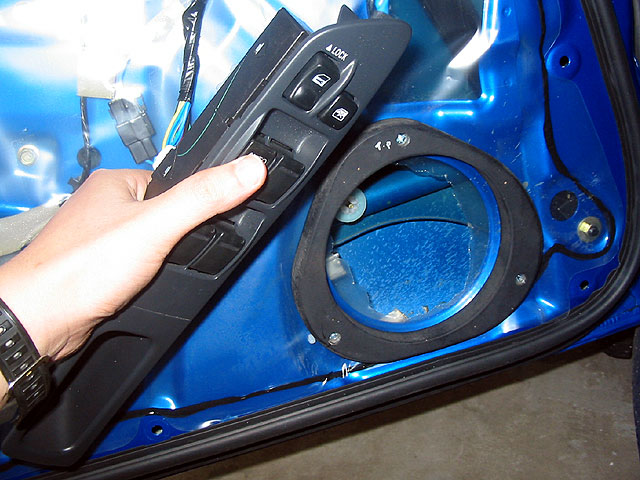
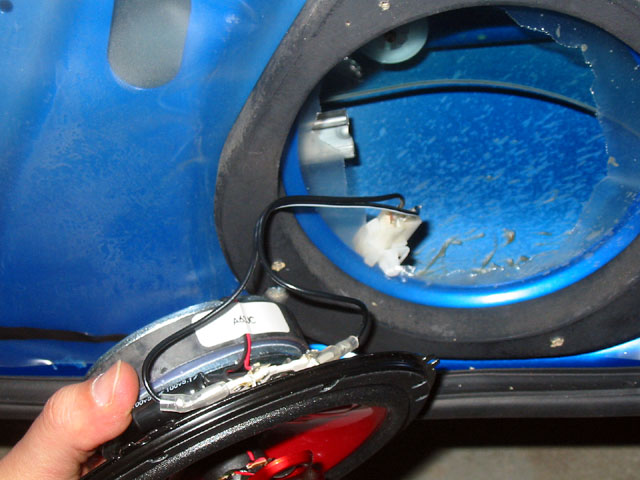
Look inside the hole and attached to the
bottom you should find the speaker wiring harness attached to the
door with a clip. Juse use some pliers to squeeze the clip and the
harness should come free.
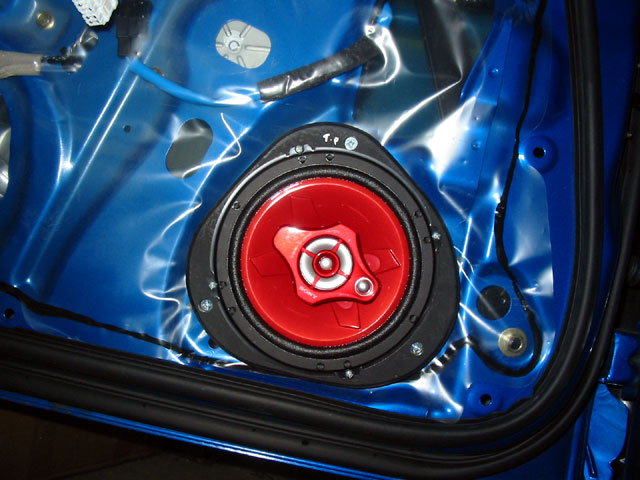
Now, install the spacers. Note that the spacers are different.
Make sure you use the one marked drivers (or with no mark) and taht
the top is at the top. The other spacer should be marked Pass. Top.
Use three of the silver counter-sunk wood screws to fasten the spacers.
At this time you should test your speaker
fitment. Put the speaker in and get it aligned and make sure it is
not interfering with anything in the back. You may want to re-connect
the armrest controls to lower the window to make sure the speakers
don't hit the window when you roll it down.
If they don't fit, use the IAPerformance guide to add more spacers
to your adapters until you get the speakers to fit the way you like.
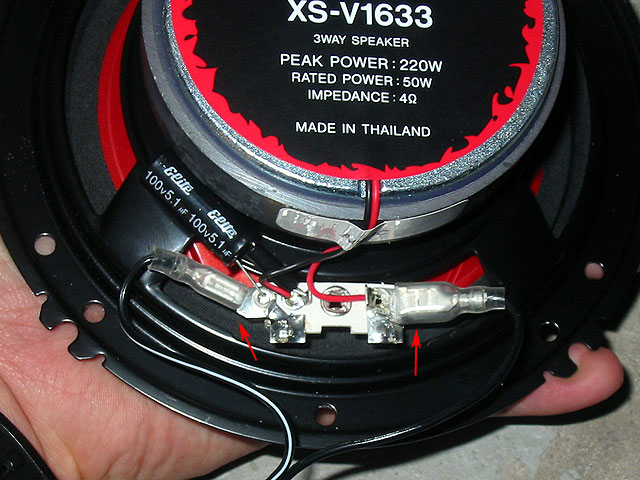
If all is good, start wiring the speakers.
My speakers came with wires with spade type connectors on one end
to connect to the speaker.
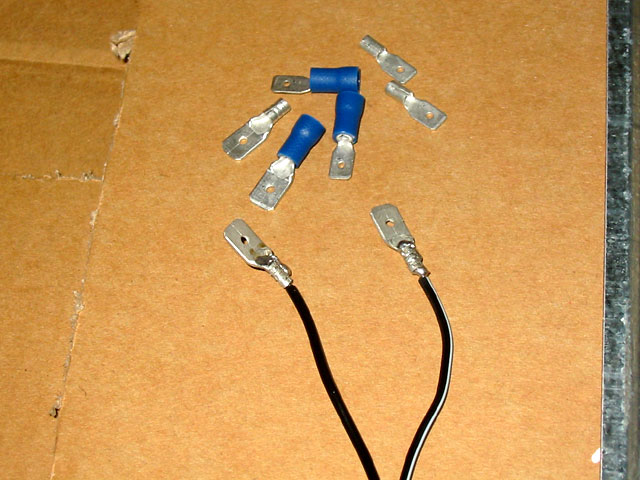
The other end was bare wire so I went
to Radio Shack and picked up additional spade connectors to solder
onto the bare end of the wires
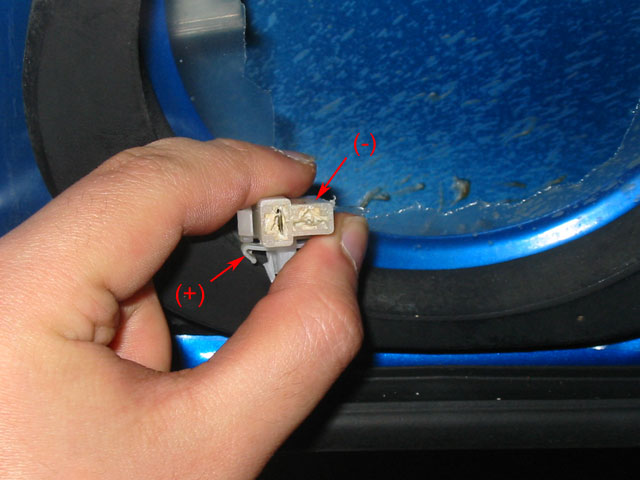
Now, take a look at the speaker harness
in the door. If you hold it so the clip part is down or up, you will
notice that one slot is vertical and the other is horizontal. The
vertical is positive (+) while the horizontal is negative (-).
You'll also notice that the harness is filled with silicon goop. Most
people speculate this is to prevent corrosion of the connector. You
can dig a little out with your fingernails, but it should work fine
if you don't.
Connect the other end of the speaker wires
to the harness. Double check your speaker fitment.
If all is good, install the speaker using
the 4 small wood screws provided with the spacer kit.
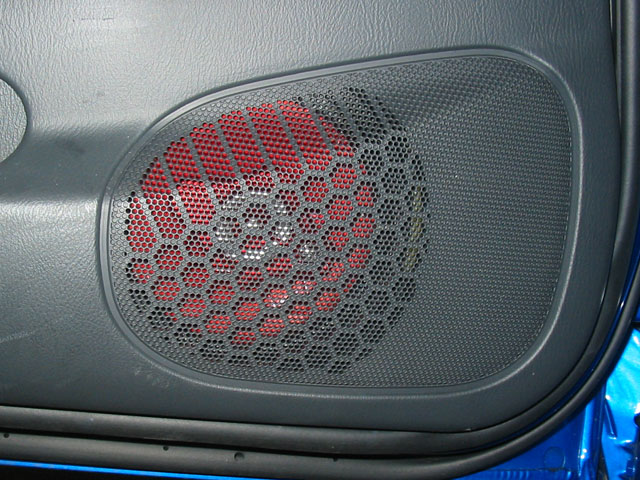
You're almost done!
Simply replace all the door panel parts
in reverse order and you sohuld be done!