| |
|
Click an image to enlarge. |
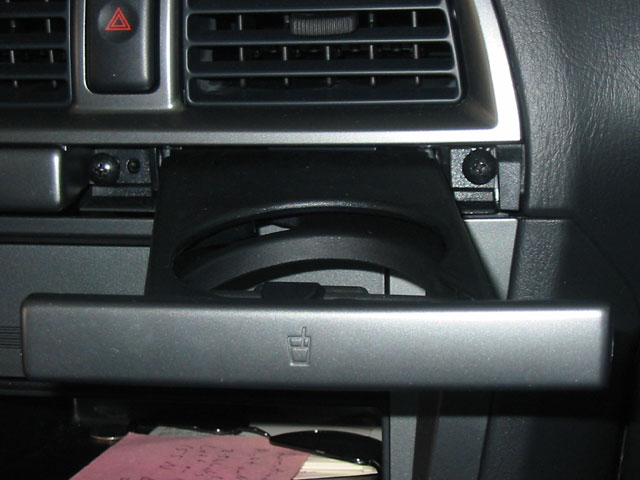
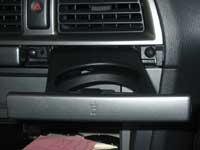
| Now to install the head unit. First, we
have to open up the center console. Open the cup holder and you will
see two screws on either side. Take those out and carefully pull the
entire cup holder mechanism out. |
|
 |
|
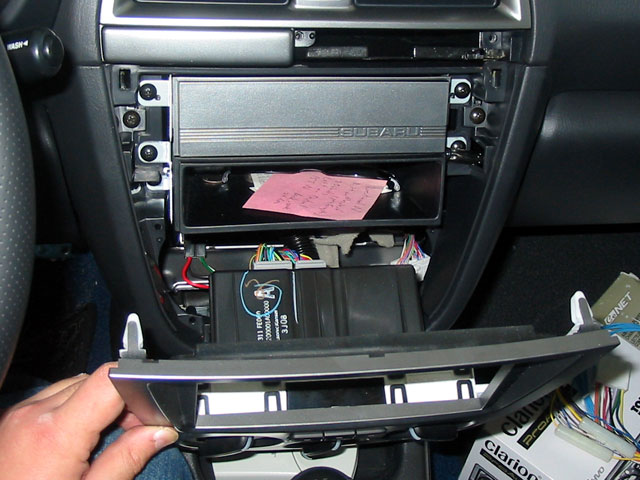
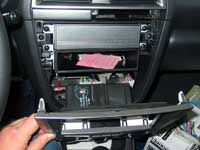
| Now carefully pry off the face plate for
the console. There are four clips, one at each corner. I started with
the top right one, then moved clock-wise and popped them all out. |
|
 |
|
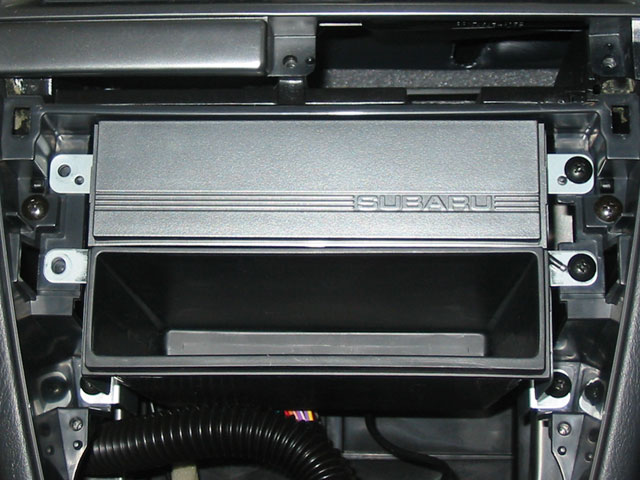
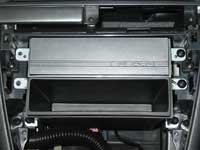
| The factory mount has 6 screws holding
in the Subaru plate and the storage bin, 3 on each side. Remove them
all. |
|
 |
|
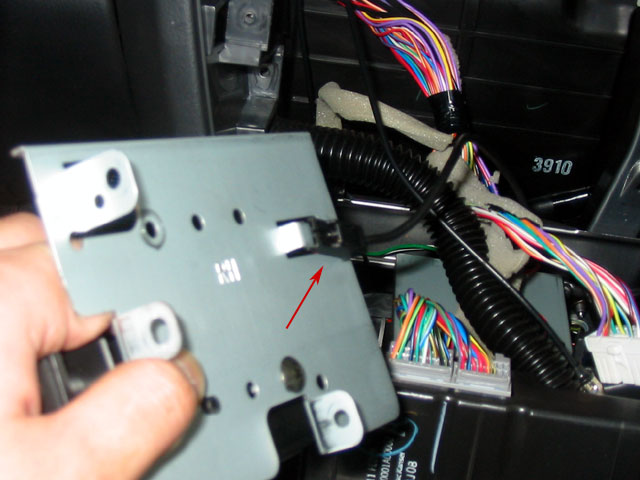
| Pull out the mount and you will notice
a black wire attached to the right side. I'm not exactly sure what
it is for, but the general consensus on the forums is that it's a
ground wire. Either way, leave it where it is, just know that it's
there and realize that it's a little short and may limit your movement
a little. |
|
 |
|
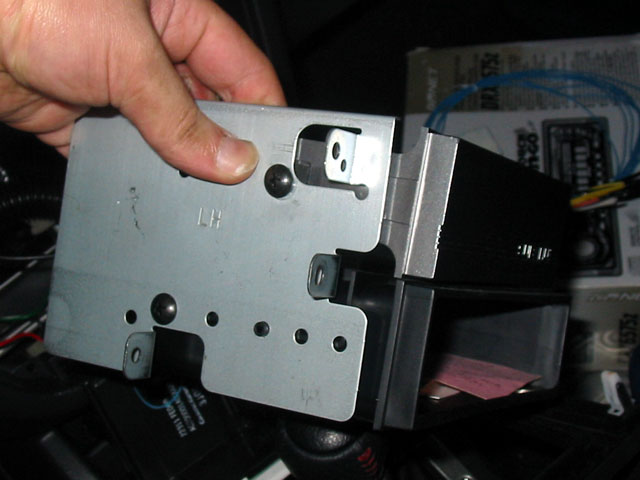
| You will see that the Subaru plate is
held on by two screws, one on each side. Remove these and then remove
the plate. |
|
 |
|
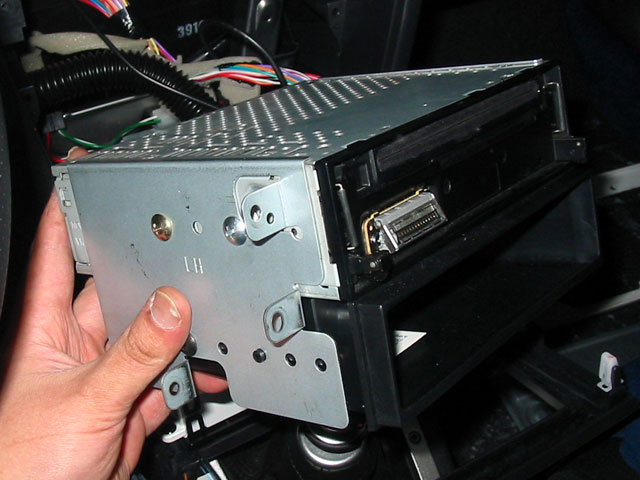
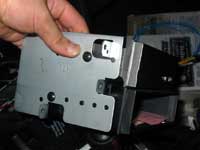
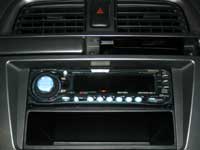
Slide your head unit into place and attach
with 4 mounting screws that came with your head unit. (I had to pick
up some from Best Buy since my HU was used). You can also use the
two screws from the Subaru plate, but you'll need 2 more in addition.
If you're wondering, my HU has a detachable face so it is removed
now during the installation. |
|
 |
|
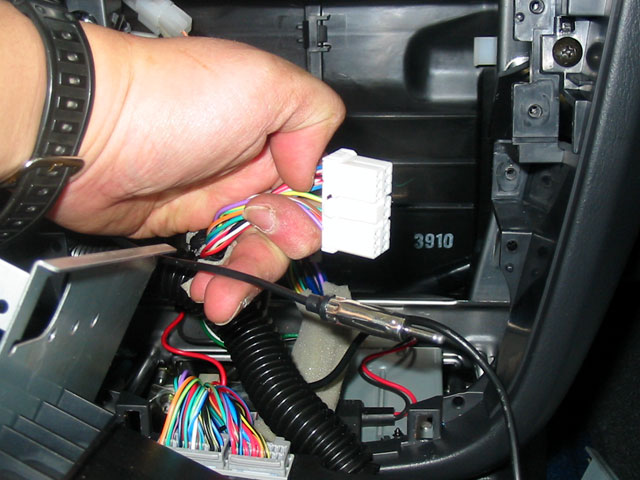
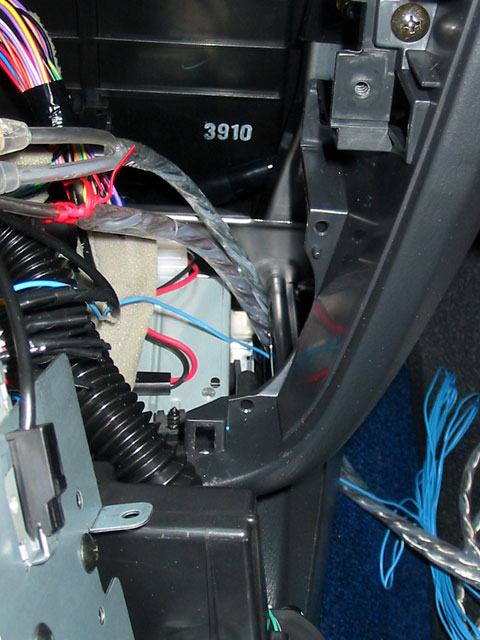
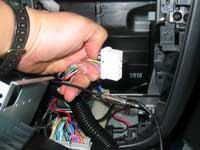
Now, if you look into the console, you
should see a loose wire harness for the radio and a cable for the
antenna.
The antenna will hook up to the head unit directly, but the antenna
cable is a bit short so you should save that for last. The wire harness
should fit the Subaru harness that we welded earlier so connect those
two. |
|
 |
|
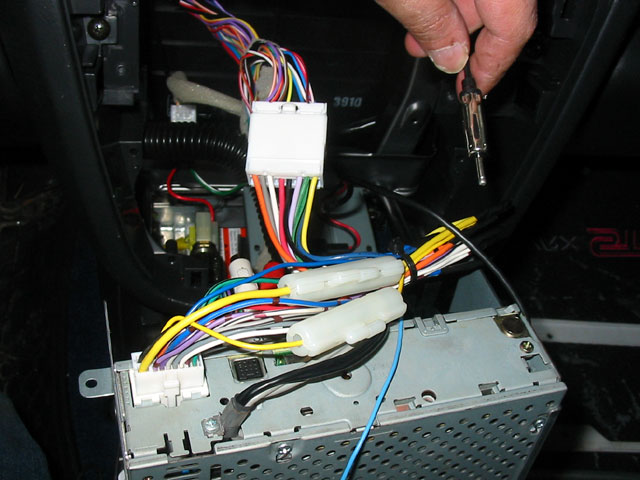
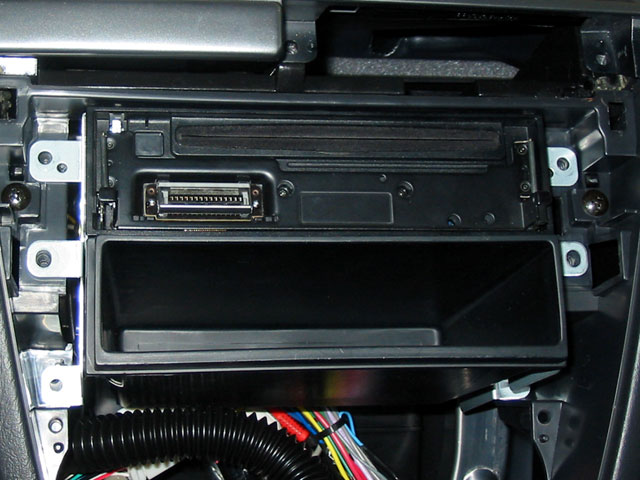
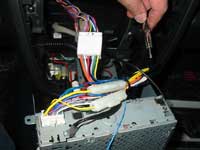
Now plug the head unit end of the harness
into the head unit.
If you have no amp in your trunk, you can just attach the antenna
and skip the next few steps which are about running RCA signal cables
to the trunk for the amp. |
|
 |
|
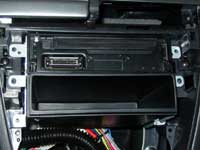
Get your RCA cables and put them in the
passenger foot well. Take one end of each and feed it through the
bottom right of the console and pull them up so that you can plug
the RCA cables into the back of your head unit. (if your head unit
doesn't have RCA outs, you can run low-level speaker signals instead
by splicing into the harnesses; see my Accord stereo for that). You
may wish to mark the RCA cables so you know which set is for the front
and which is for the back.
You will also need to feed the amp turn on lead down through the bottom
right of the console. |
|
 |
|
| Once all the wiring is complete, you can
put the mount and stereo back into the console and tighten it down. |
|
 |
|
Replace the front face plate and the cup
holder and this part is done. I put the faceplate for my HU on as
well.
If you have no amp in the trunk, you are done with this section. The
next page is about how to wire the trunk and set up your subs and
amp so you won't need that eather. Instead, you can proceed directly
to Installation 4 to see how to install speakers into your front doors. |
|
 |
|
| If you do have an amp, then you have a
bunch of wires sitting in your passenger foot well. If you have enough
wire, you can run them to the side and put them in the door sills
like we did with the power cable. I ran them under the center arm
rest, then under the right rear carpet, under the door sill. |
|
 |
|
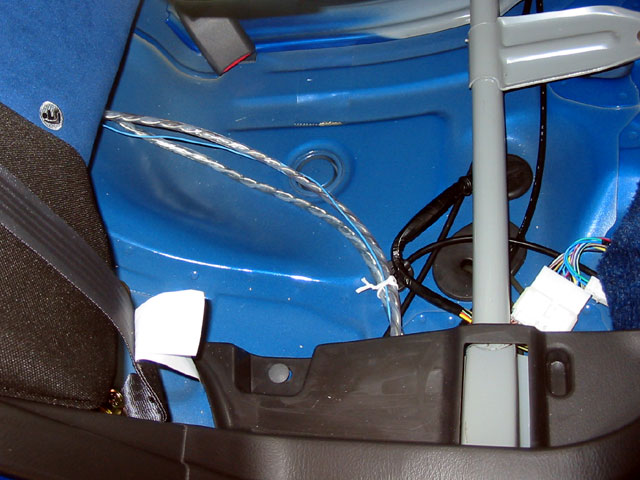
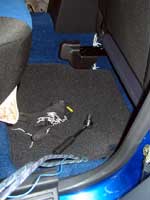
| This time, remove the bolt holding down
the back seat cushion for the right side, then pull the cushion forward
and up. Run the RCA cables and the amp turn on wire into the trunk
(use the hanger again if needed). |
|
 |
|
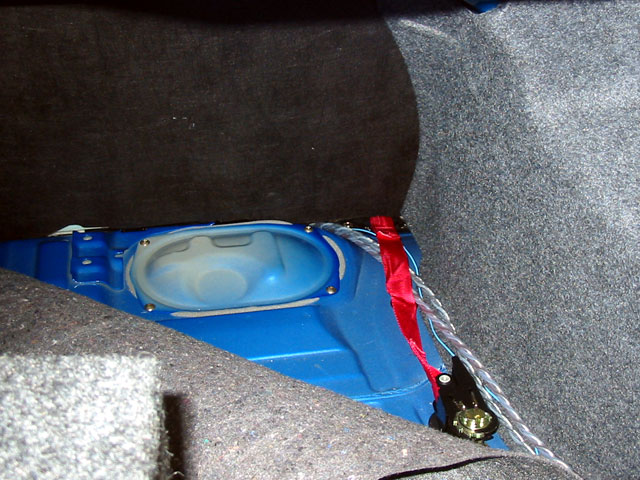
| Pull the cables through. If using a strap
to anchor the enclosure, you can connect the strap hook to the LATCH
anchor and run the strap through to the trunk. When you're done, replace
the cushion and bolt it down again. Now you're done with all the wiring
in the cabin. |
|
 |
|
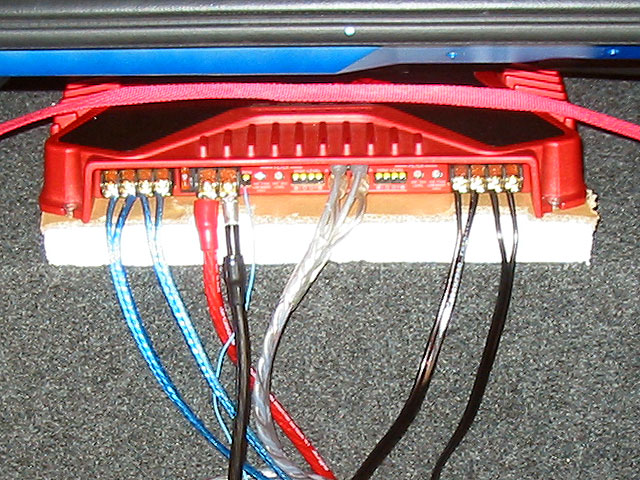
I decided to attach my amp directly to
my subwoofer enclosure. My Sony amp has oddly angled power terminals
so I put a styrofoam pad underneath to raise it and clear the power
cables. I traced the amplifier onto the styrofoam and then cut it
out with a knife. I lined it all up, drilled pilot holes then secured
it to the enclosure.
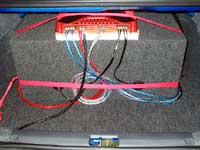
Then I put the enclosure/amp into the trunk and started connecting
all the cables. First I connected the ground, then the amp turn-on
lead, the RCA inputs and the speaker outputs and finally the main
power cable.
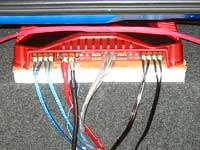
Here you can see the amplified speaker wires (blue) that I had to
run from the amp to the Best Buy harness to power the door speakers.
|
|
 |
|
Then i connected the speaker outputs to
the subs and finalized the position of the enclosure in the trunk.
Then I tied it down using the straps that I attached to the LATCH
anchors. Otherwise you could secure it by bolting them to the sheet
metal under the trunk (supposedly the gas tank is not there, but I'm
not sure). Others strap them down, or velcro them. It's up to you.
At this point, I reconnected the battery and took the car for a test
drive to make sure the head unit and amp were working properly and
also that the enclosure wasn't moving around during spirited driving.
To install door speakers, please
see the DIY here.
|
|
 |
|
| Preparation |
Routing Power Cables | Installing and
Wiring the Head Unit |
|
|
| |
|
|